Make a Pretty Banner for Your Next Card | Lilin Fang
Tags:1. Pick a few of your favorite papers. I used the paper pad from Galileo main card kit here. Cut your papers into 5 cm x 5 cm and 3.5 cm x 3.5 cm. I made 3 big hearts and 2 small hearts following this tutorial I posted a while ago. I had this idea of making a little banner with these little hearts, so I grabbed some tiny wooden clothes pins and twine.

2. Here’s how the banner looks like once I put them together.

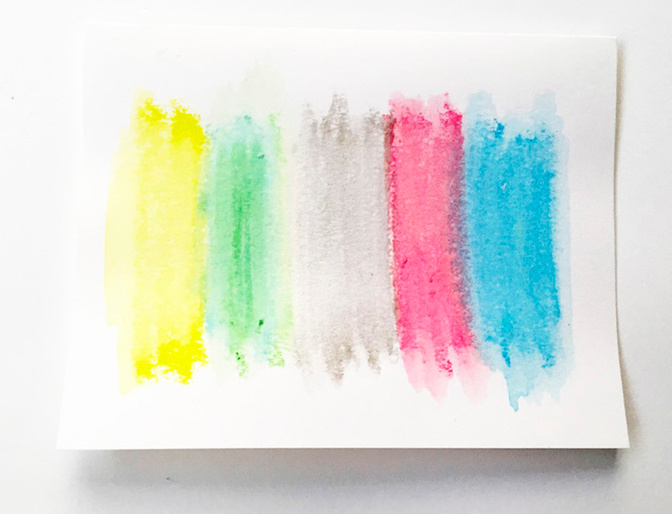
3. Based on the arrangement of the hearts on the banner, I used the matching colored gelatos to paint a rainbow on the card.
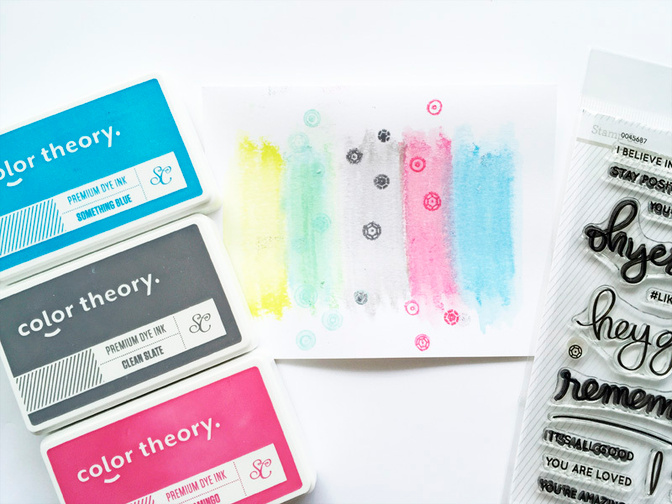
4. Next, I stamped some sequins on the card using the Hey Girl Stamp set by Mama Elephant. I matched the color of the inks to the paint on the card. Notice I only added the stamped sequins to the mint, grey and pink parts of the rainbow as I planned to use the enamel dots included in the kit for the yellow and blue.
5. Next, I adhered the banner to the card. I positioned the banner such that the hearts matched the colors on the rainbow. I tied a ribbon on both ends of the twine to secure them on the card using my tiny attacher.
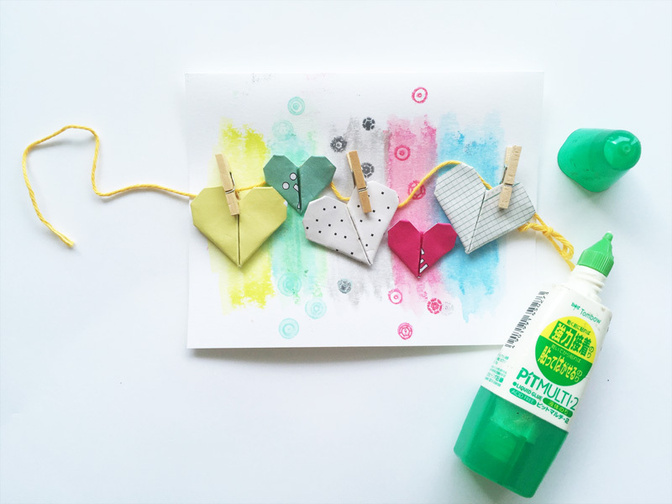
6. Lastly, I added the yellow and blue enamel dots to the card, and it was done!

Envelope
1. Now, for a matching envelope. I stamped the same sequins on the flap of the envelope. I used a matching color ink as I wanted the design to be subtle.
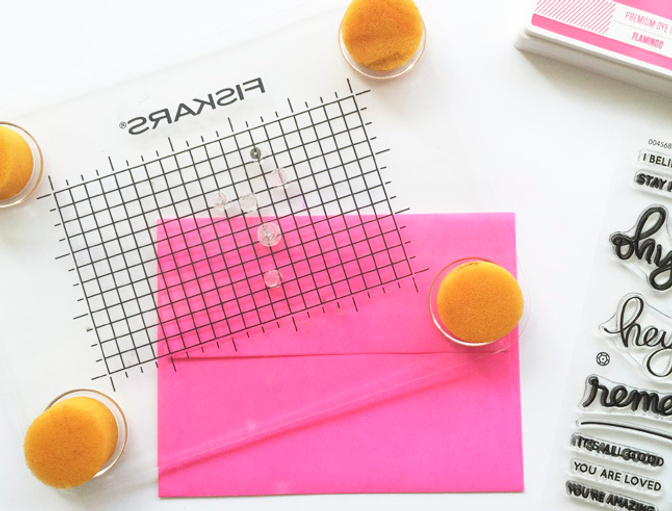
2. Lastly, I added an origami heart to seal the envelope.


Supplies: Galileo Card kit, Card Basics, Hey Girl Stamp set by Mama Elephant, Stamp press, Gelatos, Ink Pad: Flamingo, Ink Pad: Clean Slate


Comments
Sign in or sign up to comment.
5 comments
Love this so much! And it's a card that can be used for any occasion.
Replies to pinksoup
Sign in or sign up to reply.
On a card making roll lately. I am so going to scrap lift a couple of these ideas/techniques. Thank you so much for sharing!
Replies to michell
Sign in or sign up to reply.
Very sweet:-)
Replies to artgirlbev
Sign in or sign up to reply.
Love this - it will be perfect as a wedding card! Thanks for the great ideas!
Replies to sassiescrapper
Sign in or sign up to reply.