NSD at SC | 2013 | card team challenge 1
It's time to break out the masks! Whether you reach for a premade mask or cut your own, we want you to think outside the box while using it. That means NO MIST. What will you use instead? We can't wait to see!
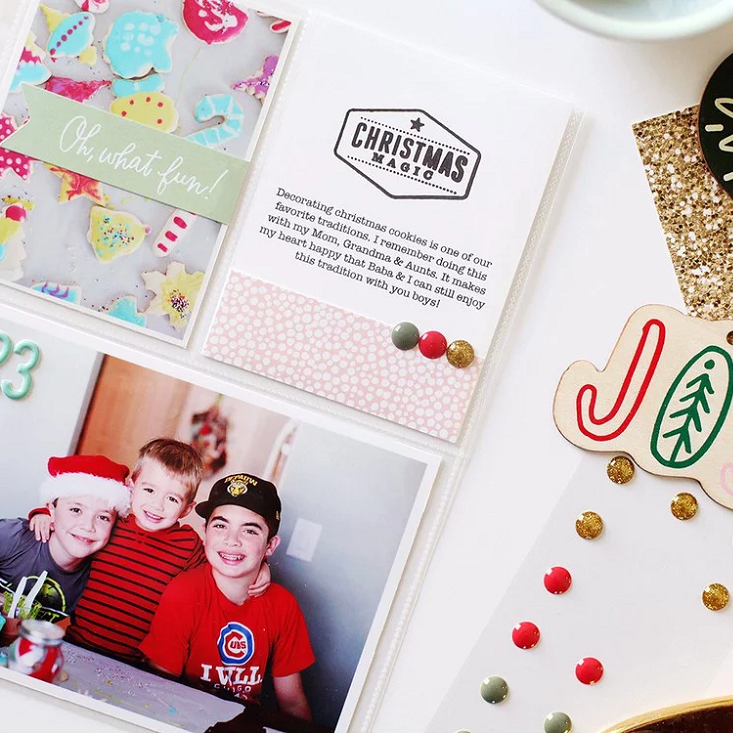
Jenn Picard | I love having fun with the Studio Calico masks and Mr. Huey’s Mists so I knew this would be a great challenge for me to find a different way to use one of my favourite masks. I started with a plain piece of white card, my V-Pattern Mask, some ink and a brayer. I laid the mask down on the paper and used a little bit of repositionable tape to hold it in place, then inked up my brayer really well and rolled it over the mask. I did this several times and then I removed the masked and lightly brayered a few more times over the paper to add some soft colour and contrast. Once I had my background completed I added some fun elements and stamps from the May Project Life add on Kit – Halley’s Comet.
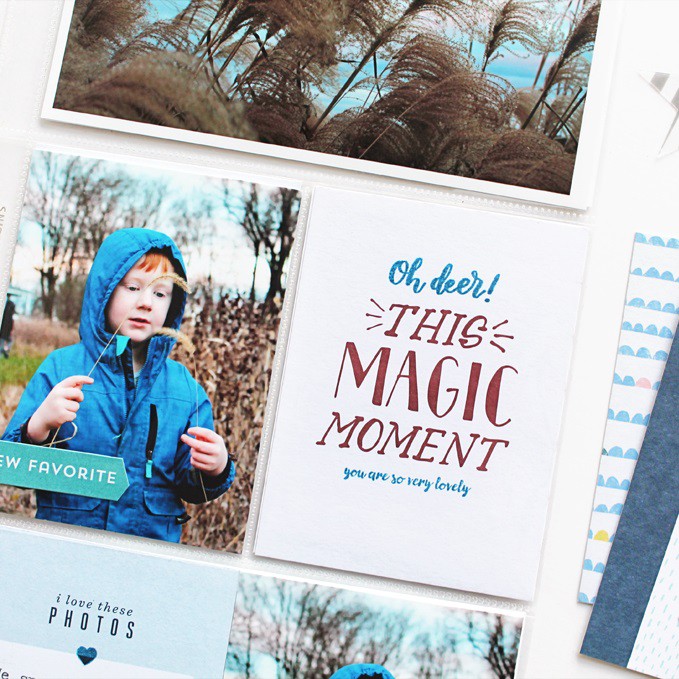
Natalia Bun | I used Studio Calico mask to make the 3 cards on this spread. Instead of spraying mist, I used watercolour and brushed it on top of the mask. Don't use too much water so the shapes of the mask will come out nicely. Make sure you hold the mask firmly to the paper so the watercolour doesn't seep below the mask.
Becky Novacek | I mixed a custom gray color with acrylic paints that have a bit of shimmer. The outcome was imperfect, but I thought it worked well with the sort of vintage papers. Love that I had the opportunity to have coffee with two friends and fellow Studio Calico design teamers!
Suzy Plantamura | I attached the mask to a piece of
white cardstock. I outlined it with a fine point black tipped marker. I removed
the mask and applied a second outline so it looks more “doodled” and didn’t
have to be perfect (this covers any mistakes you made when tracing the mask). I
then colored it in with several shades of blue markers using Copics. I started
with the lightest color on the top and moved to darker shades as I moved down
the chevron shapes blending the colors as I went. I applied a shadow using a
gray marker. I cut around the edges of the shape on the right side so I could
slide my photo under it. To add to the look of the doodled design colored in
with markers, I also added a doodled, colored heart on the top right of the
layout. I cut it out of white paper and used the same techniques of outlining
and coloring. I only attached it on the top and bottom with a tiny attacher so
the sides had dimension.
To be entered to win a prize from the fabulous Studio Calico prize stash, leave a comment here with a link to your new layout, card or PL spread/cards in the Studio Calico gallery by May 13th. We can't wait to see what you make!


Sign in or sign up to comment.
0 comments