Handcut Letters Tutorial | Becky Novacek
Tags: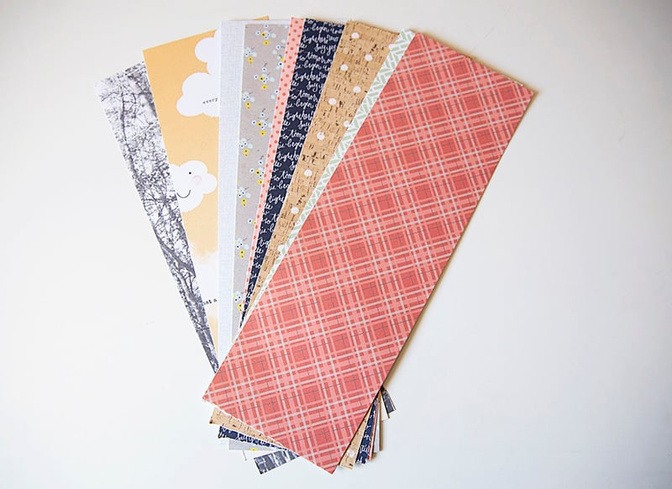
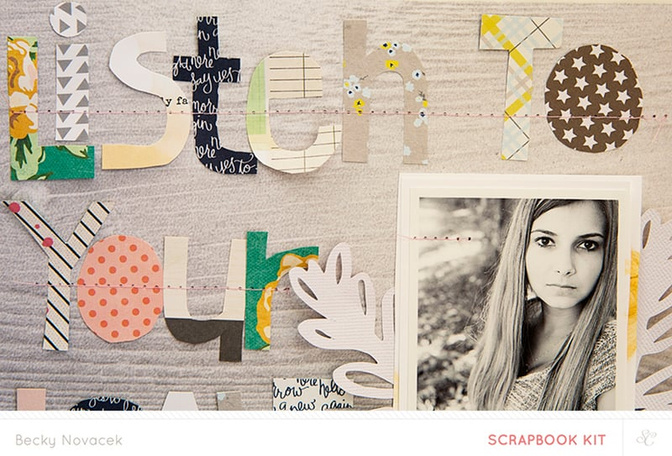
I usually do a rough sketch of the page that I’m planning to make. I decide what size I will print my photos, then print them out and lay them on my background. I decide on my title, which is usually a short phrase or quote. Then, I decide on the placement of the
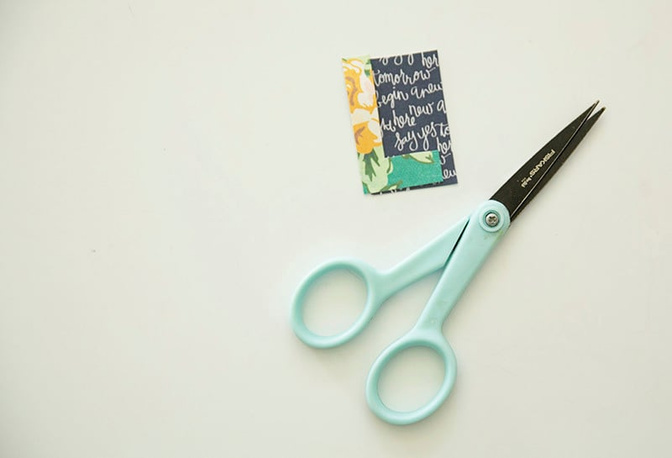
When I cut the first letter, I lay it on the pattern paper I’m using for the second letter and use it as a guide for size. This makes the process go so fast.
So I continue cutting each letter and laying them out to see how they are fitting on the page. I can easily make adjustments as I go to make the fit right.
Now, I know that some of you are probably wondering HOW you actually know how to cut each letter. I have simply practiced and practiced. I still occasionally have to throw away a letter that doesn’t look the way I want it to. One important tool to make sure you
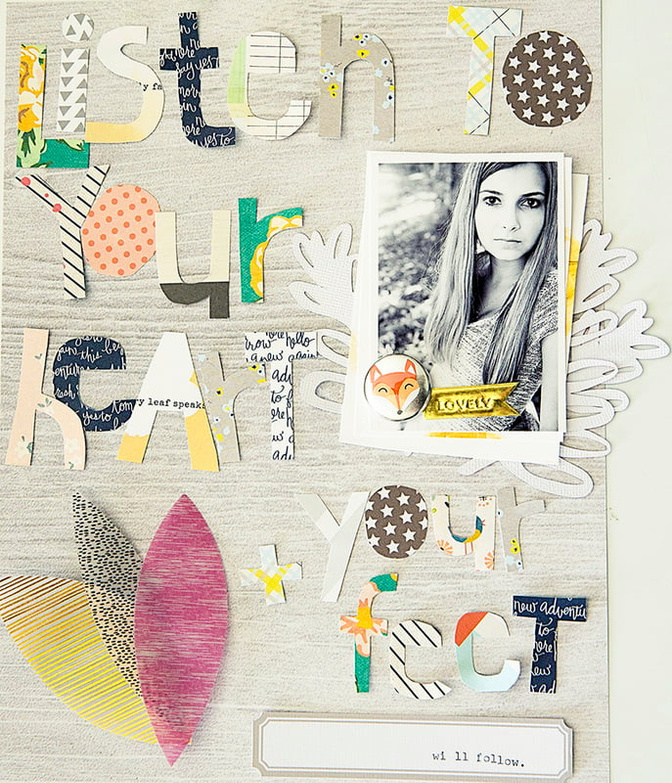
One really important thing to keep in mind is to keep your letters unattached until you like it and are sure you don’t want to make any changes to the page. I made this whole layout without adhering anything until it was completely “done.”
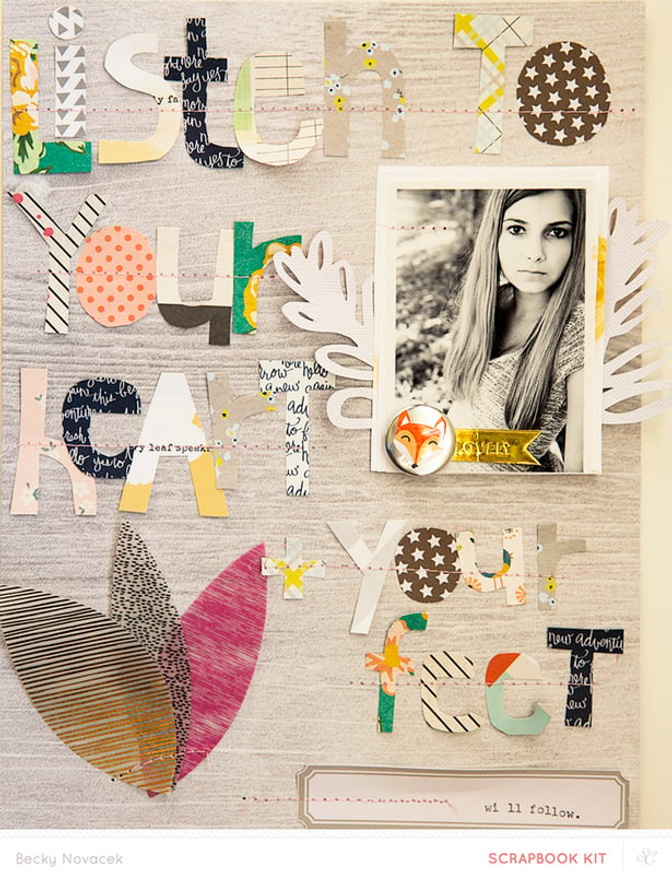
Supplies: Walden Scrapbook Kit, Concord Add-on, Baker Bridge Add-on, Pine Hill Add-on, Walden Scrapbook Digital Stamps, Walden Printable Labels, cameo bundle, AC dot glue runner, precision scissors.


Comments
Sign in or sign up to comment.
5 comments
Oh wow, I was wondering how you did your letters. I'm impressed that you do that by hand!! I love the look!
Replies to nicolemartel654
Sign in or sign up to reply.
Thank you so much! I always love your handmade letters!
Replies to amyscalze
Sign in or sign up to reply.
Thanks for sharing, I would never have thought to try this without this tutorial.
Replies to Bellaa75
Sign in or sign up to reply.
I love your hand lettering. I'm so excited about this tutorial!
Replies to toribissell
Sign in or sign up to reply.
A great idea!!! and...a great title ;)!
Replies to 1Djc
Sign in or sign up to reply.