Make Your Own Wrapping Paper with Digital Stamps | Tina Aszmus
Tags:The Underground Forest Stamp Add-On
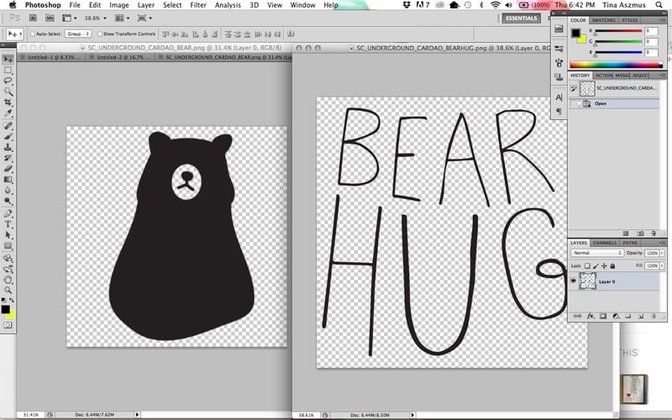
I started by creating a brush with the Bear image and Bear Hug .png files from The Underground Forest Stamp Add-On digital brush set. You can do this in the .abr files provided.
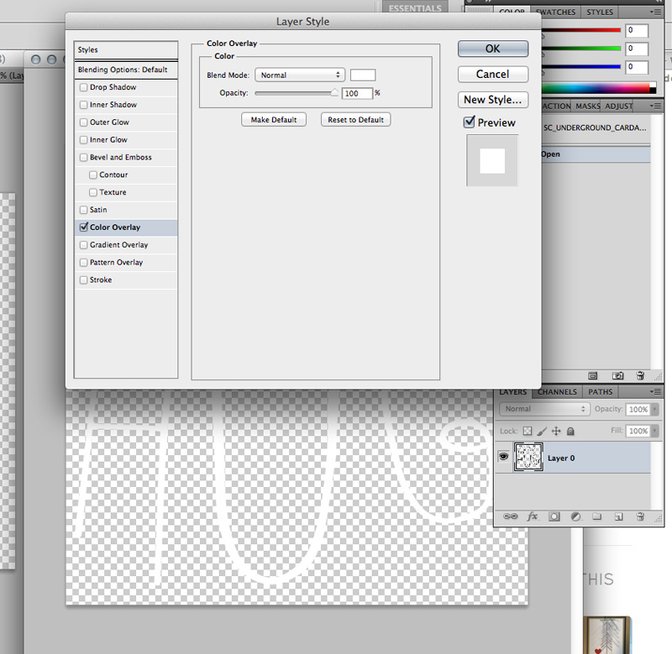
Change the Bear Hug wording to white by selecting Add Layer Style > Color Overlay.
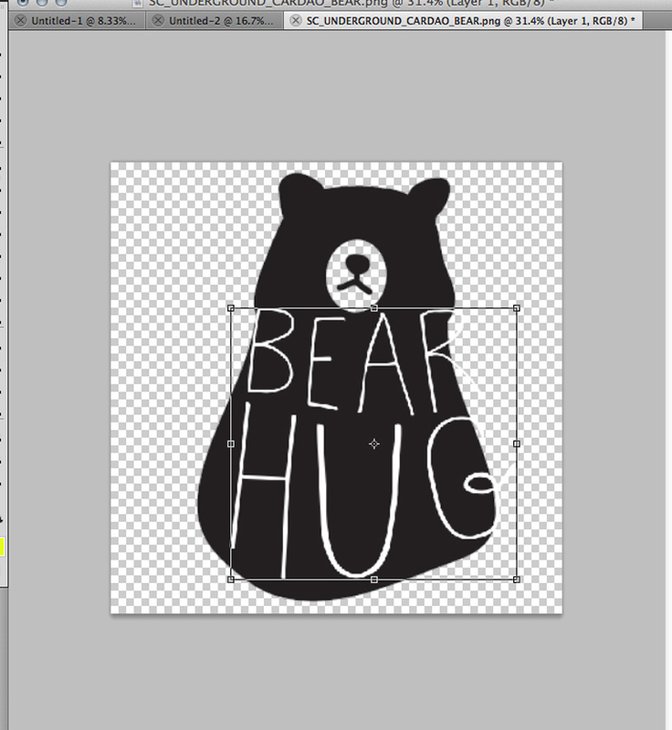
Take that wording and place it over the Bear silhouette. Resize and rotate as needed. To resize without skewing the text, hold Shift while you use your cursor to drag one of the small boxes at the corner of the larger box enclosing the text. If you do this while holding Shift, you can just move the cursor in and out to get the perfect size.
Select Edit > Define Brush Preset, and save your image as a brush.
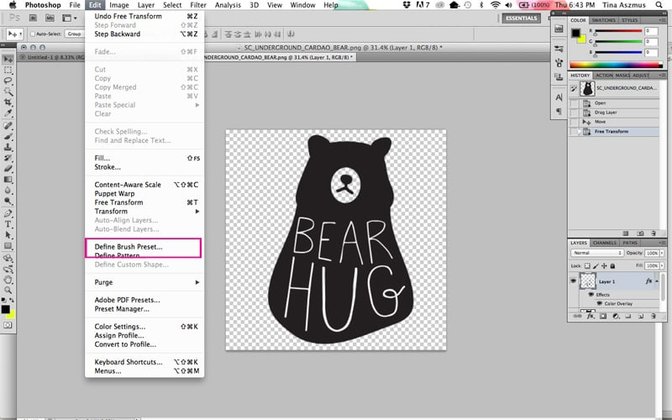
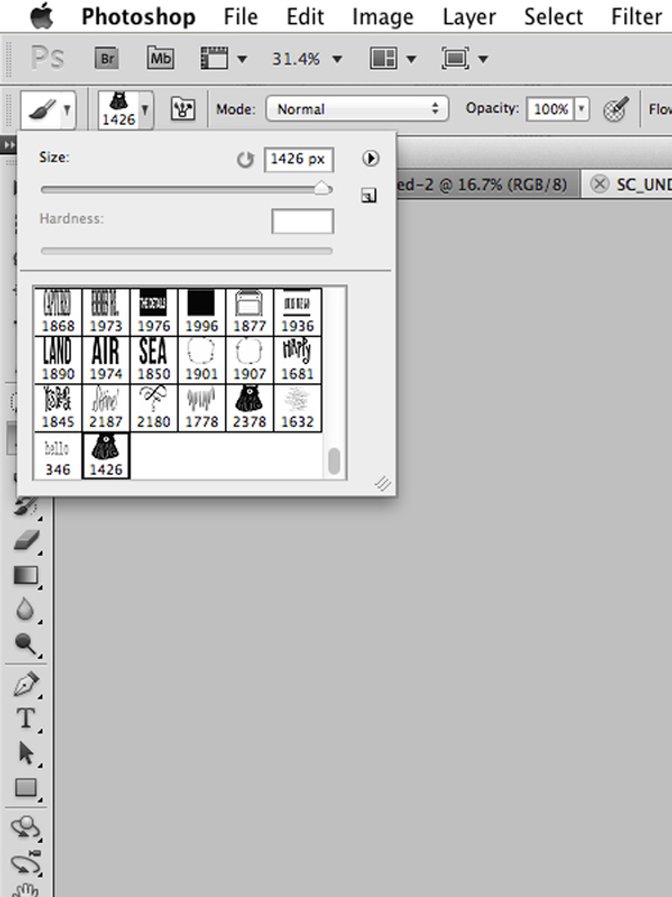
Your Bear Hug brush will be in your brush palette.
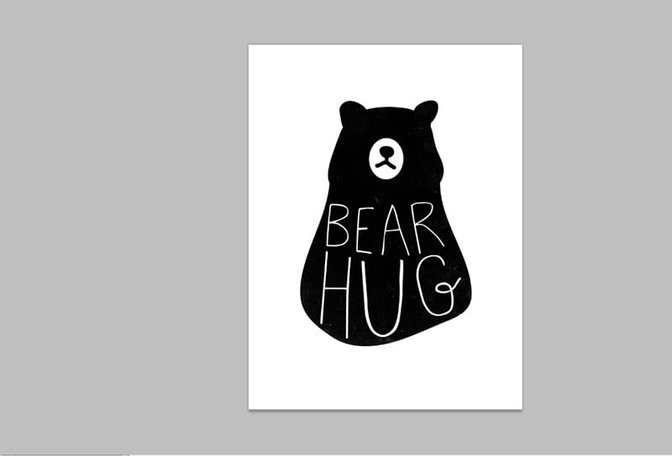
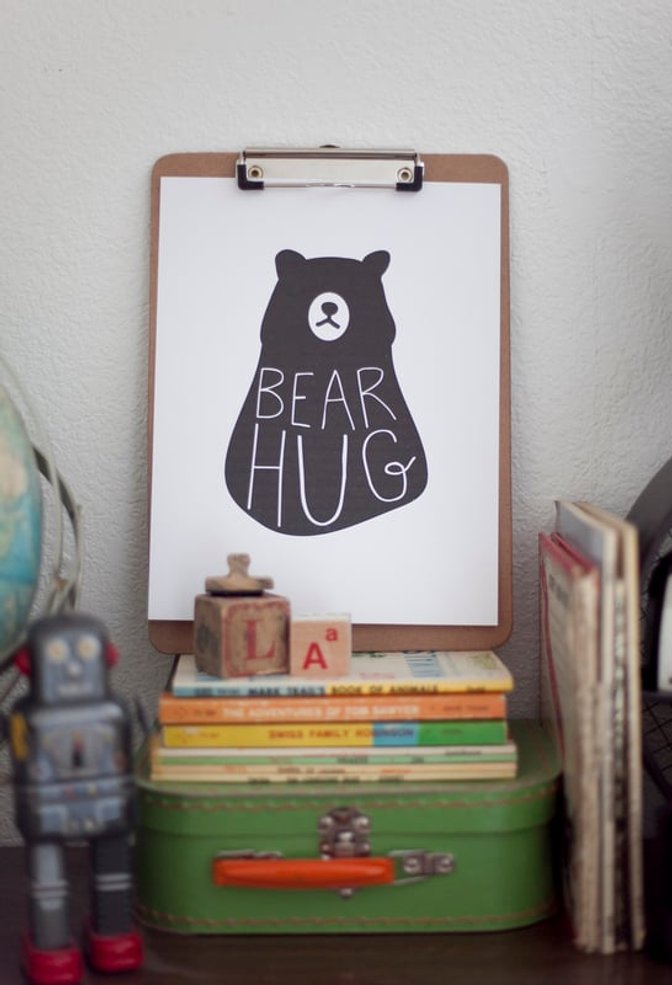
From here, I’m going to create a simple 18x24" black and white print that I will have done at my local copy shop. Just stamp the image in the center and resize as needed. Flatten and save as a pdf.
Now let's make a Pattern Swatch.
Start by opening a blank document measuring 1000px by 1000px wide, 300 dpi with a transparent background.
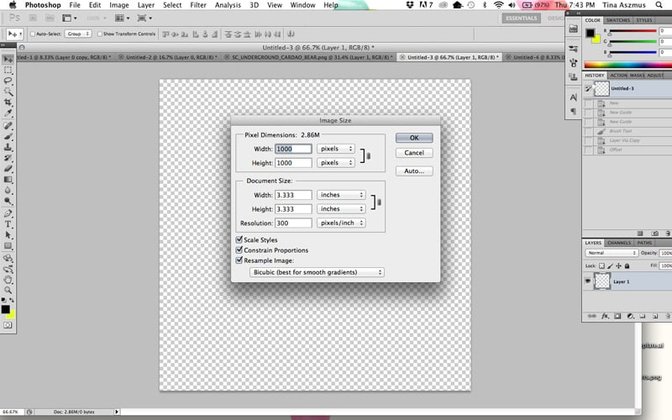
Now we need to create a few guides to help us locate the center part of the document.
To create a new guide, click View > New Guide.
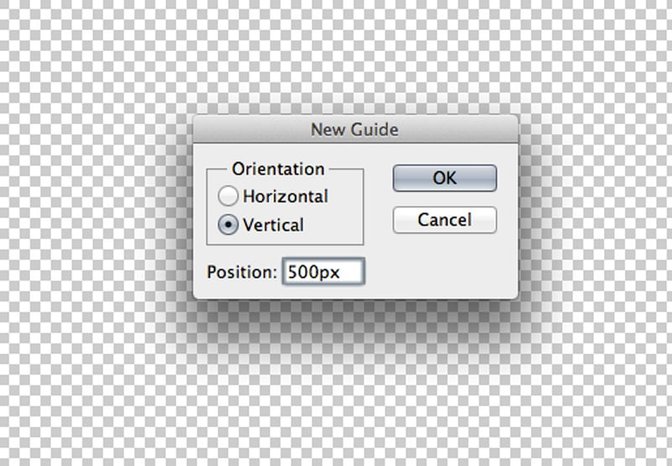
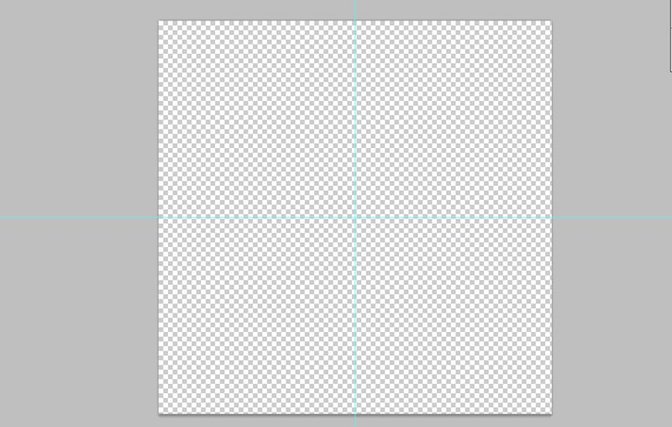
Grab the Bear Hug brush we created and place it at the center. It doesn’t need to be to perfect at this point, so don’t stress over this step.
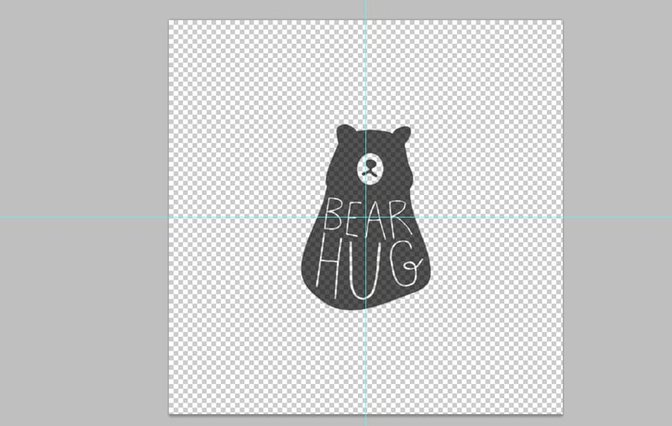
Create a copy of that layer by clicking Command+J for Macs or Control+J for Windows.
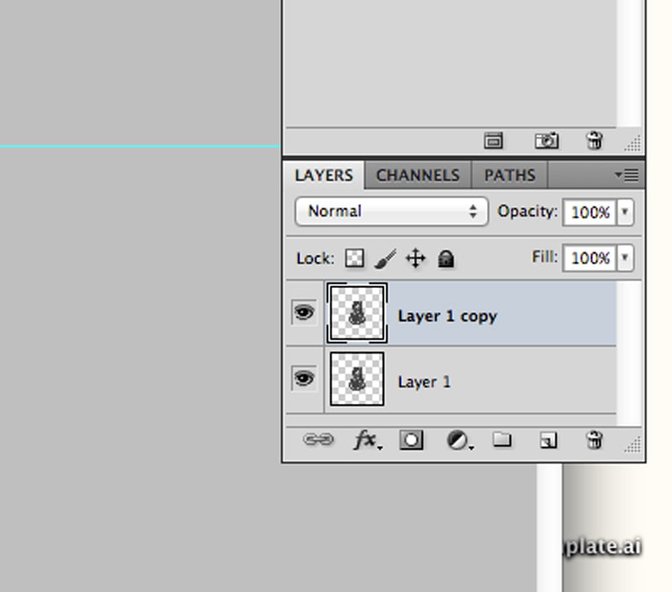
Next we want to use the Offset Filter to create our pattern.
Click Filter > Other > Offset and move the sliders to 500px right and 500px down. Choose the Wrap Around option.
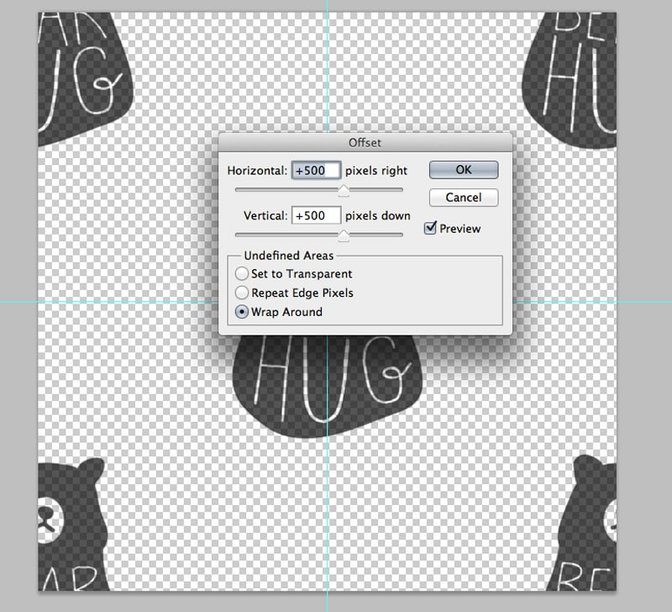
Now you’re ready to save this swatch as a pattern. Click Edit > Define Pattern. Name your pattern and save.
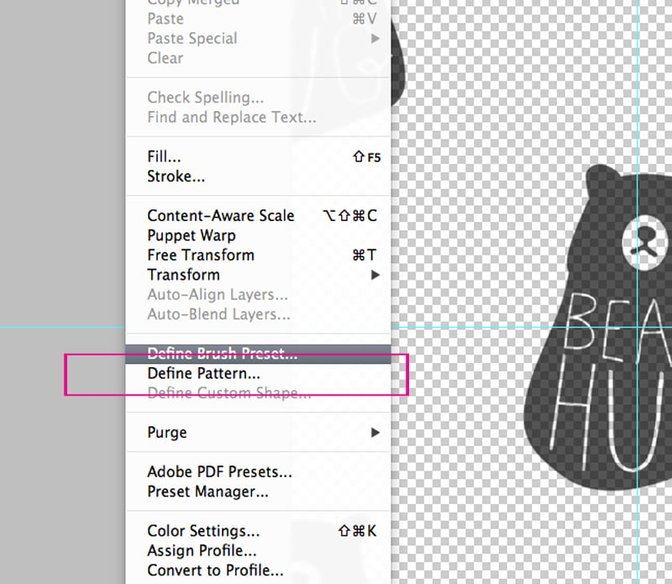
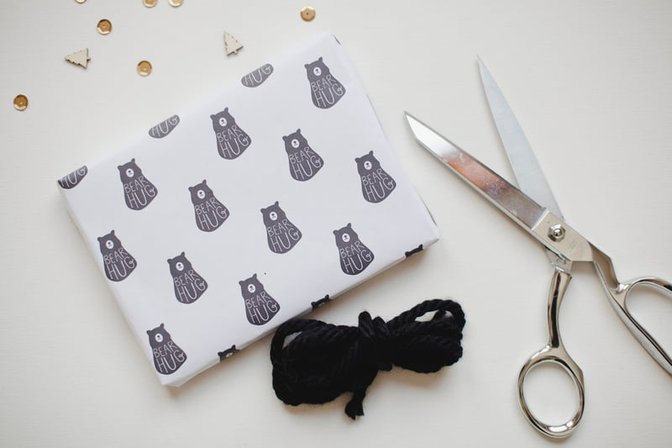
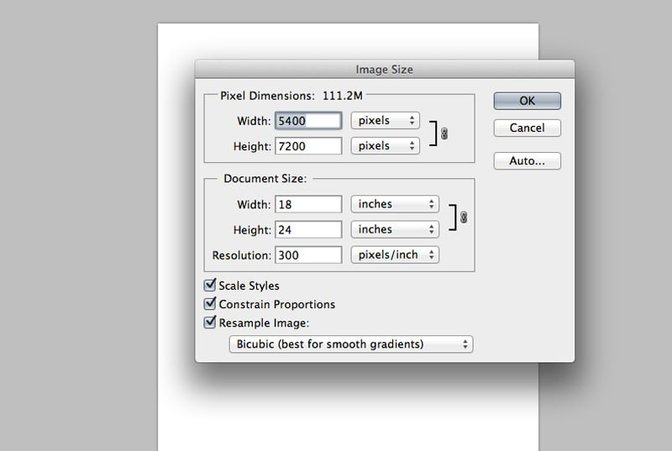
I know I’m going to have this wrapping paper measure 18x24" like my poster. It’ll be printed on thin bond paper on a large format printer that only prints b&w copies. It’s very inexpensive and a very cool way to create custom wrapping paper.
Open up a new document measuring 18x24."
Select Add Layer Style > Pattern Overlay. Select your Bear Hug patterns in the swatches.
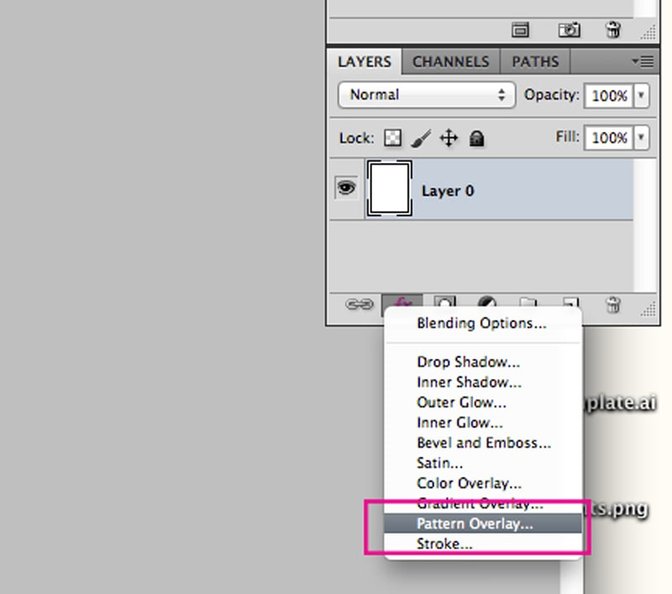
You can scale your pattern from here as well. Adjust to your liking.
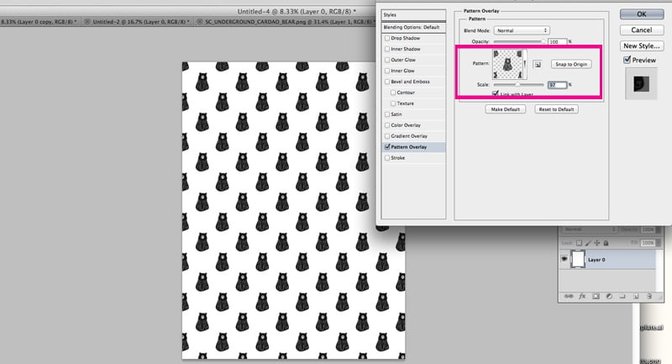
Flatten and save as a pdf.
I’m saving my files on a usb port that I use specially for these types of jobs. I take it to my copy shop and have them print both designs on the large format printer.
I hope you try this simple tutorial on creating your own patterns out of digital stamps! I can’t wait to see your posters and/or wrapping paper!
**I wasn’t able to get the large scale prints done for this tutorial, so I simply printed it at home on my inkjet print. The print is on smooth white heavy cardstock and the wrapping paper is printed on thin copy paper.


Comments
Sign in or sign up to comment.
5 comments
This is a fun idea! Do you think there is some way to have it printed on kraft paper? Can they do that at a copy shop? Either a black or white bear would look cute.
Replies to Brinkleyboy
Sign in or sign up to reply.
This is so cool, Tina! Love it!
Replies to JulieCampbell
Sign in or sign up to reply.
@brinkleboy...I'm not sure but you can ask them!
Replies to lifelovepaper
Sign in or sign up to reply.
@Brinkleyboy, I bet they could do that. I know if you go to a shipping supply store like FedEx/Kinko's, they usually have a variety of papers to print on.
Replies to SaraV
Sign in or sign up to reply.
cuteness!!
Replies to heavencole
Sign in or sign up to reply.