Tutorial | Making a Pretty Layered Card with Keisha Campbell
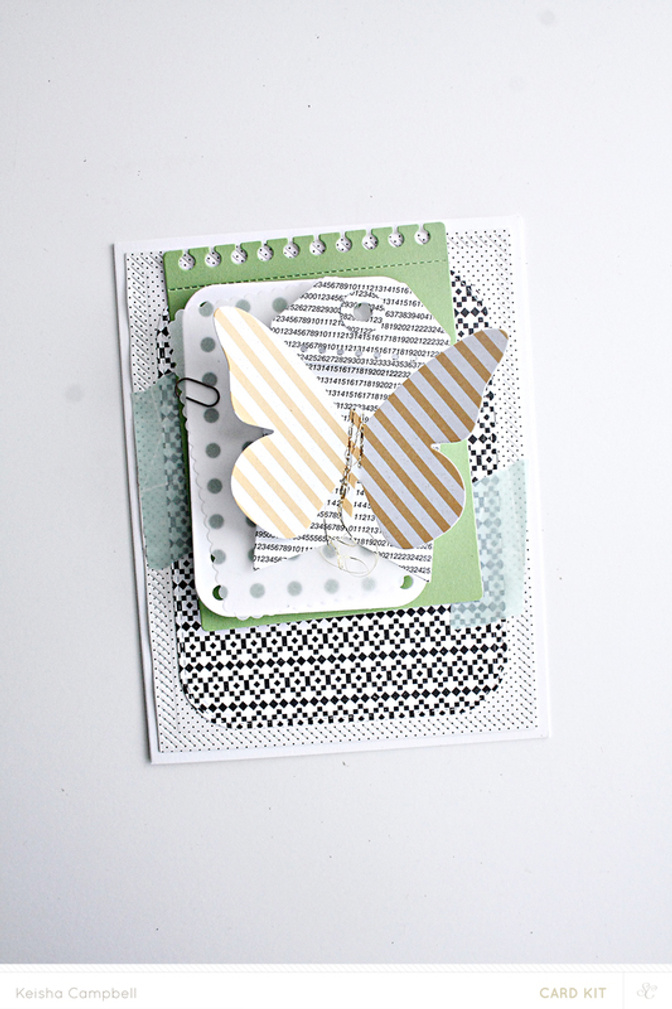
Tags:Hello! Today I am sharing how to do a card with layers. I kept my colors simple with black and white, then added pops of green and yellow. This card has a great mix of layered shapes. What makes this card so interesting is the detail of each layer. Using only a few punches and die cuts, you can create a beautifully layered card.
Instructions
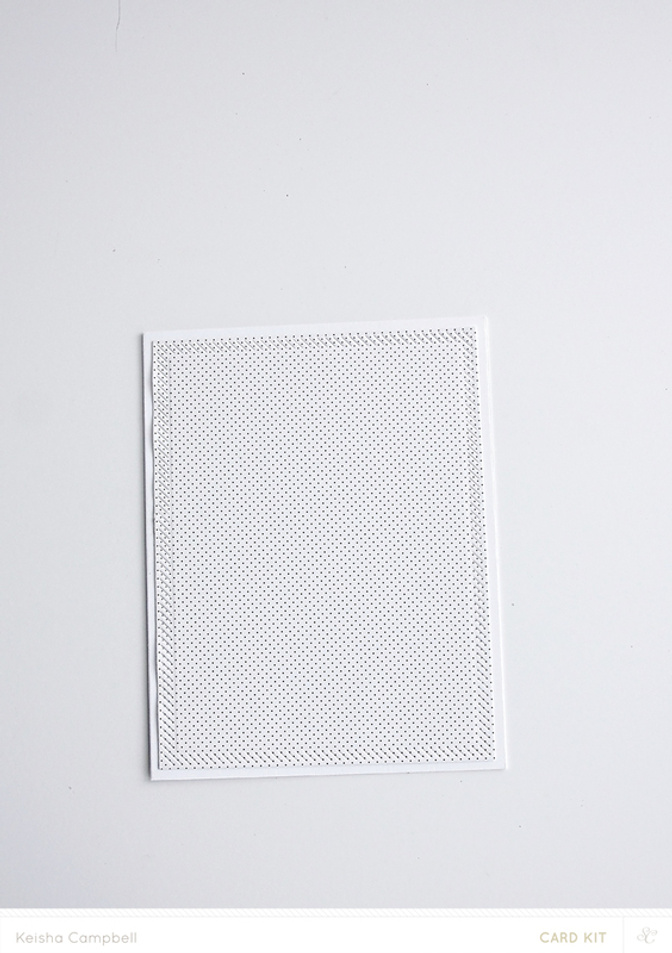
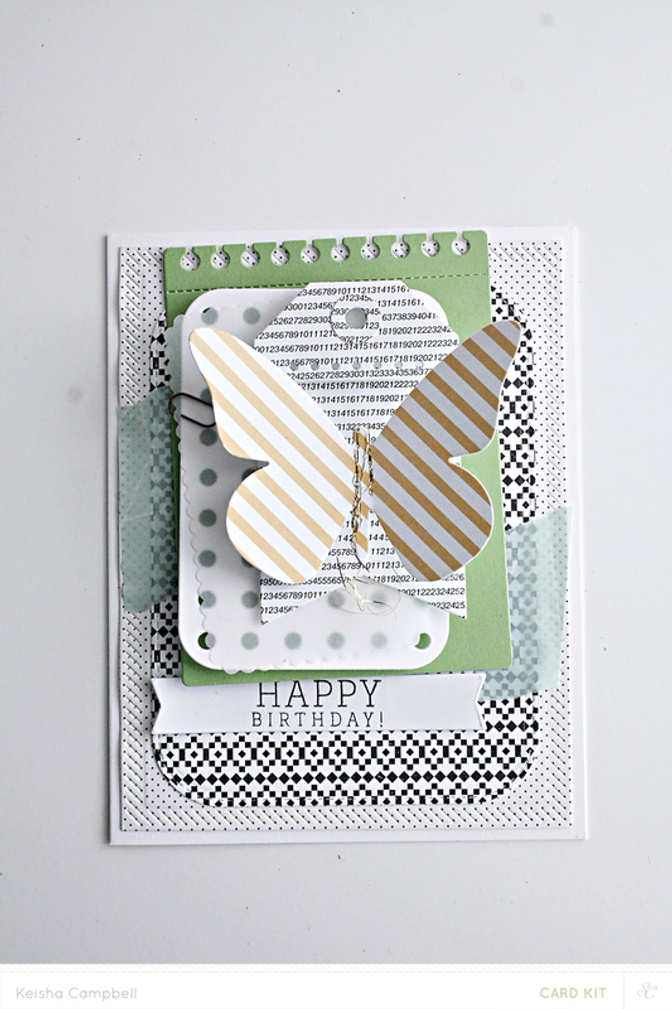
1. Starting with an A2 card, add the first layer, cut to about the same size of the card.
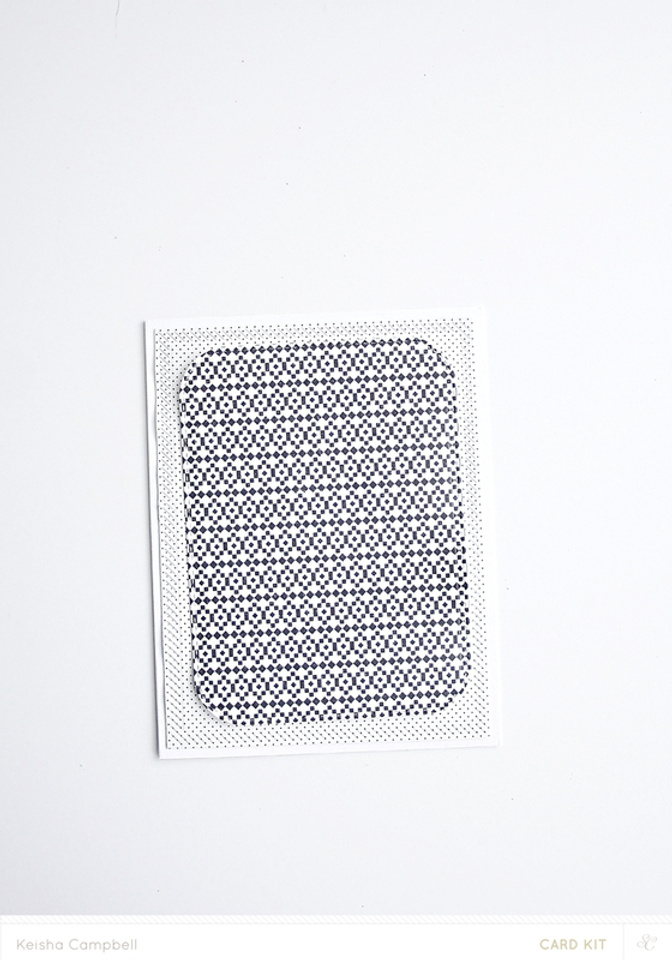
 2. Add the next layer. I used a corner rounder on this paper.
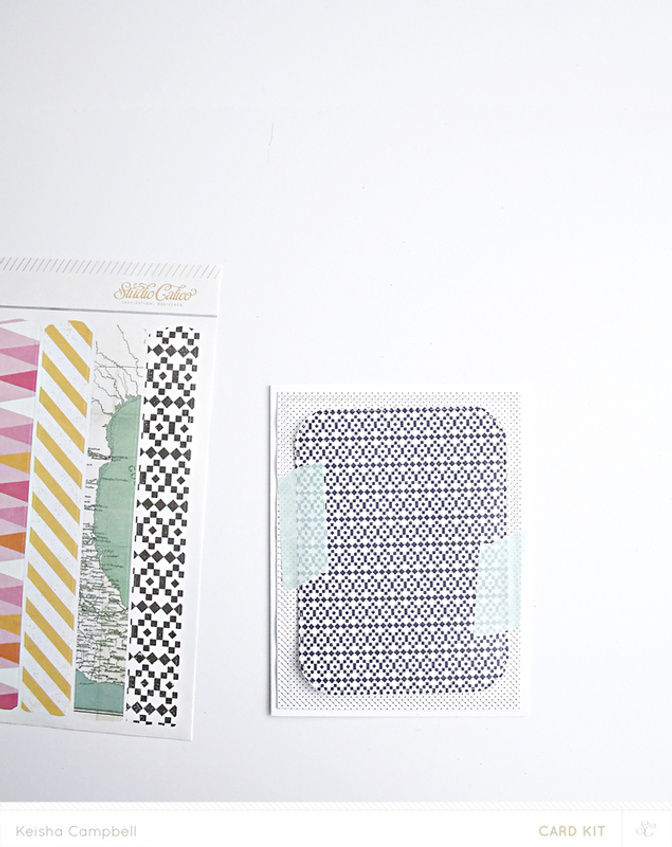
 3. Apply a couple pieces of washi tape to the second layer.
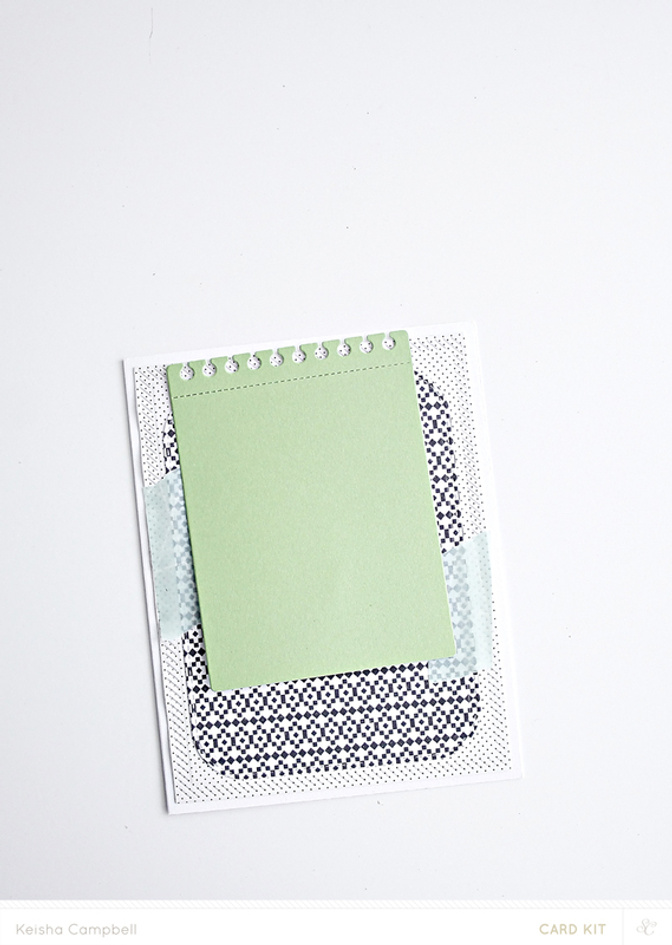
 4. This next layer has a punched notebook edge.
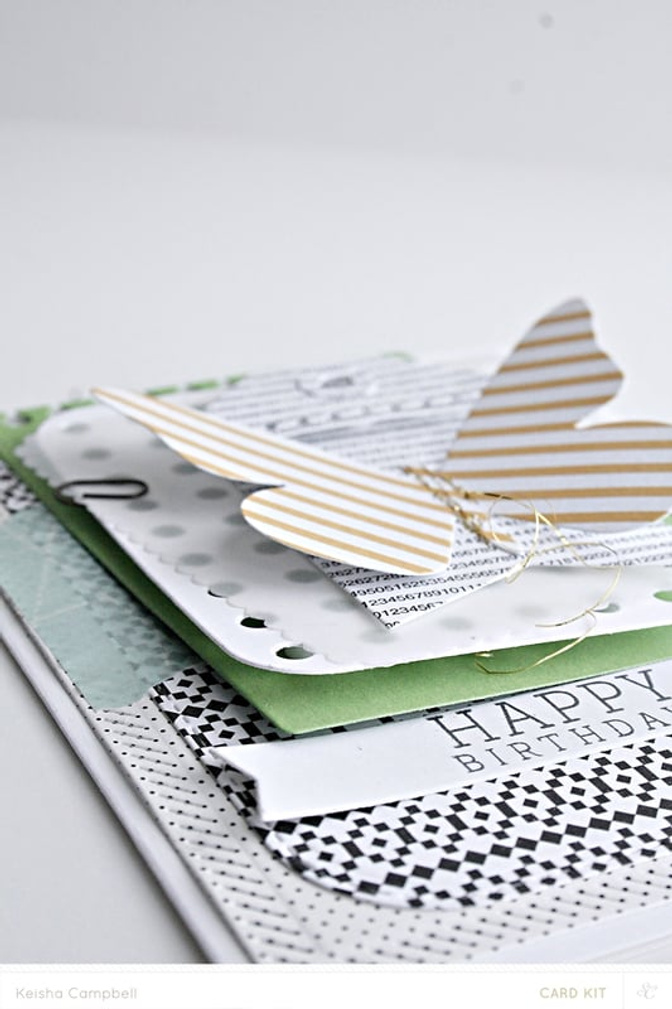
 5. On the fourth layer, I added a few pop dots for some dimension.
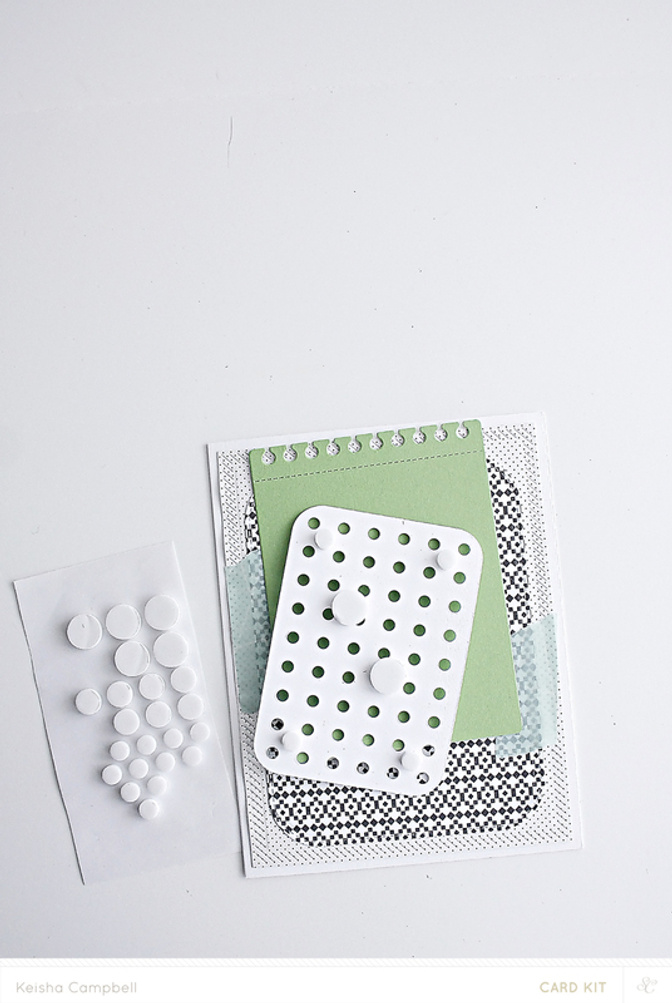

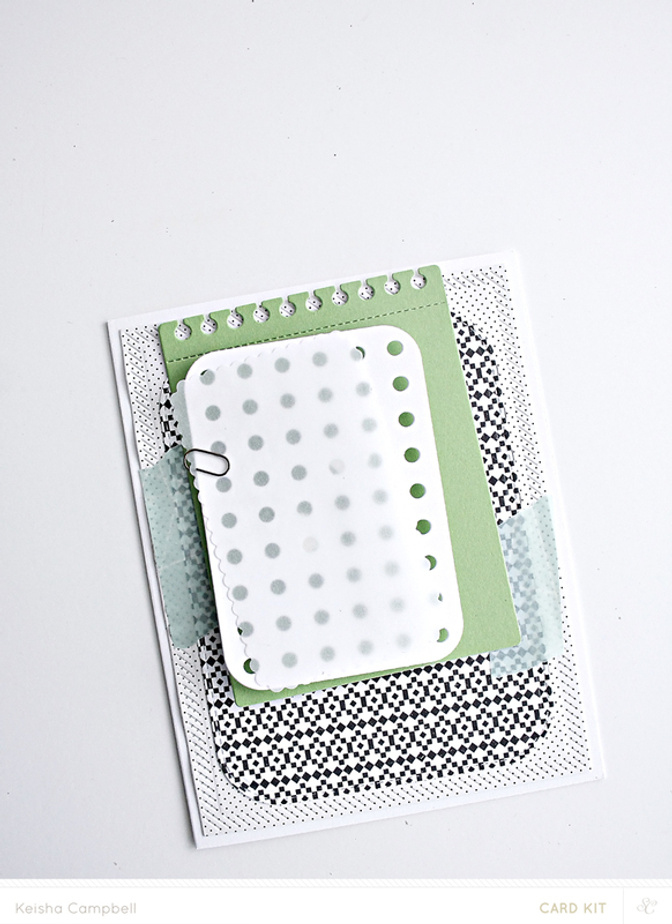
6. For the fifth layer, I used a scalloped edge on vellum paper.
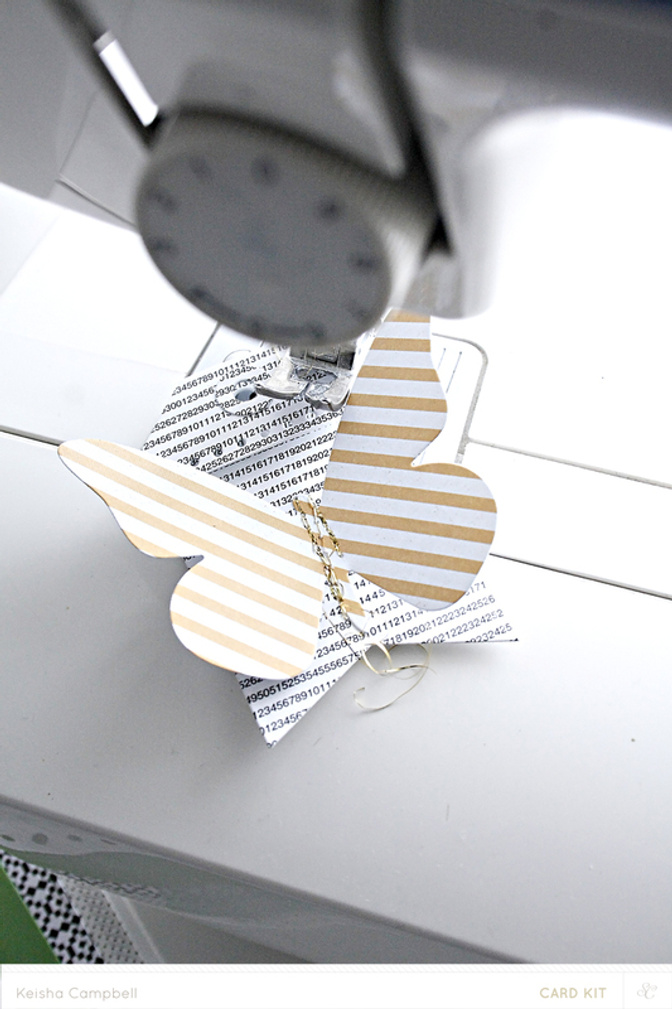
 7. Before I added the tag & butterfly, I ran them through the sewing machine using gold thread.
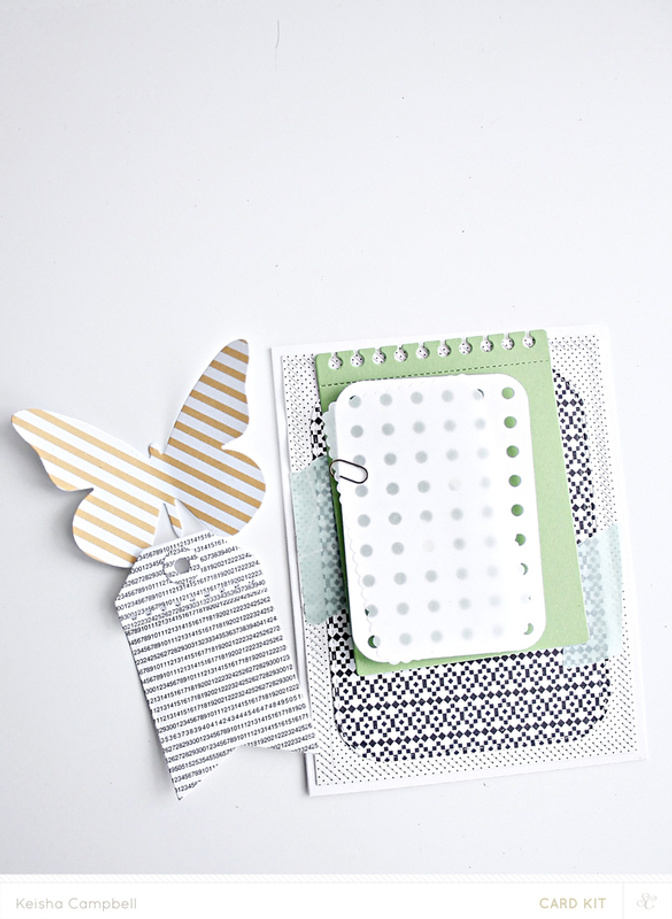
8. Stamp the sentiment of a fishtail banner and apply to the card.
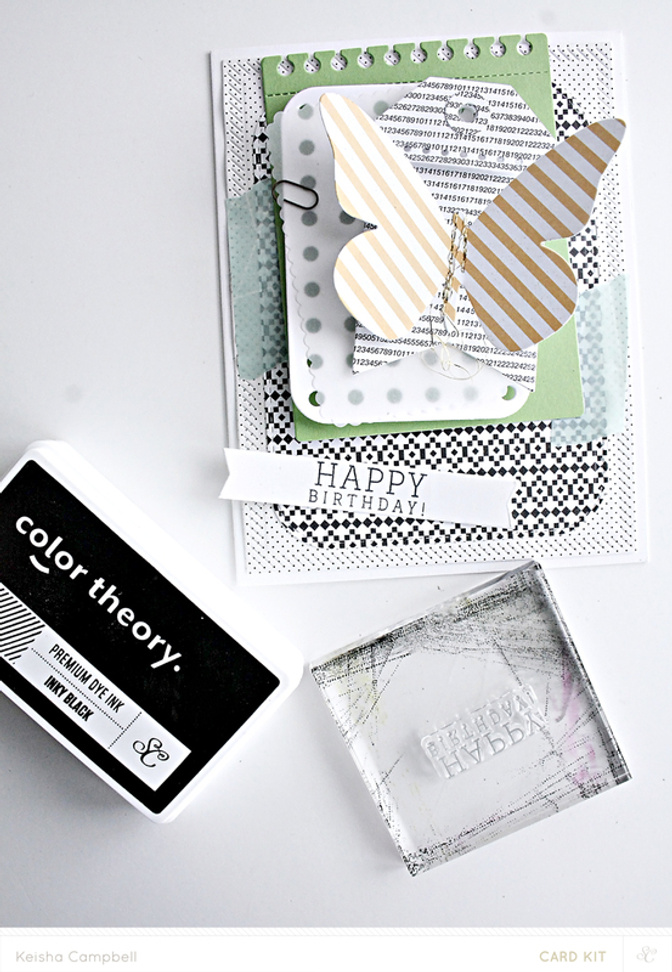
Supplies: Odyssey Card kit, Cirque Card kit, Corner Chomper, butterfly punch/die, notebook edge punch, Studio Calico washi strips, Odyssey paper pad, Color Theory black ink, vellum, tag, Odyssey More Color Card


Comments
Sign in or sign up to comment.
10 comments
So cute. I love all the layering
Replies to toribissell
Sign in or sign up to reply.
lovely!
Replies to yayasi
Sign in or sign up to reply.
Lovely! I like the color palette you chose and all those yummy layers
Replies to artgirlbev
Sign in or sign up to reply.
Love this!!
Replies to hollieshep
Sign in or sign up to reply.
Beautiful! LOVE this tutorial! So thankful to have a long admired talent on the team!
Replies to amyscalze
Sign in or sign up to reply.
Love this card!! Especially the card with the holes. Is that a die cut or did it come that way? It wasn't in the kits.
Replies to pinksoup
Sign in or sign up to reply.
Beautiful card! You make it so easy...yet when I try to sit down to make a card I blank out! hehe. Thanks for the inspiration!
Replies to jendcnguyen
Sign in or sign up to reply.
So pretty! Thanks for the step by step layering.
Replies to ATXmom
Sign in or sign up to reply.
@pinksoup it was a die!
Replies to Keisha
Sign in or sign up to reply.
Simply beautiful!
Replies to sandi
Sign in or sign up to reply.