Creating a Patterned Background with Stamps | Agnieszka Malyszek
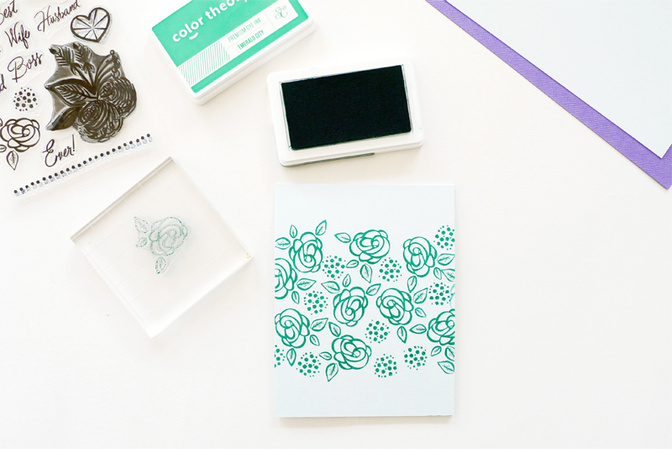
Tags:Today I would like to show you how I created a card with a stamped background. I started by stamping two images from a stamp set called Best Stamp Ever with Emerald City ink. As you can see I chose to stamp onto a middle part of my card base.
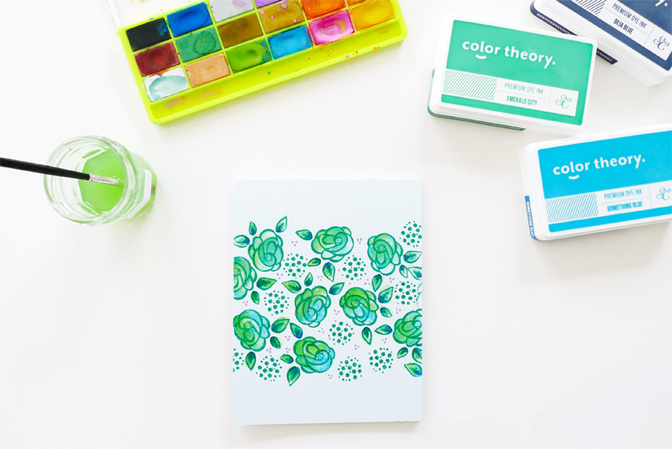
Then I used a combination of watercolors and inks to color my background.
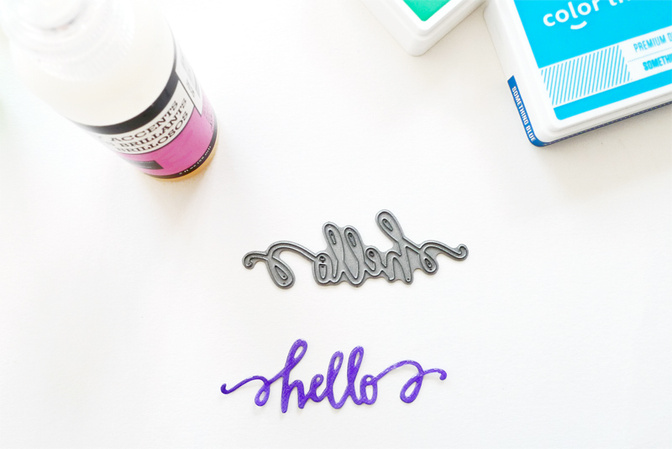
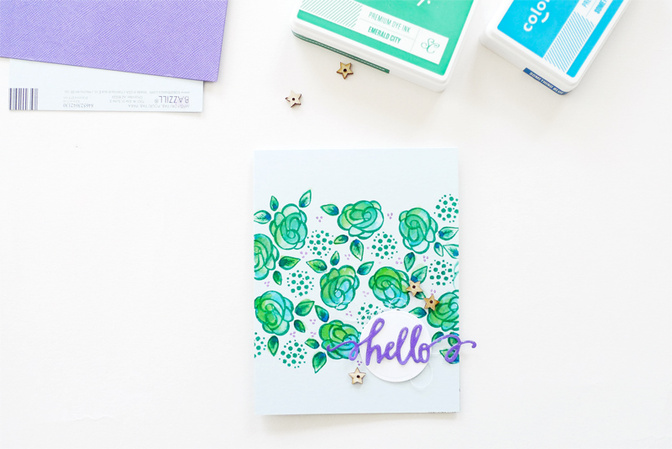
I wanted to make it the focal point of my card so I decided to keep my embellishments to a minimum. I die cut the “hello” word from a purple cardstock and added Glossy Accents to make it shine and stand out a little.
Lastly, I used a circle die cut from a white cardstock, white thread and wood veneer stars to finish my card off.
Thanks for stopping by today, I hope you feel inspired to create your own stamped backgrounds!
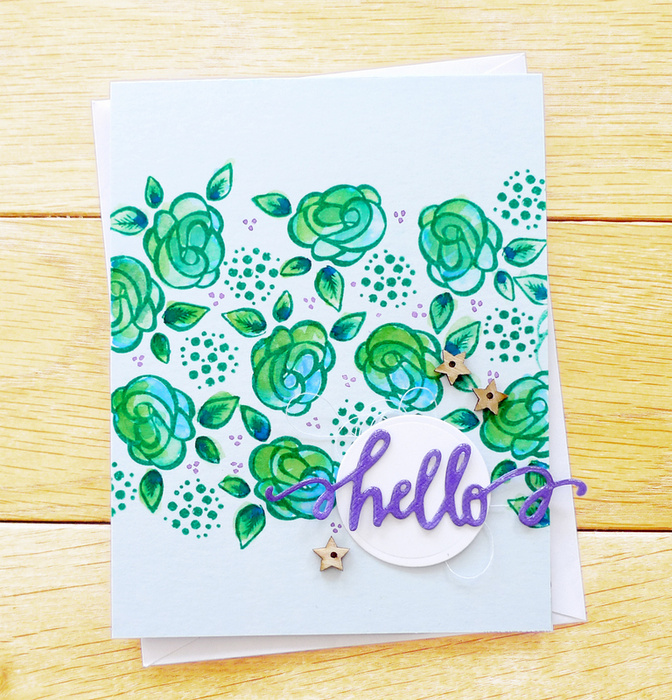
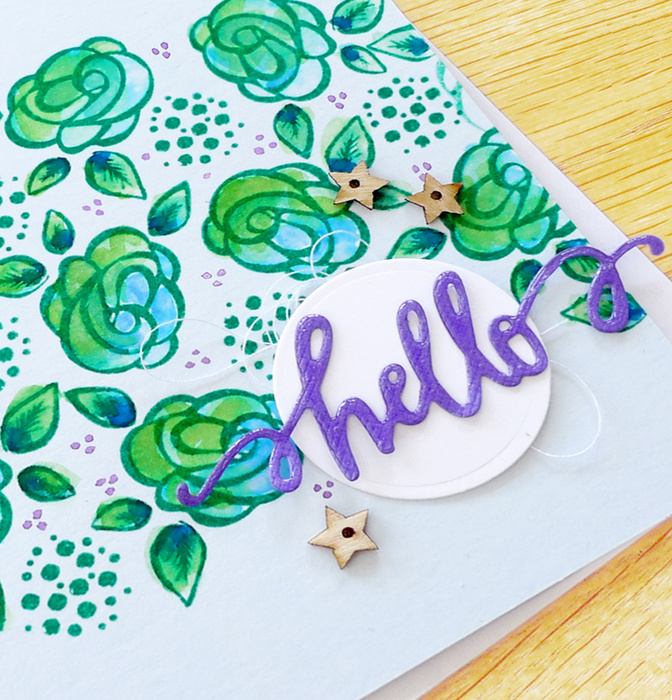
Supplies: Best Stamp Ever Stamp Set; Mister Huey's Watercolor Set; Color Theory Ink Pad: Emerald City, Something Blue, Deja Blue; Hello Craft Die; Nested Circles Dies; Glossy Accents; Studio Calico Wood Veneer Star Sequin Shapes


Comments
Sign in or sign up to comment.
11 comments
Such a pretty card. Love the pop of purple
Replies to lemayd1
Sign in or sign up to reply.
pretty! I am wondering how you used the ink pads for coloring in the flowers?
Replies to amyscalze
Sign in or sign up to reply.
so pretty. Such a simple, clean project with such a big impact. Can't wait to play along.
Replies to toribissell
Sign in or sign up to reply.
that background is fab!
Replies to jamiewaters
Sign in or sign up to reply.
Love this so much Aga! Even the *purple* :)
Replies to sideoats
Sign in or sign up to reply.
Just gorgeous as usual! Love the pop of purple..it's such a great spring color.
Replies to artgirlbev
Sign in or sign up to reply.
What ever happened to that Mr Huey's watercolor set? I never did see it in the shop.
Replies to LauraEvangeline
Sign in or sign up to reply.
This is very inspiring, thanks!
Replies to Llynx59
Sign in or sign up to reply.
Love this, thanks so much for sharing!
Replies to Carson
Sign in or sign up to reply.
This is a pretty card. I love the colors you used.
Replies to CeliseMcL
Sign in or sign up to reply.