Video | Mixing it up in Your Project Life® Album with Stephanie Bryan
Tags:I decided to go with a 6x6 album this month and created my own book using trimmed chipboard, book rings and a hole punch. I love using a binder, but creating my own book is super fun and inspiring!
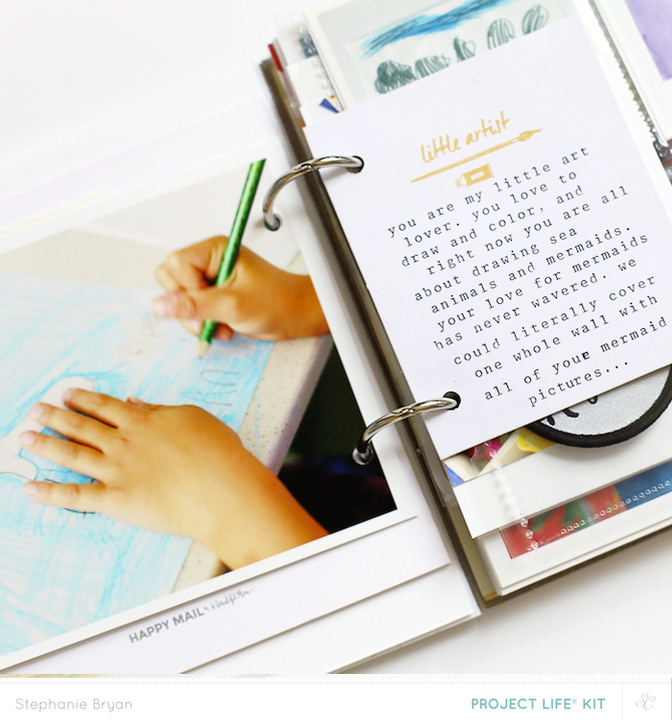
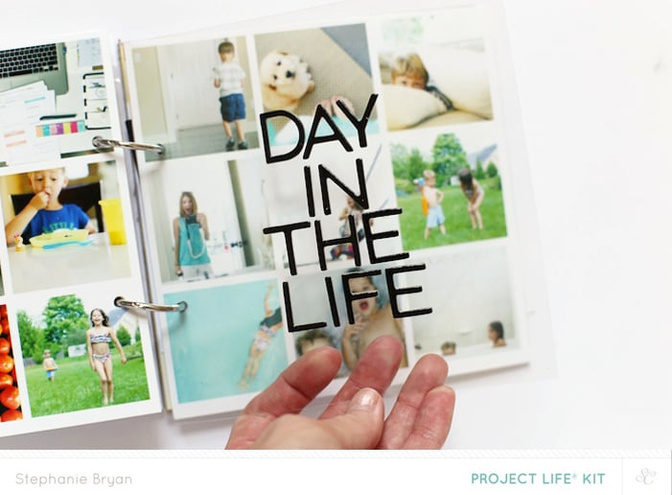
I added in a lot of our photos this month, including our "day in the life" photos from mid-month. I also experimented with photo sizes and adding in more white space around my photos. It's fun to have an idea in mind and then try it out!
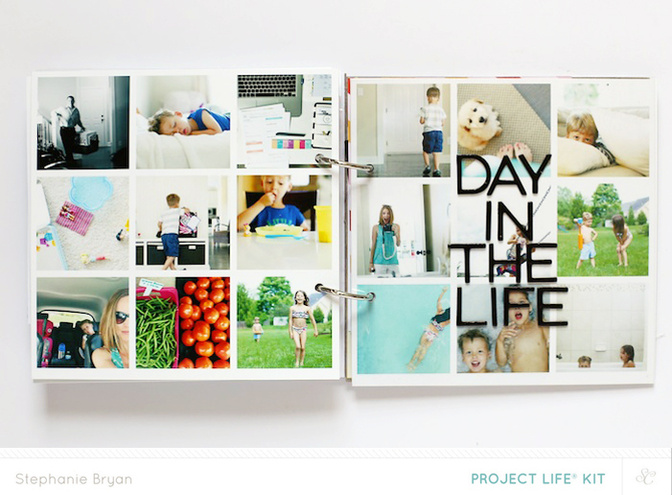 I used the Fuse tool A LOT this month and created a few different sized page protectors. I loved being able to make my page protectors work for the photos I had versus trying to make my photos work for a page protector.
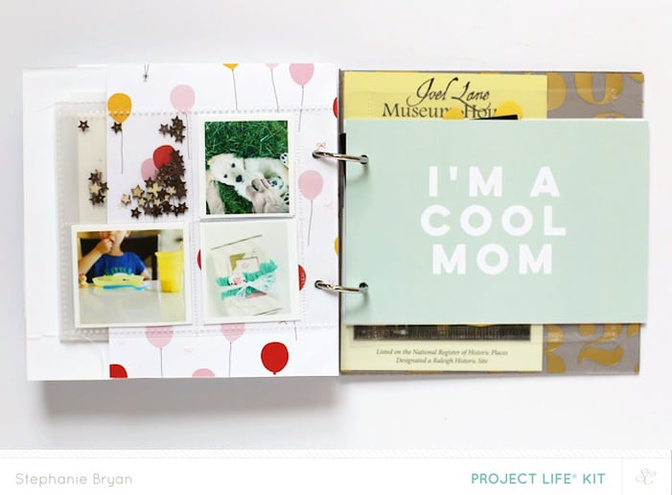
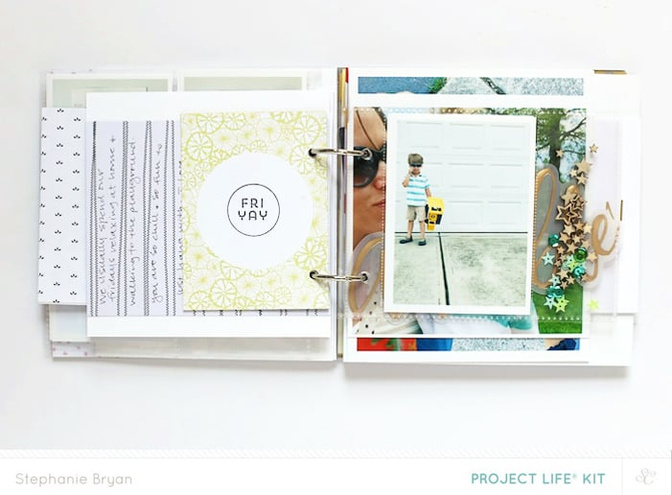
Below is a little walk through video of my May album! I hope you enjoy it!! My Project Life® book collection is growing and growing and I just love it! I hope these books continue to inspire you to think about your supplies in new and fun ways! As always, thank you so much for joining me and for all your encouraging words!
Supplies used:
Carolina Moon Project Life®Carolina Moon Scrapbook KitDeanFrankSammyLaurenSummer Vacation Stamp by One Little BirdColor Theory Labels BundleFather's Day Card SetFuse Photo Sleeve Tool


Comments
Sign in or sign up to comment.
22 comments
@rhondapogo - I use picmonkey.com to create my collages. Here is a few tutorials I put together on my blog that might be helpful. :) http://stephaniemakes.blogspot.com/2015/02/how-to-create-collage.html
http://stephaniemakes.blogspot.com/2014/03/two-peas-project-life-photo-collage.html
Replies to stephaniebryan
Sign in or sign up to reply.
@toniatigre - sure!! It's really so easy! I usually print my larger (wider) photos on 8.5x11 photo paper and then trim them down the middle, punch holes and add them to my albums!! Easy peasy! I'll try to put together a video, though! :)
Replies to stephaniebryan
Sign in or sign up to reply.