Creating a Travel Themed Mini Album | Geralyn Sy
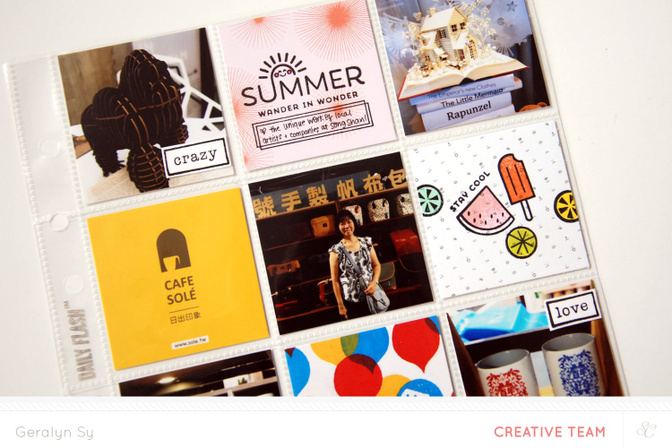
Tags: I always start with choosing my photos. I printed 2” photos by putting six of them on a 4x6 canvas in Photoshop and then printing it out. It’s easy to trim the photos to size. On the left, I have my pile of 2” photos, and on the right, I have my pile of business cards I collected during my travels. 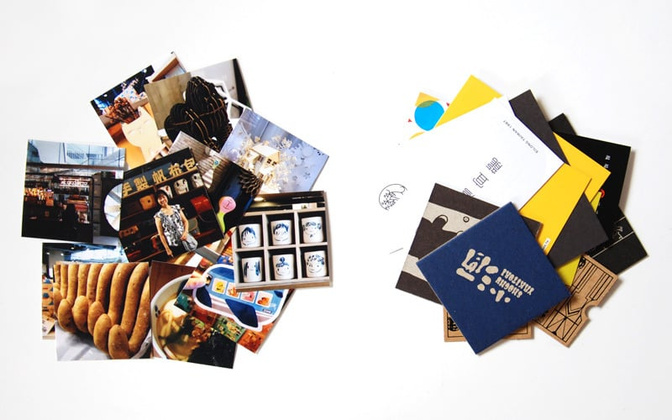
I began arranging some of my 2” photos on my 6x8 page protector that has 2” pockets until I was happy with how they looked. I’m using a page protector I have on hand, but the Studio Calico 6x8 Page Protector Design 5A is identical. 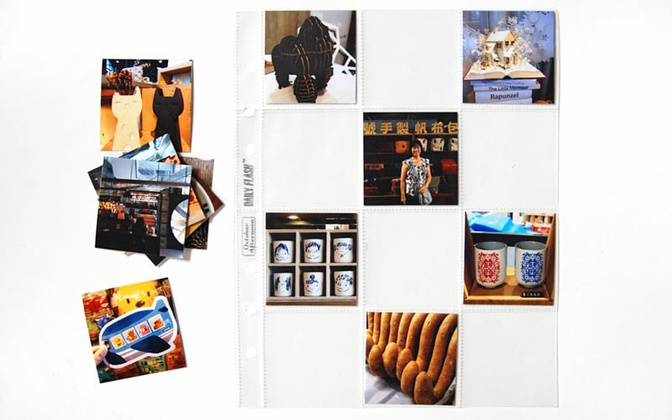
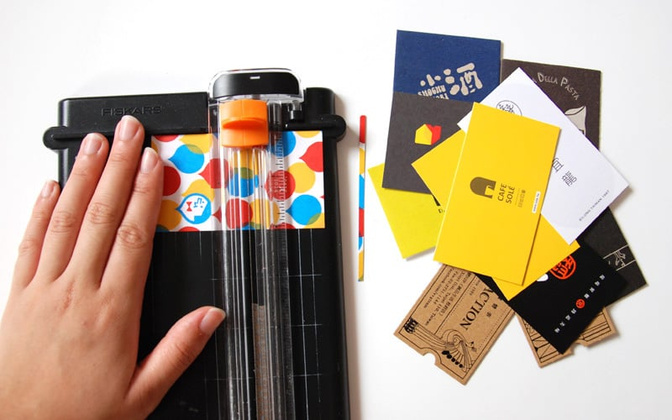
Once I’ve chosen my photos, I move onto my pile of memorabilia. I picked a couple of my favorite business cards and cut them down to 2” squares.
I arranged my business cards onto my page protector to get a feel for the spread. While I do have more photos and memorabilia, I decided to leave some of the pockets for journaling and embellishing. 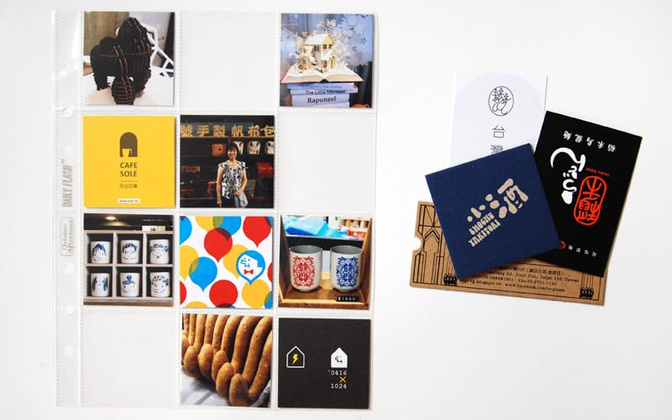
I have lots of patterned paper from the Project Life 4x6 paper pads, and I chose a few to cut down into 2” squares. 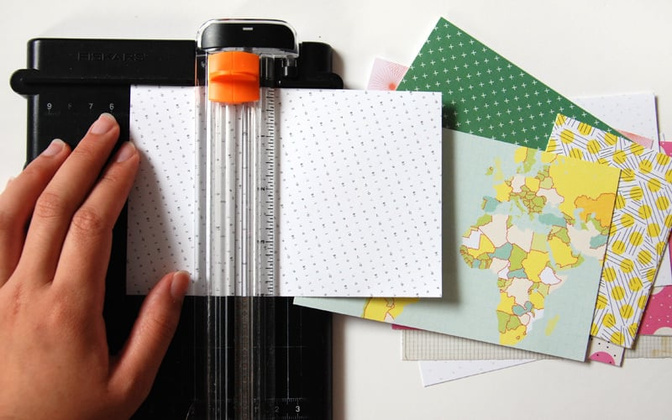
For two of my patterned paper squares, I chose to embellish them with stamping and a bit of journaling. I love how they turned out. 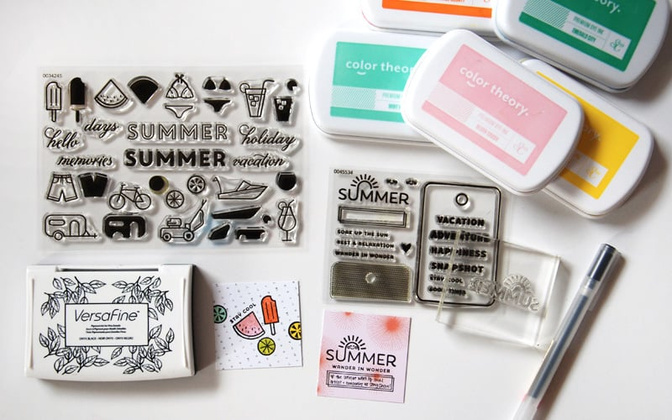
I also wanted to use the wonky hearts die and picked some red cardstock to cut. It is super simple to run the die through my BigShot. 
I embellished one more patterned paper square with one of the die cut hearts and a word sticker. 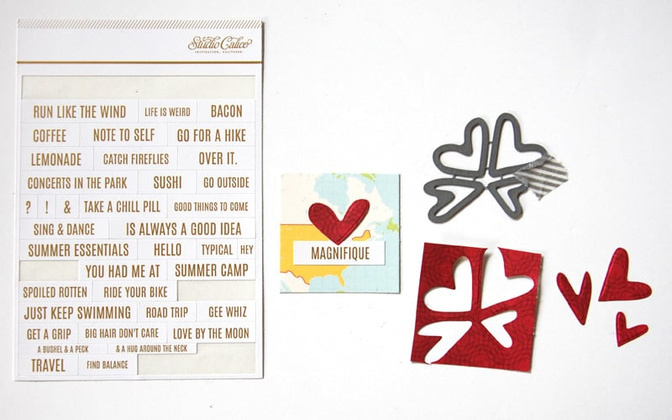
As a final step, I used the fun Fairground Project Life kit stamp set to add a few words to embellish my photos. It was the perfect touch to complete my spread. 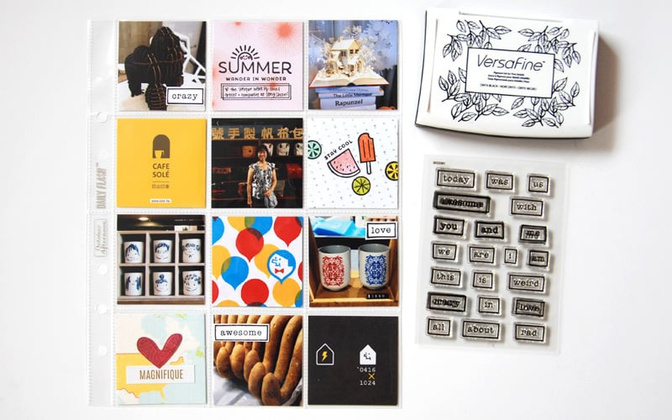
I hope this tutorial gives you a bit of inspiration on how to combine both scrapbook supplies and memorabilia in your mini-books and projects! Thanks for reading! 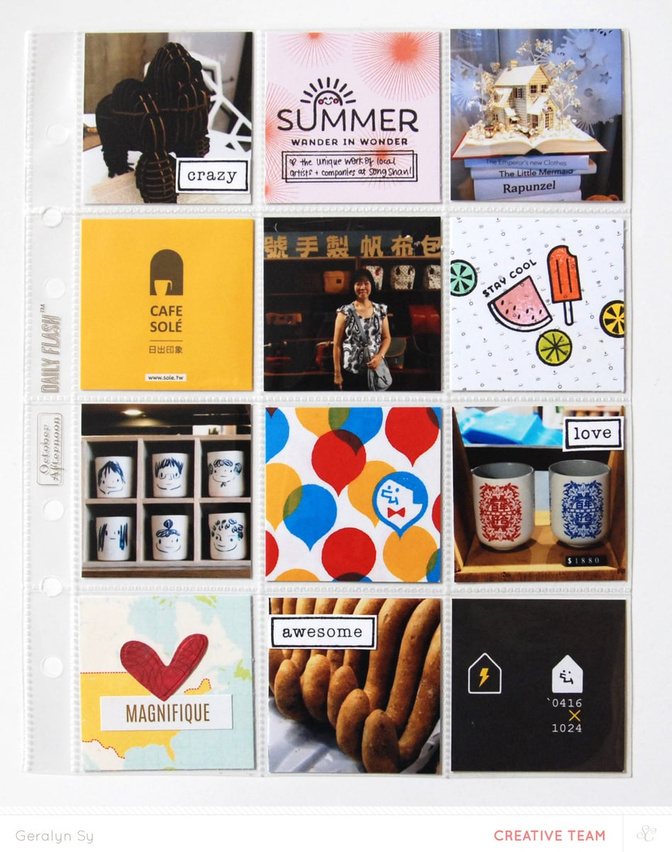
Supplies: Fairground Project Life Kit – stamp set, patterned paper; Galileo Project Life Kit – stamp set, patterned paper; Caramel Apple – stamp set; stamp – Summer Vacation by One Little Bird; die – I Do! By Kelly Purkey; ink – Versafine, Color Theory; pen- Muji


Comments
Sign in or sign up to comment.
6 comments
Geralyn, I love this tutorial. You're mini books are always amazing! I enjoy seeing how you use stamps in your projects!
Replies to prettypapercrafting
Sign in or sign up to reply.
Great spread and tutorial! Enjoyed seeing your process.
Replies to artgirlbev
Sign in or sign up to reply.
love it!
Replies to islandergirl
Sign in or sign up to reply.
This is fabulous! Um could we please see that heart die on its own in the shop? Pretty please!?
Replies to Carson
Sign in or sign up to reply.
Can you please teach a class!
I love seeing your mini albums.
Replies to Smashdelight
Sign in or sign up to reply.