Tutorial: WRMK Template Studio with Keisha Campbell
Tags: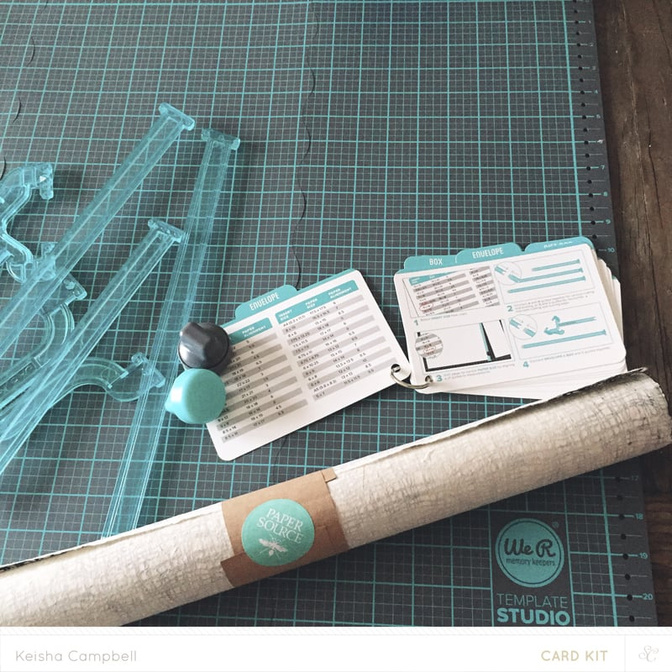
instructions:
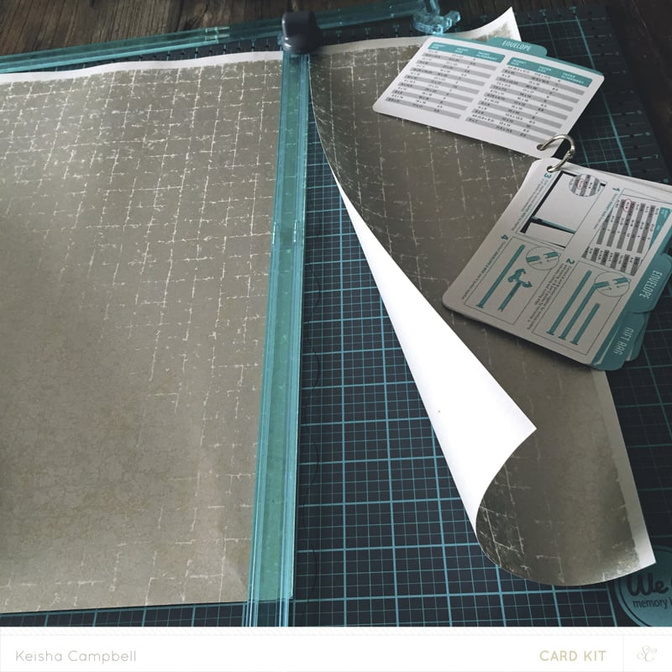
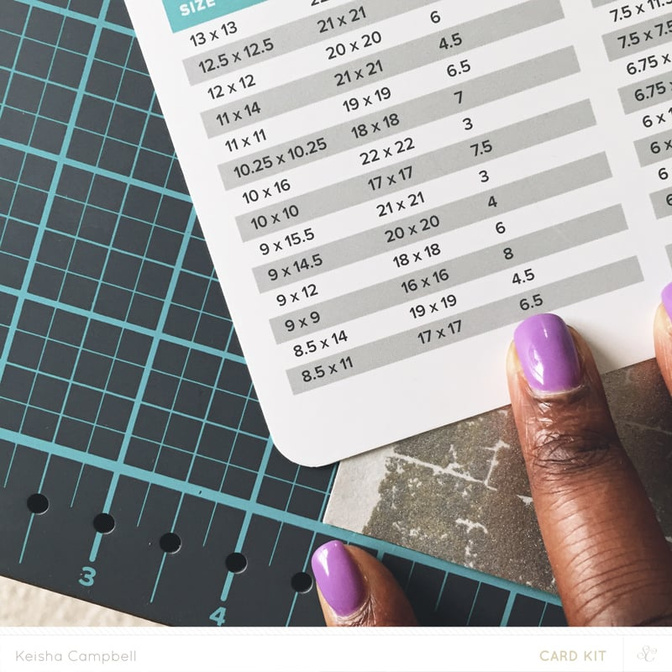
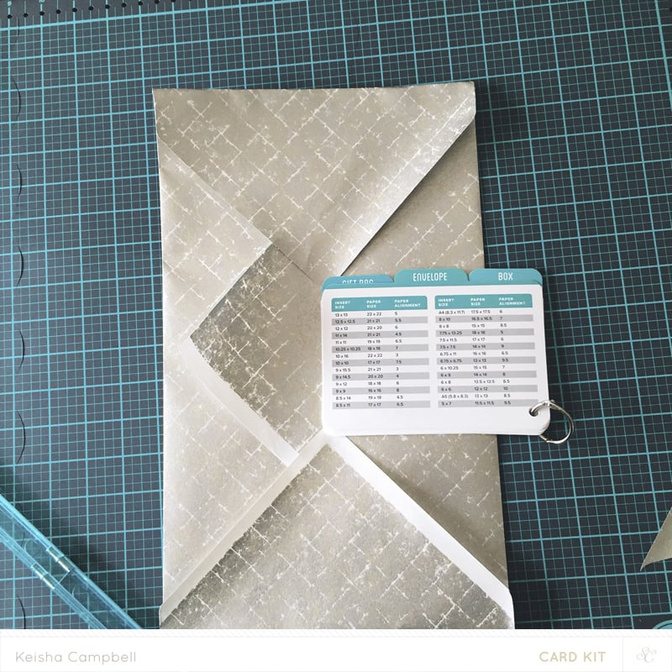
1. After you have chosen the size of your project from the chart cut your paper to the size listed. I am doing 19x19 envelope. Using guides A & B together.

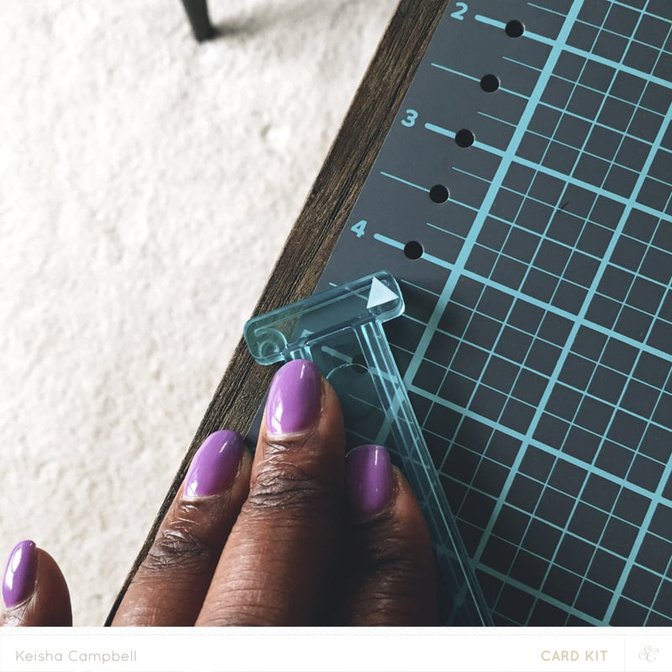
2. Place your cut paper at the number starting point- for me I had to start at 4.5 on the mat.
3. Connect guides Envelope & Box and C together.
4. Align C guide with 4.5 and the Envelope & Box end with 17.5-and place score on the upper edge of guide to score your paper.

5. Cut out notch inside the Envelope & Box.
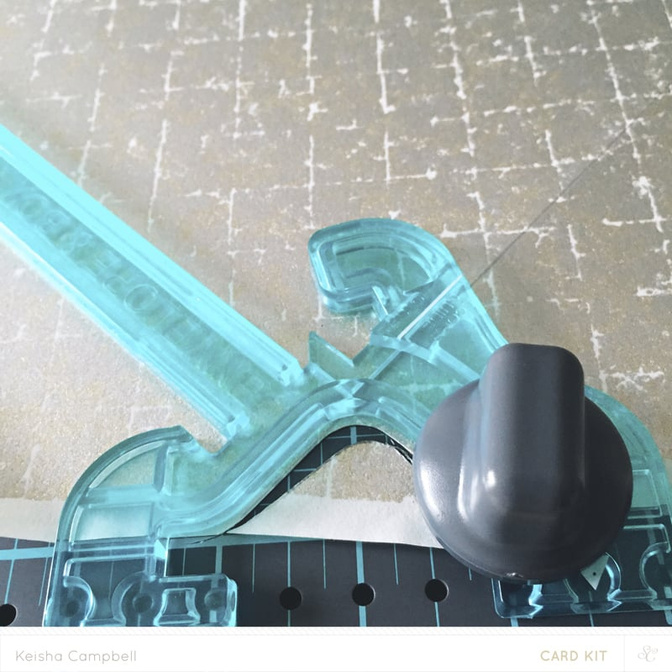
6. Rotate paper 90 degrees so that the score line you just made aligns with the Envelope & Box ruler(image 30_7) and score your second line. Then cut your second notch.
7. Repeat step (6) for the last two sides of your paper.
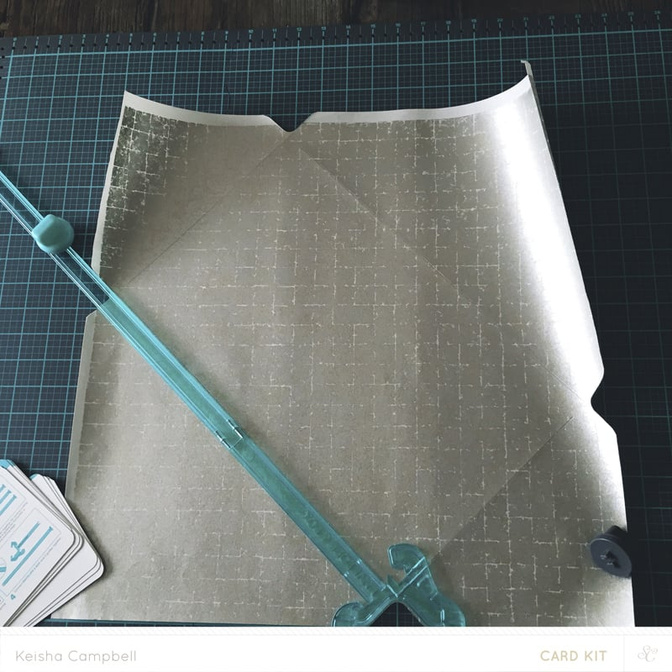
8. Fold paper & tape your envelope together.
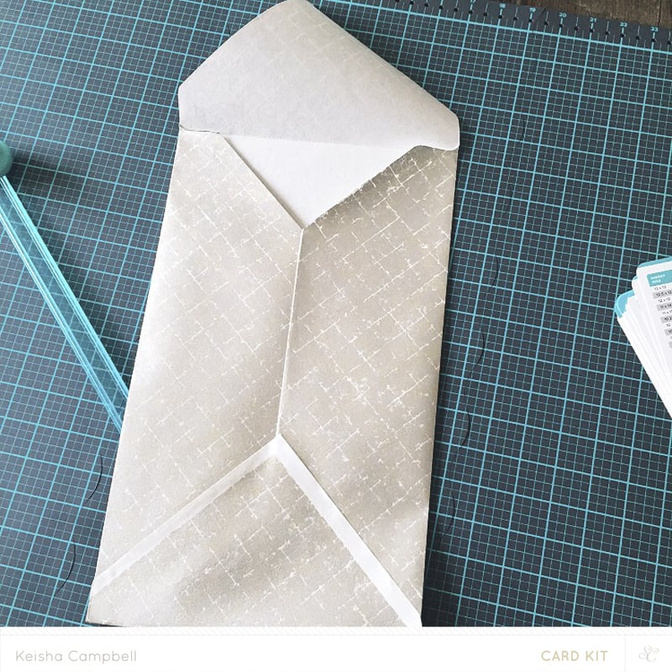
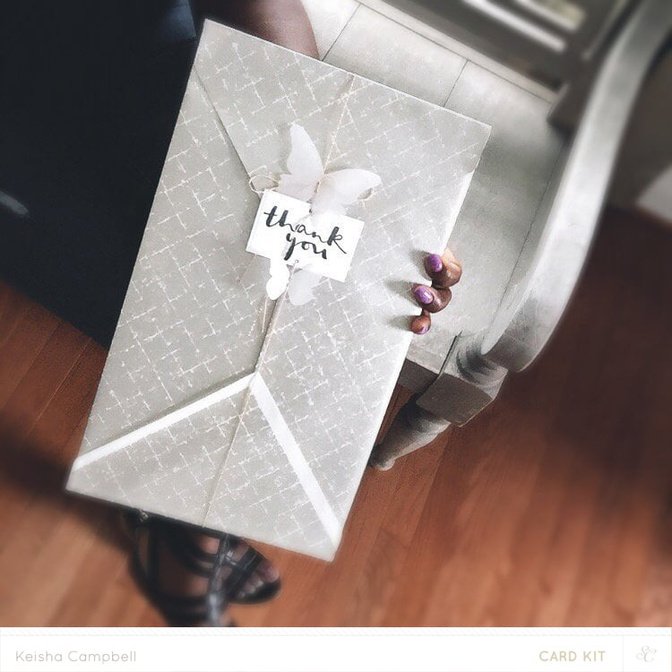
And you are all finished!
Thanks so much for joining me! Hope you enjoyed this quick tutorial!


Comments
Sign in or sign up to comment.
4 comments
Nice!!!
Replies to singergab
Sign in or sign up to reply.
Beautiful envelope. And may I say, I love your nail colour.
Replies to LMcGE
Sign in or sign up to reply.
that's so cool!
Replies to jamiewaters
Sign in or sign up to reply.
I love how you finished off the envelope. It is so pretty! The beauty is in the details!
Replies to sassiescrapper
Sign in or sign up to reply.