Creating a Traveler's Notebook | Contributor Brooke Takara
Tags:Brooke here today to share a notebook album I created to add to my Traveler's Notebook Cover from June. This new album uses a few of the leftover pieces from my Pop Art kits.
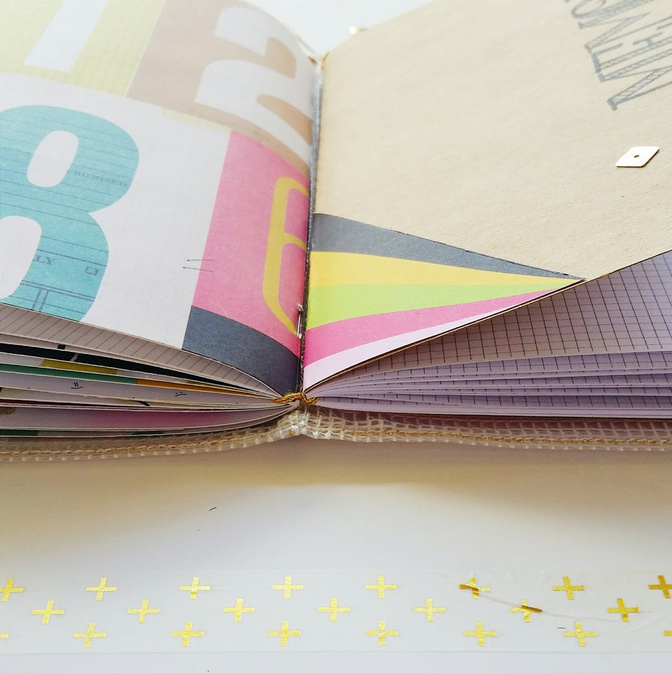
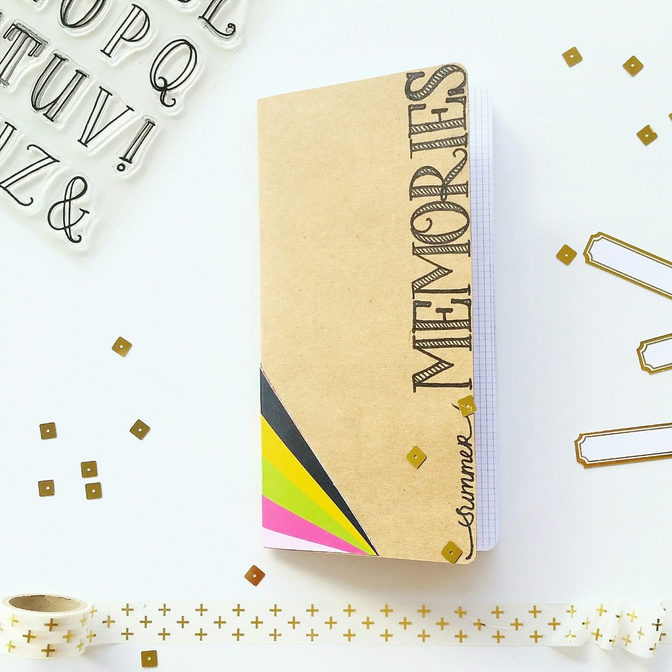
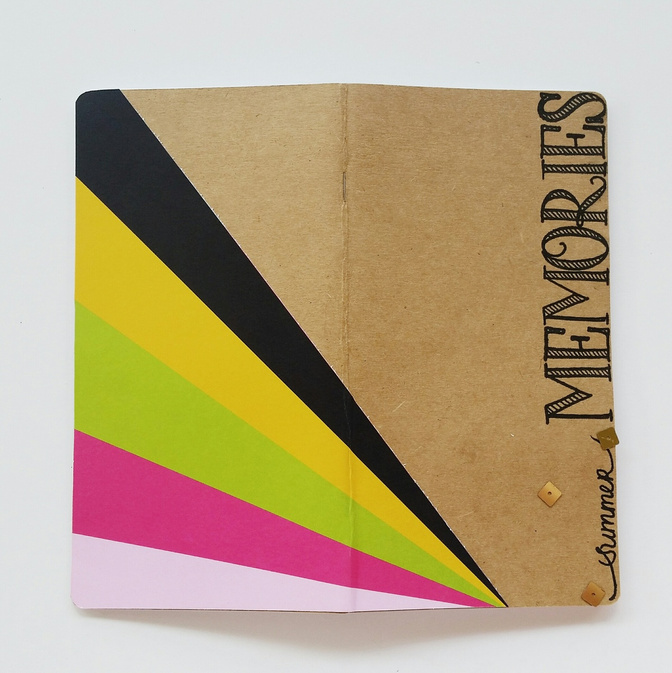
I embellished the cover of the notebook by adhering a piece of the colorful sunburst patterned paper from the Pop Art Scrapbook Kit, flush against the back edge of the notebook. The burst starts in the front of the notebook and continues on to the back. I really like how that turned out. Next, using the Harper alpha stamp set, I stamped the word "memories" along the edge of the upper right-hand corner on the front cover. I finished it off with a handwritten "summer" before the stamped "memories" and added a few sequins.
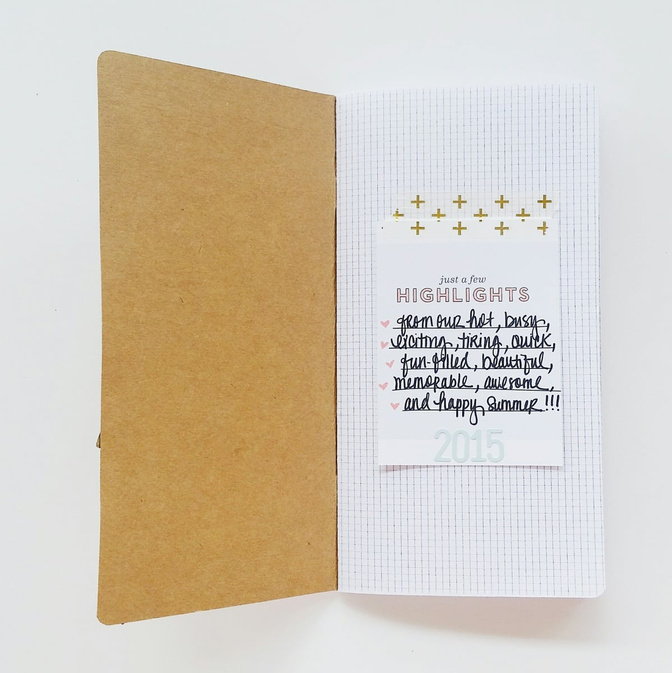
To start my album, I journaled an introduction on one of the cards from the Pop Art Project Life Kit and adhered it with washi tape to the first page.
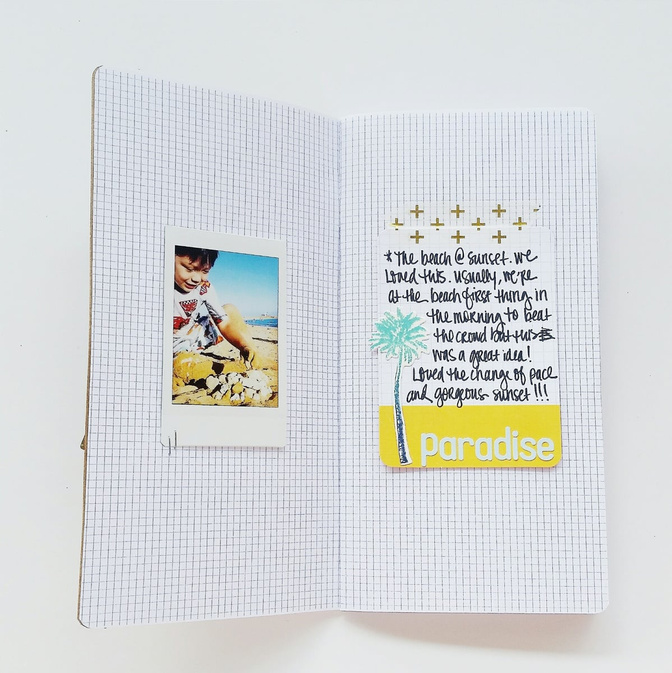
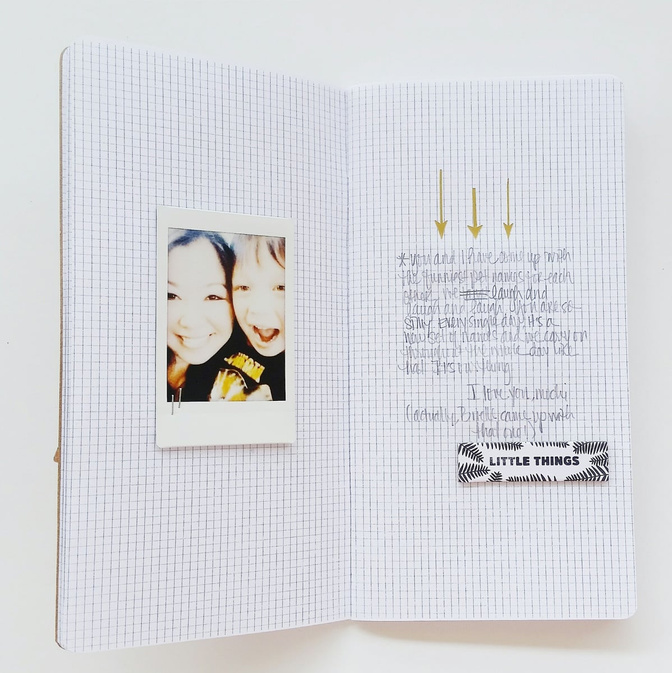
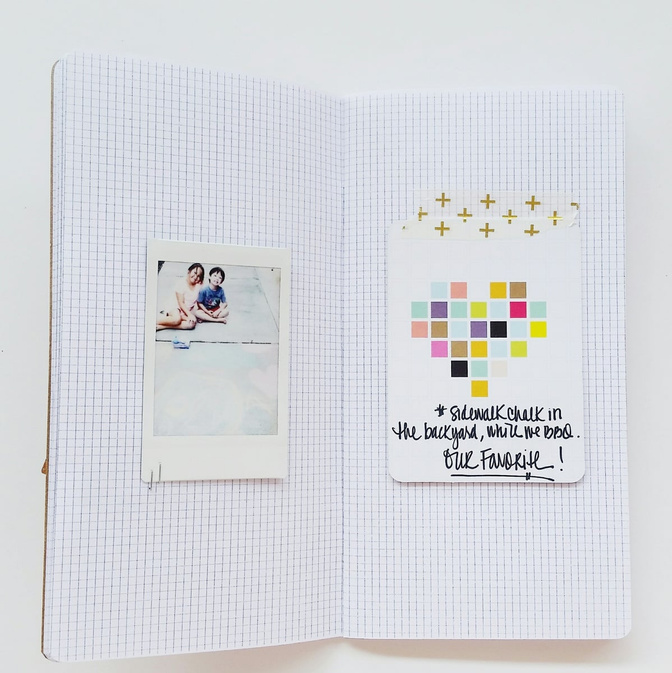
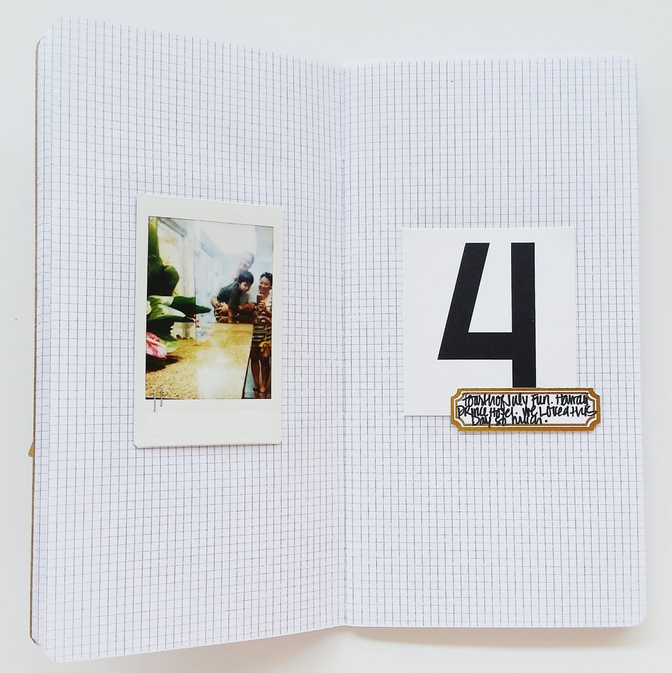
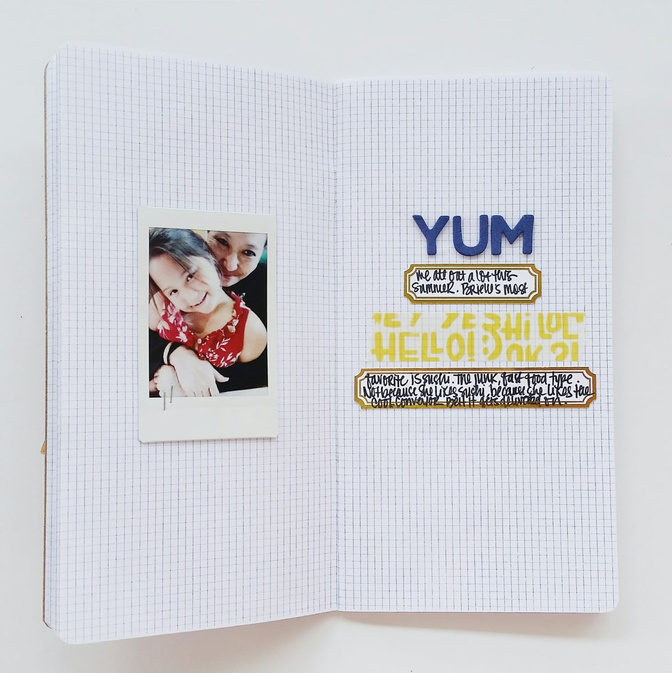
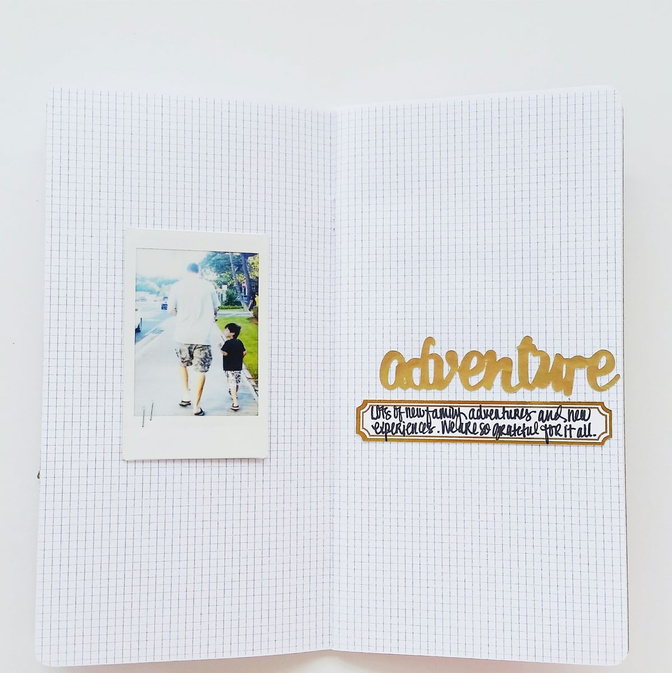
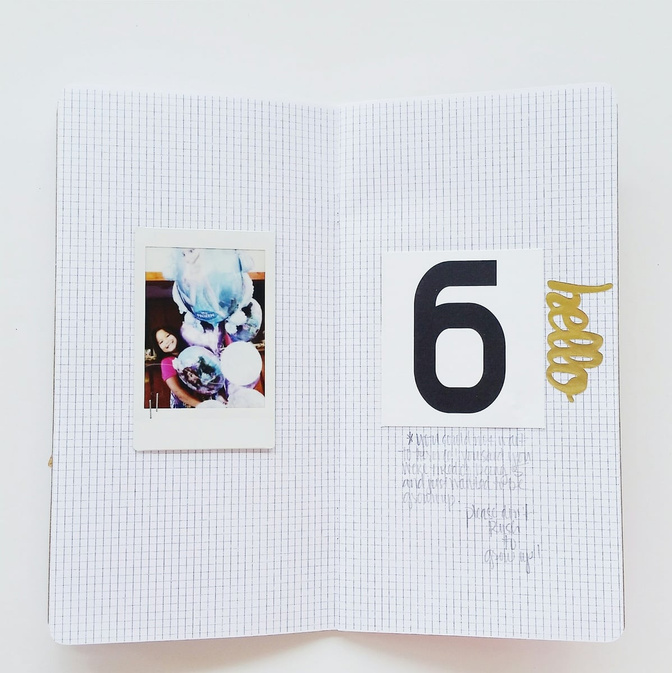
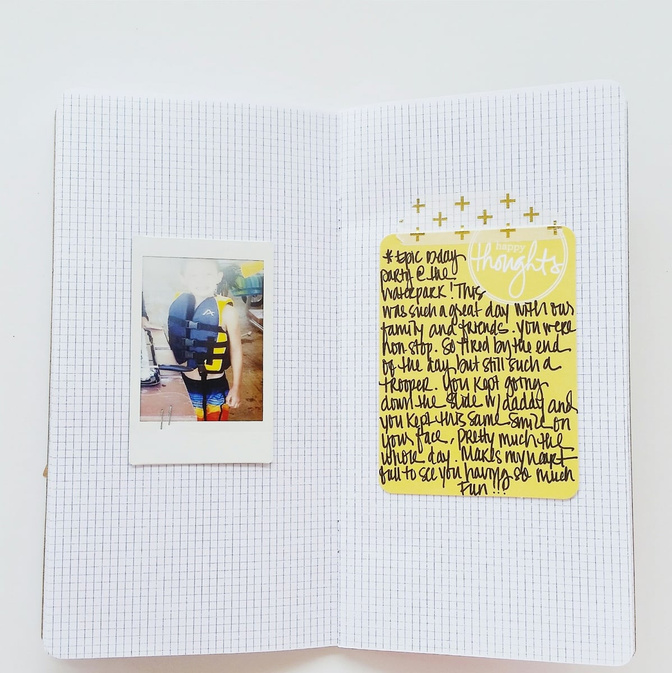
To be sure I kept the album simple and to the point, I stuck with the same format for each of the subsequent pages. I stapled an instax mini photo on the left and added my journaling on the right. The journaling format varies from page to page. Sometimes there's a journaling card, sometimes labels, and other times, I simply journaled on the notebook page with a pencil. I did this mostly to prevent any bleed-through.
Here's a look at my completed notebook album...

Here's a look at the album in my SC Notebook Cover, laying next to the previously made notebook album...

And here's a look at the two notebook albums, happily wrapped up in my SC Notebook Cover!
I hope you're inspired to try this album size out for your next mini! It's a fun size and I like that I have pages leftover in the back of the notebook for more in-depth thoughts and feelings about my family's experiences this summer.
Thanks so much for joining me today!!
If you have any questions, please feel free to leave them in the comments below or send me a private message via my public profile.
Supplies List: Pop Art Scrapbook Kit, Pop Art Project Life Kit, Haring add-on, Warhol add-on, Harper alpha stamp set, Stamp + Craft Die: Palm Tree by LLP


Comments
Sign in or sign up to comment.
8 comments
So good Brooke! Love!
Replies to TaraElias
Sign in or sign up to reply.
Wow! Looks fantastic!
Replies to clippergirl
Sign in or sign up to reply.
this is soooo wonderful, brooke! love it!
Replies to jamiewaters
Sign in or sign up to reply.
I love your notebook album! And I love that you kept it simple, everything really pops off your pages. That cover is perfection!
Replies to bckueser
Sign in or sign up to reply.
I just LOVE this little album. You have inspired me with your design, simplicity and details.
Replies to Swanlady21
Sign in or sign up to reply.
Thank you so much, ladies!!! @taraelias @clippergirl @jamiewaters @bckueser @swanlady21
Replies to welobellie
Sign in or sign up to reply.
I adore all of this, but that album is just the coolest! How clever are you?! Beautiful work Brooke!
Replies to Carson
Sign in or sign up to reply.
this post inspire me to create one, thank you for sharing
Replies to geekgalz
Sign in or sign up to reply.