Tutorial: Using the Jack Number Stamp with Maggie Massey
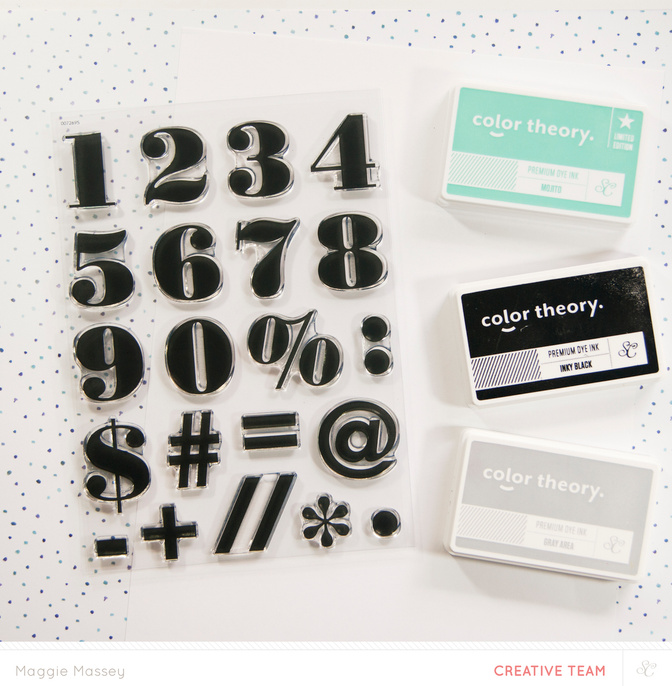
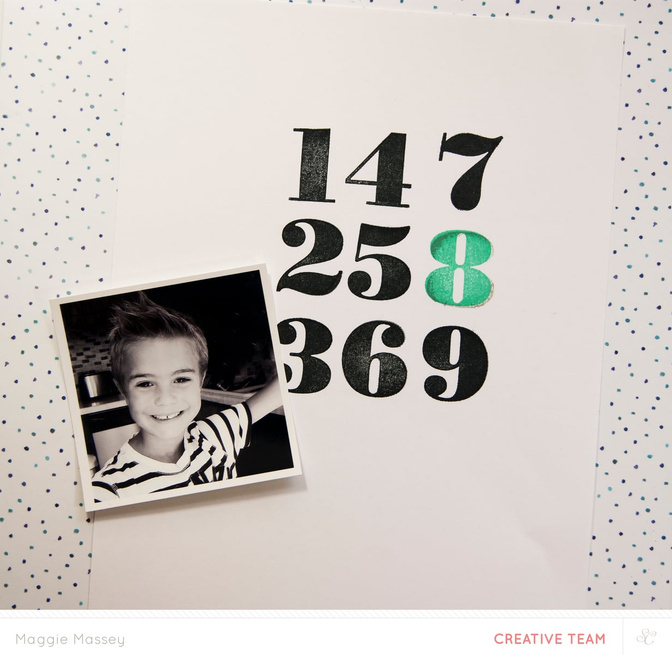
Tags:One look at the Jack Number stamp set and I fell in love! Those big bold numbers in that fantastic typeface...just so awesome! As soon as I was asked to create a layout using these stamps I knew exactly what I wanted to do.
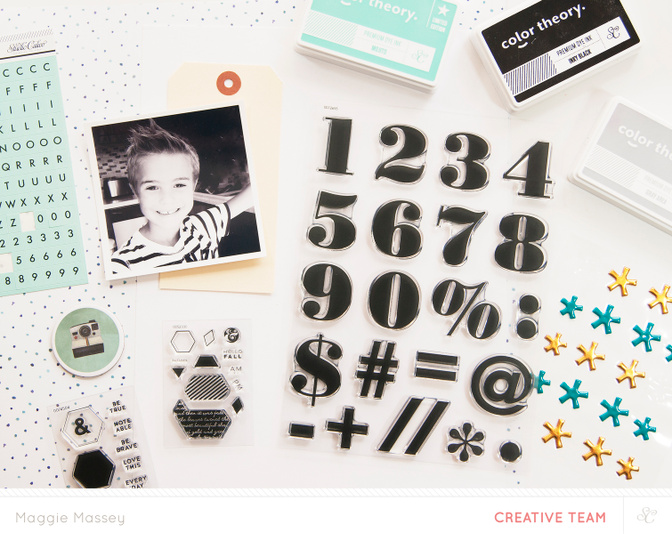
I had to use those numbers to create the background on my page! My youngest monkey recently turned 8, so I grabbed a photo I had snapped of him right around his birthday and set to work stamping my numbers.
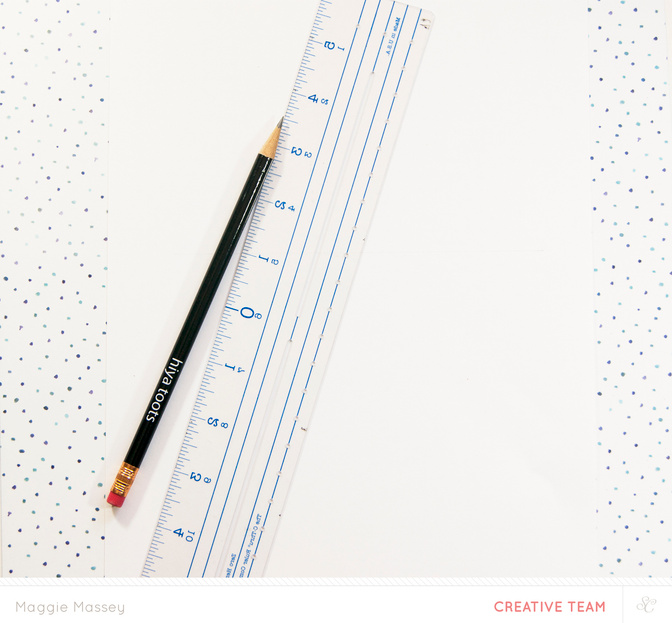
I used a pencil and ruler to roughly map out where I would place my numbers...
...and then I began stamping away! To make my number 8 stand out a bit more, and to give it a bit of depth, I did a few things...
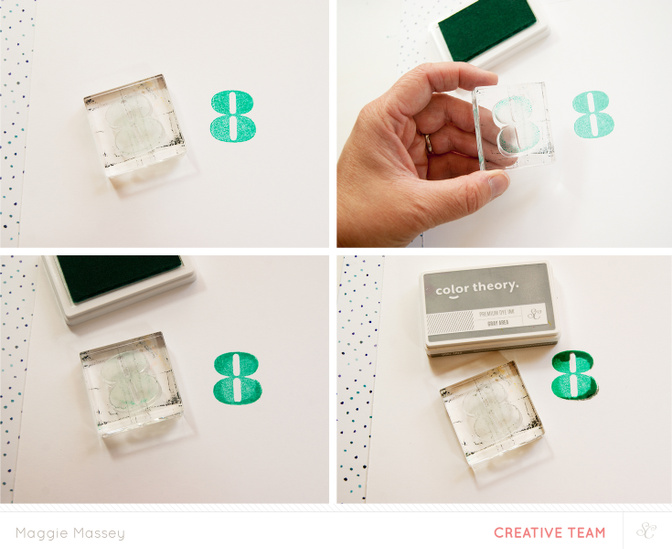
(clockwise from upper-left) I started by stamping the number 8 with the Color Theory Ink in Mojito (instead of black). Then I took my "8" stamp and rolled the edges around the Mojito stamp pad. I stamped the image again...this time rolling the edges I had just stamped around my initial image. And finally, I rolled the edges of the number around the Color Theory Ink Pad in Clean Slate, and stamped the edges of my image again.
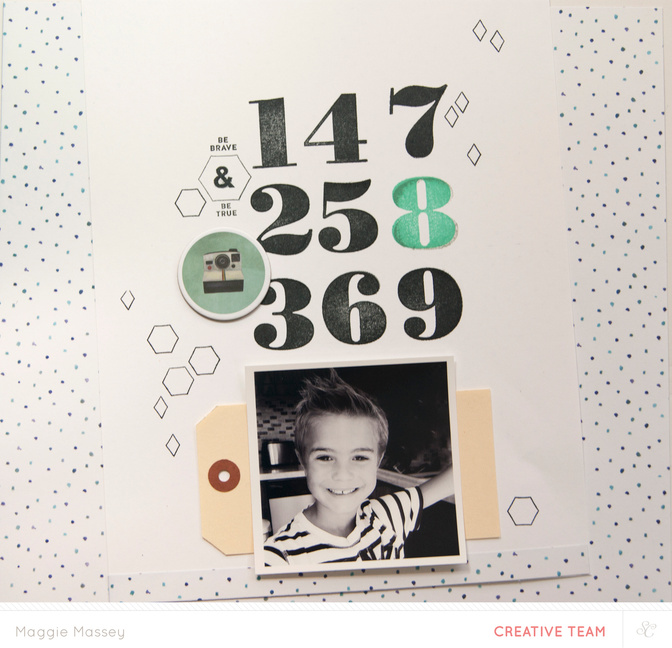
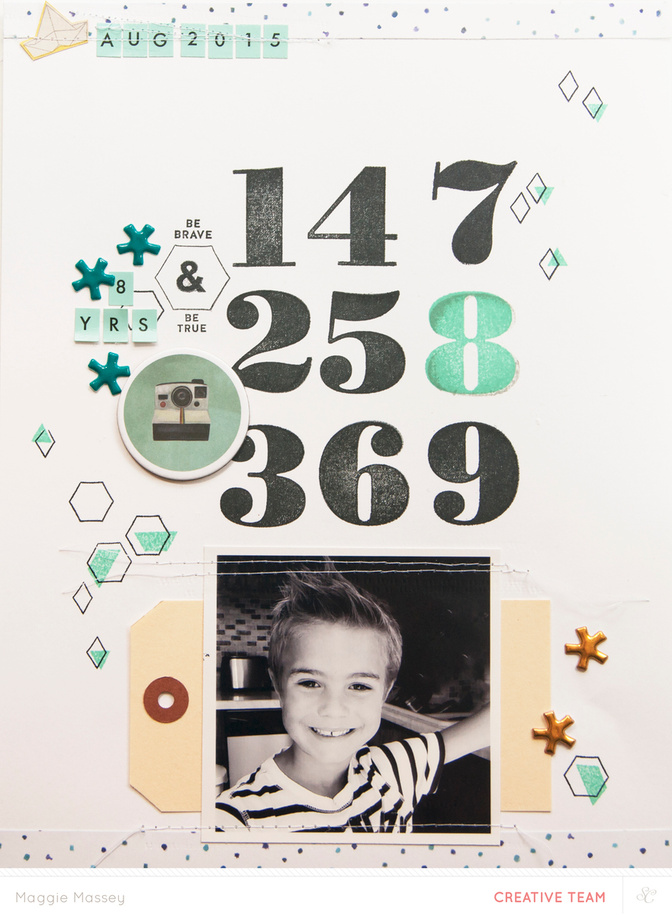
Then I simply began adding some embellishments and more stamps! I LOVE the stamps from the Wink Wink Embellishment Kit - the outline and "filled in" versions of each stamp allow for so much variety and customization.
This layout came together really quickly as easily with the October kits...and that AMAZING Jack Number Stamp!

Jack Number stamp setMain KitBRB Embellishment KitLimited Edition MojitoInky BlackClean SlateAmerican Crafts Precision Pen .01 Black


Comments
Sign in or sign up to comment.
10 comments
A beautiful idea with the big number stamps!! Love your layout :)
Replies to SteffiandAnni
Sign in or sign up to reply.
I hope you teach another class soon!
Replies to CeliseMcL
Sign in or sign up to reply.
I'm so lifting this layout, I love it Maggie! Fabulous!
Replies to melanielouette
Sign in or sign up to reply.
Thank you so so much, girls!!! @SteffiandAnni @CeliseMcL @melanielouette!!! mwah!!!
Replies to maggie_massey
Sign in or sign up to reply.
Gorgeous work again @maggie_massey!
Replies to Carson
Sign in or sign up to reply.
brilliant! sooo perfect!
Replies to jamiewaters
Sign in or sign up to reply.
You are amazing!!! Love it!!
Replies to Bellaa75
Sign in or sign up to reply.
Oh, my sweet friends...thank you so much @Carson @jamiewaters @Bellaa75 !!! xoxo
Replies to maggie_massey
Sign in or sign up to reply.
Really fun layout. Love the colors. Love it!!!!
Replies to FChopp
Sign in or sign up to reply.
@FChopp - thank you so much darling girl!
Replies to maggie_massey
Sign in or sign up to reply.