Tutorial: Making a Card from Canyonlands with Dana Fleckenstein
Step 1 - Cut and fold a square card base (width: 4.25 inch).
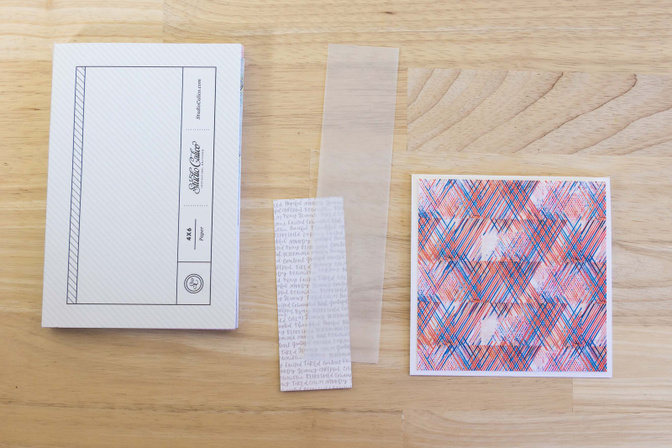
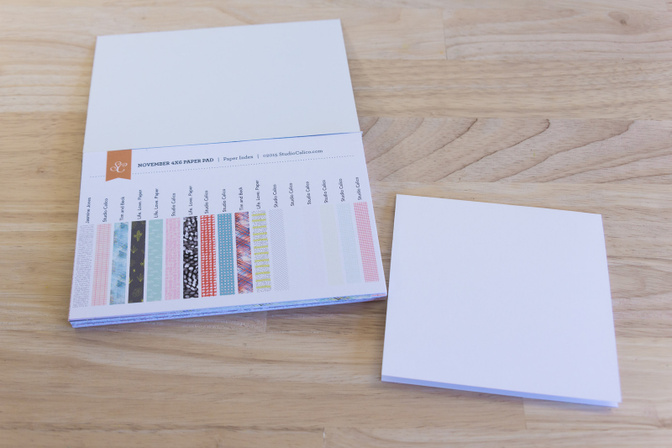
Step 2 - Pick two patterns from the Canyonlands paper pad. Cut one 4x4 inch piece from one of them and a stripe (1.5 inch wide) from the other paper. You'll also need a 1.5 wide strip of vellum.
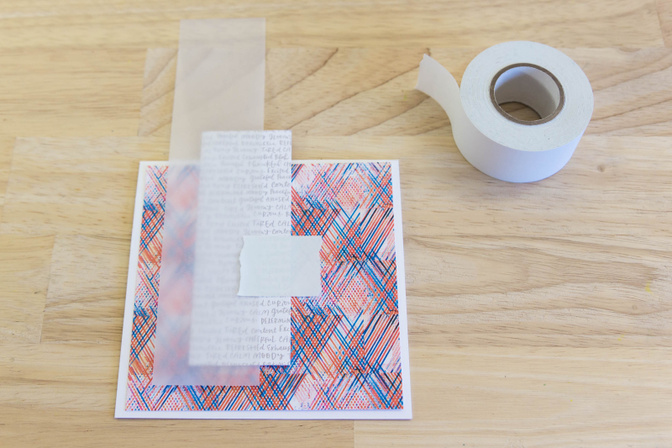
Step 3 - Decide on the placement of the strips on the larger mat and temporarily adhere them with post it tape so they stay in place. Sew the papers down on the top edge. Trim the paper strips down to line up with the top edge.
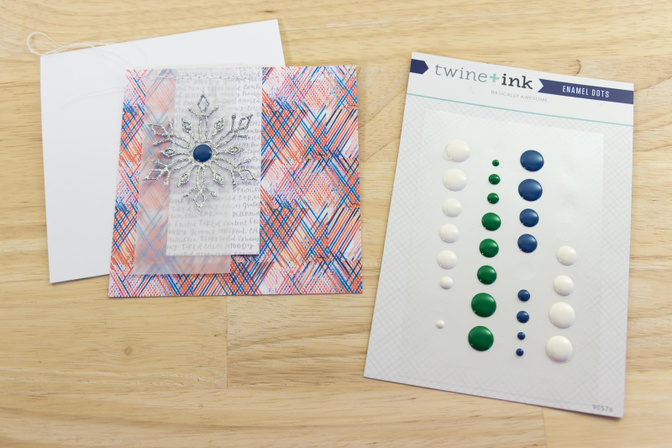
Step 4 - Use a die-cut snowflake and enamel dot to embellish the paper strips.
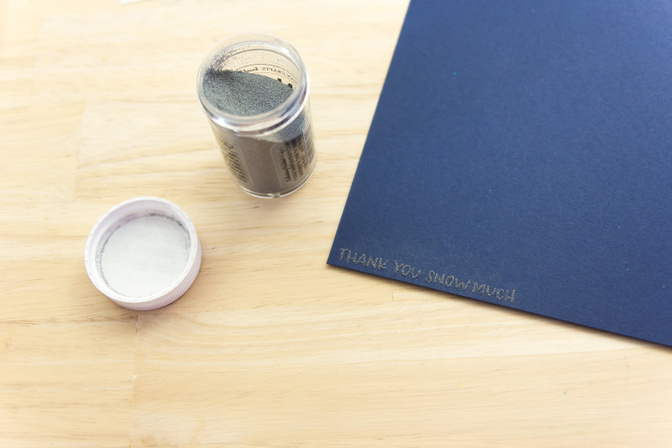
Step 5 - Pick a sentiment from the 'Winter Thank You' stamp set and heat emboss it on dark blue paper with silver Zing embossing powder.
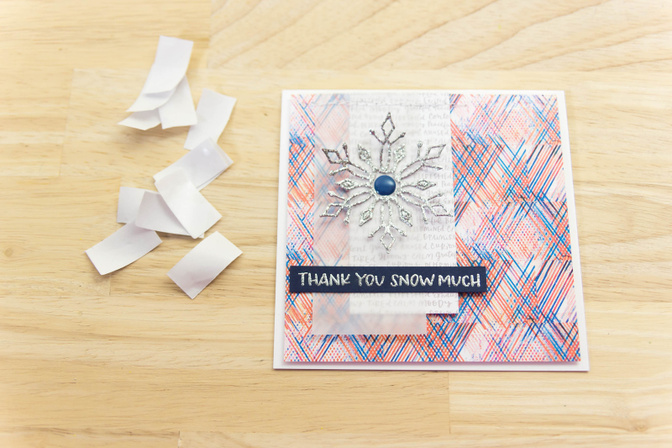 Step 6 - Mount the card front on the card base and adhere the sentiment strip under the snowflake.
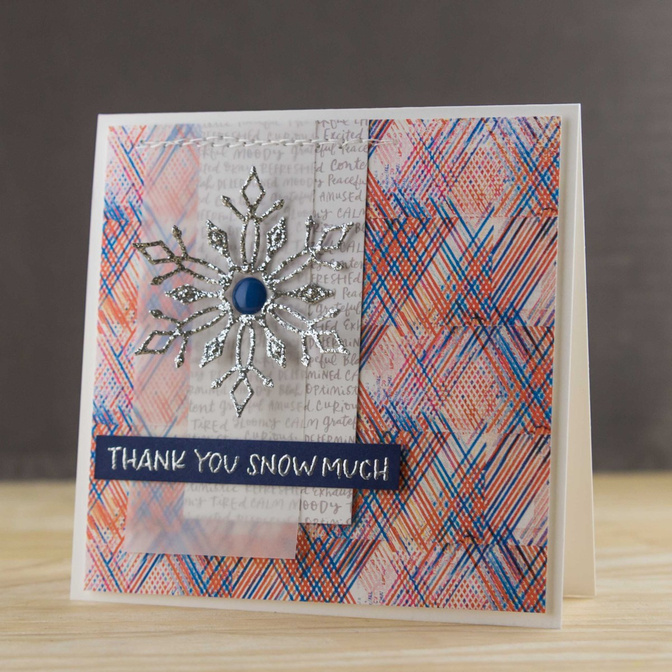
Canyonlands Paper Pad; Stamp Set: Winter Thank You; Versamark Watermark Stamp Pad; Silver Zing Metallic; More Solar White; More Vellum; Dimensional Foam Tabs; Multi-Purpose Liquid Glue
Comments
Sign in or sign up to comment.
2 comments
Gorgeous!
Replies to mandaeager
Sign in or sign up to reply.
beautiful.
Replies to NinaChow
Sign in or sign up to reply.