Tutorial: Using the Pine Cone Silkscreen to Make Pineapples with Natalie Elphinstone
Have you played with the silk screens before? They really are much easier to master than you might think. Let me show you how.
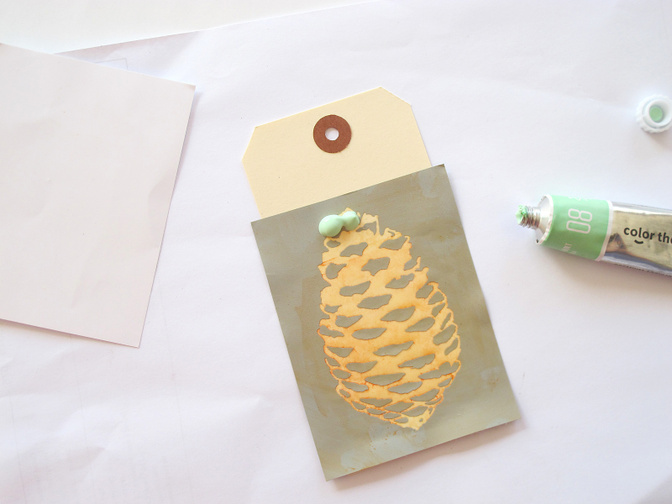
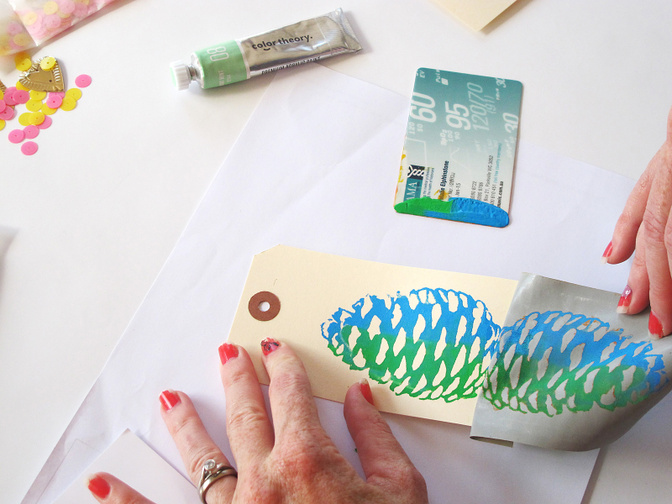
1. When you peel off the plastic backing you’ll find that it’s sticky on the back. Stick this down onto your paper or card. I’m using one of the shipping tags from the BRB Embellishment Kit – it fits perfectly. Squeeze a small amount of acrylic paint onto the top of the silkscreen. You honestly don’t need very much at all.
2. Using an old plastic card or piece of firm cardstock scrape the paint down towards the bottom. When you reach the bottom lift the card up and start at the top again. Try to avoid going back and forth or you may lift up the silkscreen.
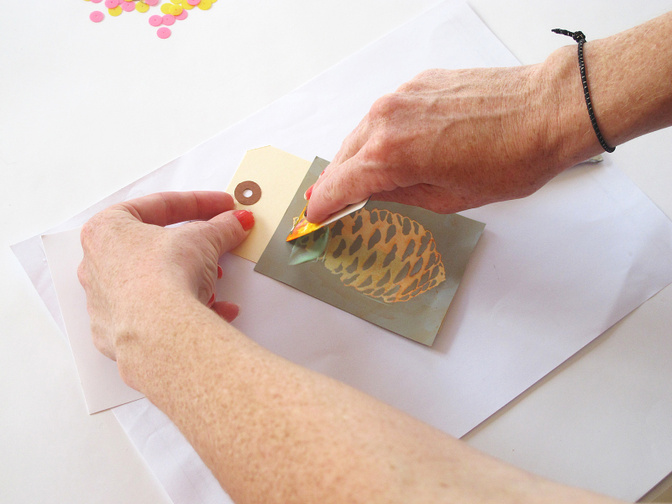
3. When the image is covered gently peel the silkscreen off. You can clean it by wiping it over with a damp cloth or baby wipe, but commonly if you haven’t used much paint and you plan on going straight onto another image then you might not even need to clean it at all – even if you’re switching colours. 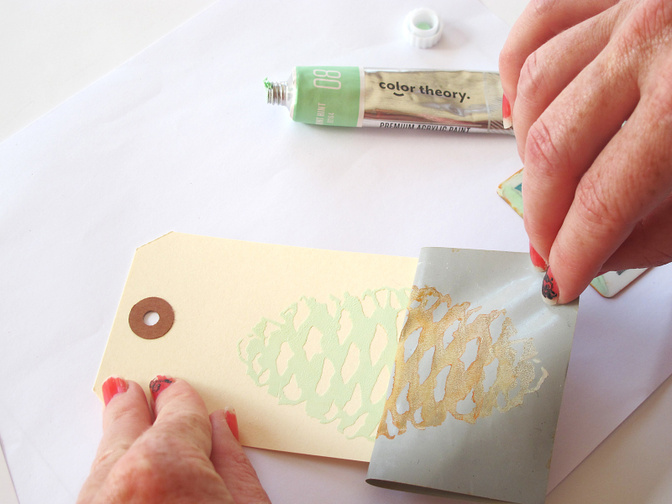
4. To show you how you can get a little bit fancy with this technique I stuck my silkscreen down to a new tag (see how I haven’t even cleaned it yet!) but this time squeezed two different colours onto it. You need to use colours that can mix together and still look pleasant – not two that will create a muddy brown.
 5. Using the same scraping technique I covered the image and then peeled it off gently to reveal a cool two-toned picture. Although I had used my two remaining shipping tags from the kit I was pretty happy with where this was heading so I cut a few more tags out of vanilla cardstock and used the silkscreen to create more colourful images.
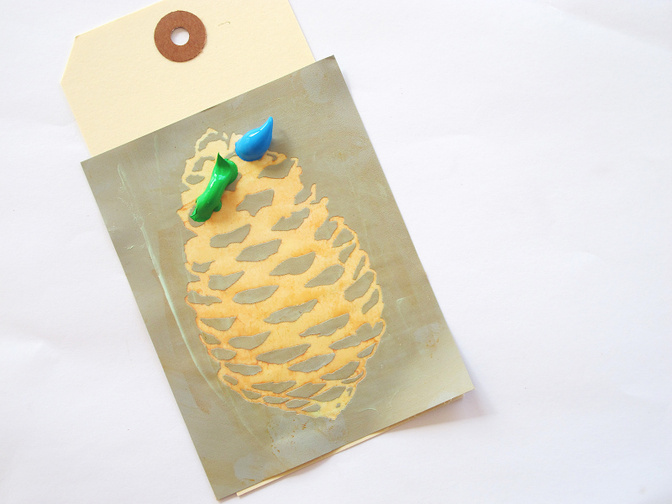
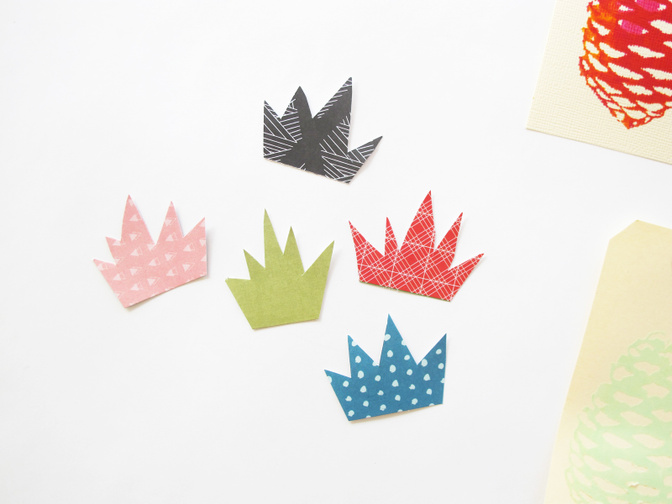
6. To turn these pinecones into pineapples they only need the addition of the spiky green leaves coming out the top. I cut a few different versions out of the scraps of paper from the kits, and as you can see I certainly didn’t limit myself to just green! I simply eye-balled the size I would need and freehand cut the shape. Each one is different and none of them are perfect, but I figure that’s the look I’m going for ;-)
7. The silkscreen images are dry in no time at all because of the tiny amount of paint used to create them so by the time I cut the paper leaves they were already done. I ran them through my sewing machine to adhere the tops because I love the extra texture it adds.
8. The laststep is to embellish them, and this is my favourite part! You can use absolutely anything at your disposal and apart from the sequins from the LOL Add on Kit I used stickers, letters, printable labels and the dots from the Thickers packet to decorate. How fun right? Now it’s your turn – how are you going to use your pinecone silkscreen?


Supplies: Wink Wink Scrapbook KitBRB Embellishment KitLOL Add On KitAcrylic PaintShipping Tags
Comments
Sign in or sign up to comment.
3 comments
Loved this!! You are so creative.
Replies to kathyv
Sign in or sign up to reply.
Well, aren't you clever! We've gotten a few silkscreens in our kits and I've never gotten up the courage to use one. Thanks for the tips (maybe now I will!)
Replies to Janice15
Sign in or sign up to reply.
Yep must be…. because that was all i saw when I saw the pinecone, they look great though.
Replies to aagirlz
Sign in or sign up to reply.