Tutorial: Using Your Hello Forever Planner for Memory Keeping with Lisa Truesdell
Today, I'll be sharing a trick to add hidden journaling to your planner! I wanted to try including a larger photo this week, but it left me without much extra space for the story that went with it. Here's how I incorporated it without making the page look cluttered.
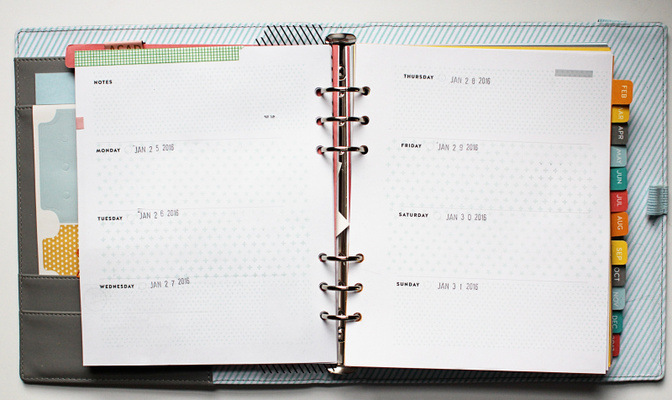
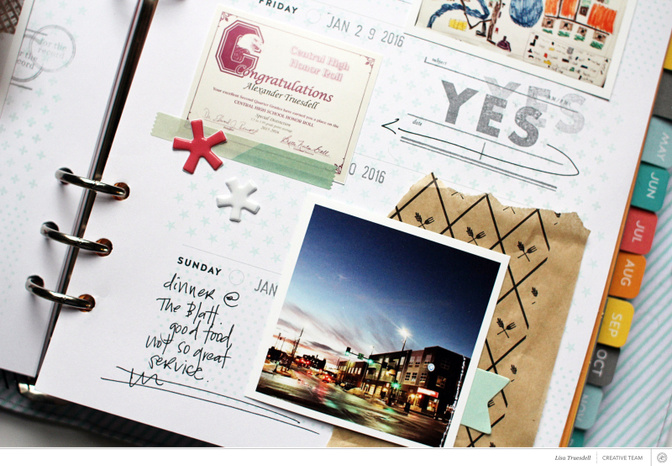
I started this spread by stamping the Pattern Building stamp across each of the daily sections - and guess what, it's a perfect fit! I did all of mine with one color ink, but this would be a fun way to block out different sections of your week.
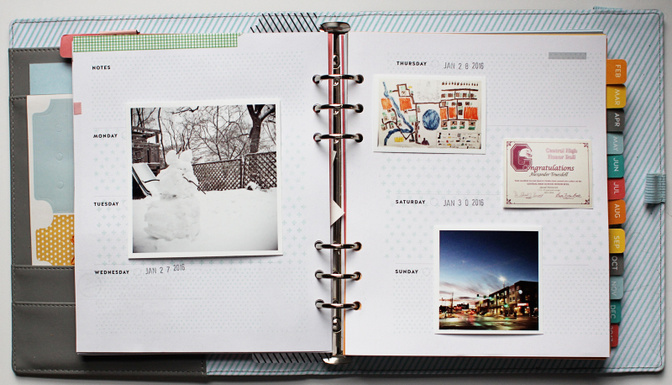
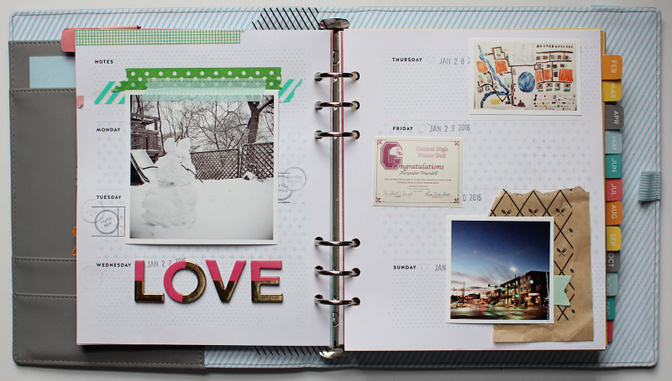
I then arranged my photos across the week. I had a couple of pieces of large memorabilia (a map that accompanied Ben's Humanities project, and Alex's honor roll certificate), so I opted to photograph those so they'd be small enough to fit into my planner.
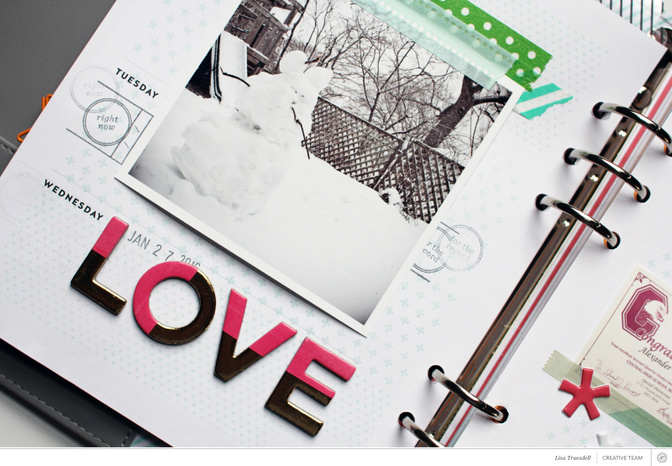
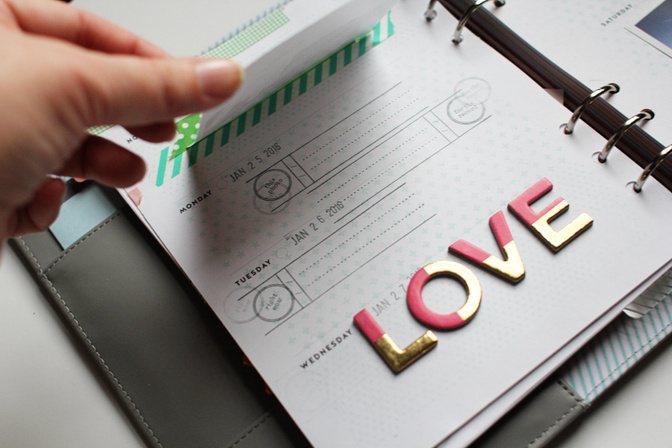
I started decorating on the left page, with some strips of washi tape and chipboard letters. I had a small internal struggle about adding dimension to the planner pages... and then decided I was going to use whatever made me happy.
At this point, I realized I was going to need a bit more space to write out the story of the snow goons (thanks, Calvin & Hobbes!) in our backyard. I anchored my photo at the top with a strip of washi so that it can flip up. Then I stamped journaling lines under it, leaving me plenty of room to write. I let the journal lines peek out from under the photo on either side so that you'll know there's something hiding beneath! You could also use a tab at the bottom of the photo to help indicate that you can flip it up.
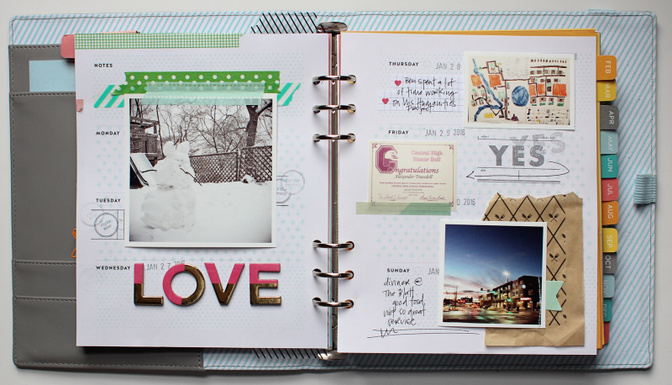
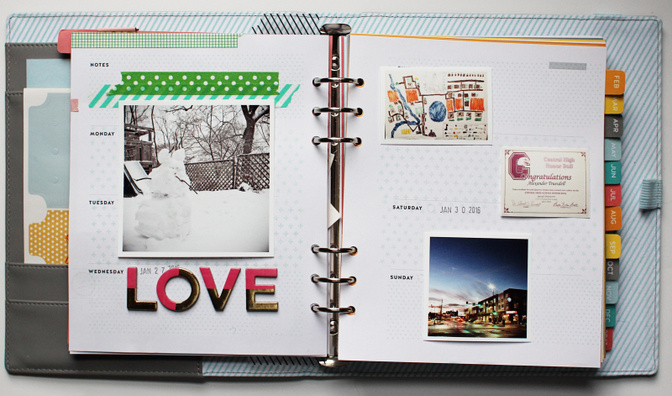
I used a stamp from the addon and some grid sticky notes to fill in more of the week. I have to admit that I REALLY didn't stick with what day these photos were taken on... I went more with what looked good.
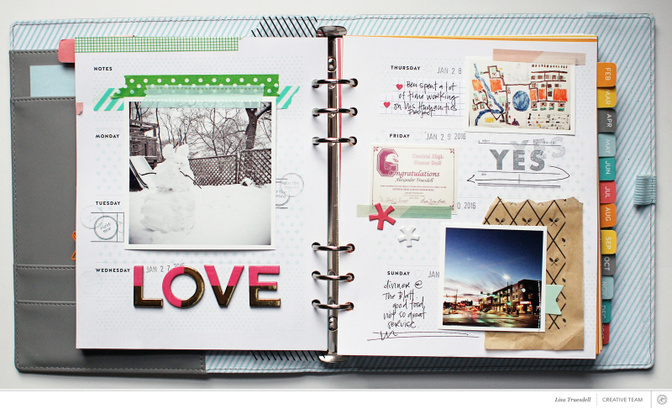
Before calling the week done, I added a little pink over to the right side with the puffy asterisks and a washi strip.
I'd love to see how YOU all use your planners for memory keeping - please share in the comments below!
Supplies : Hello Forever Planner; kits - Arendal Scrapbook kit, Arendal planner kit, Nes Verk add-on; stamp set - Pattern Builder; ink - Color Theory Glass Slipper & Clean Slate


Comments
Sign in or sign up to comment.
1 comment
I love your spread, I just put the pattern builder stamp in my pre-order cart because of you, I can't wait to use it with my planner, Yay!
Replies to Carson
Sign in or sign up to reply.