Using the Young At Heart Planner Kit with Rachel Lim
Hello, everyone! This is Rachel, aka ScrappinLove here, sharing with you today yet another of my favorite spreads in my A6 size Webster’s Pages personal planner using this month’s planner kit – Young at Heart. I love to decorate my pages as I plan my days and weeks, and I hope that you will find the tips that I’m going to share with you useful. Also, by pumping some creative juices here and there, this stretches your planner kit to the max!

I was drawn to the 3" Circle Quote Stickers when I was going through the kit, as it's one of the many things we usually might not use in our planners simply because a 3” wide sticker takes too much space on a page. BUT, this might be just what we need to break our usual style and the way we plan. *wink*
With a deep breath, I slapped on the quote sticker and used a fine tip gel pen to outline the circle. This simple outlining creates dimension as well as making the quote sticker stand out.
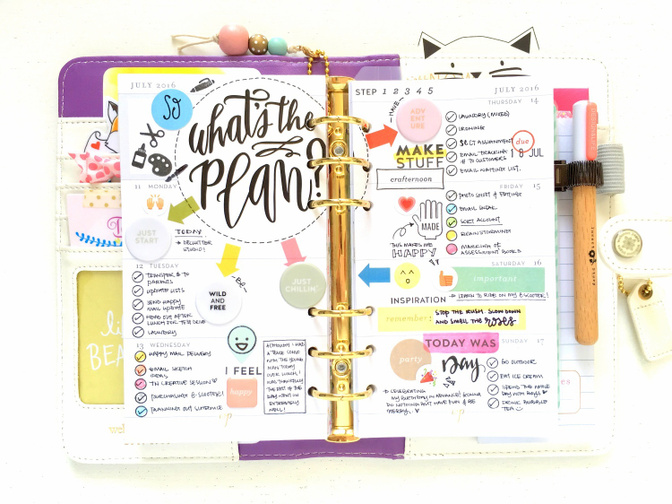
To input some fun elements into my pages, I used the vellum arrow stickers and puffy stickers to continue mapping out my plan for the week. I selected the puffy stickers that relate to what I planned to do in the week, such as to ‘Just Start’ on a project - to declutter my studio. You can even try writing around the puffy stickers, which adds a touch of playfulness.
This month’s add on stamp sets are amazing! The crafter in me was delighted when I first set my eyes on the 4X3 Planner stamp set by Hello Forever. I improvised, using the "color scheme" stamp piece by inking the circles only and stamped it vertically on my page to work as a checklist or, as some may call it, a bullet list. Then, I used Mildliner highlighters to add a dash of colors in the stamped circles. This gave dimension in my pages while keeping boredom many miles away.
And if you were in dismay that the 4X3 Lousy Day stamp set by Jasmine Jones does not have the certain emotion icon you were looking for, fear not, for we can easily turn a not-so-happy-face into a cheerful one! Simply stamp piece with the straight face, and draw a curve underneath to transform that unhappy expression into a joyful one. Ta-dah! Or you could also use the solid circle stamp, stamp it with any color you desire, and complete it with whatever facial expression you want.
Now let's explore more on how we can use the 3" Circle Quote Stickers in our planner. Shall we?
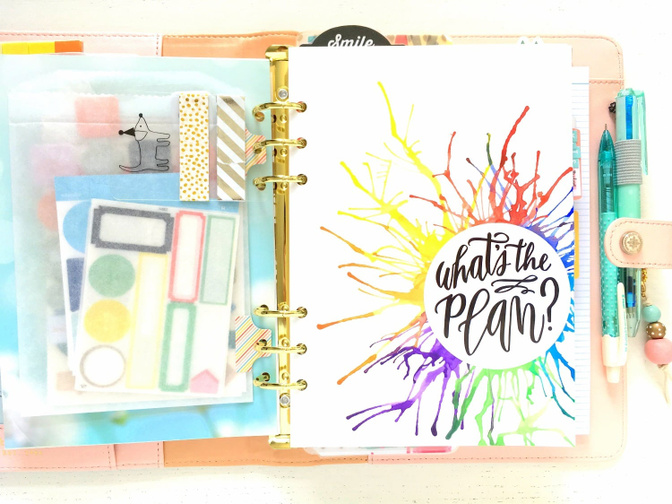
With four elements, we can make an awesome dashboard for your planner!
- quote sticker
- heavyweight white cardstock or watercolor paper
- watercolor paints
- straw
I pulled out a pieces of watercolor paper and selected seven colors to work with. Then, using a paint brush, I made small puddles with each of my seven watercolors, all laid out in a circle with a diameter slightly smaller than the quote sticker. Next, using a drinking straw, I blew into the straw to force the puddles to flow outward, creating a bursting effort.
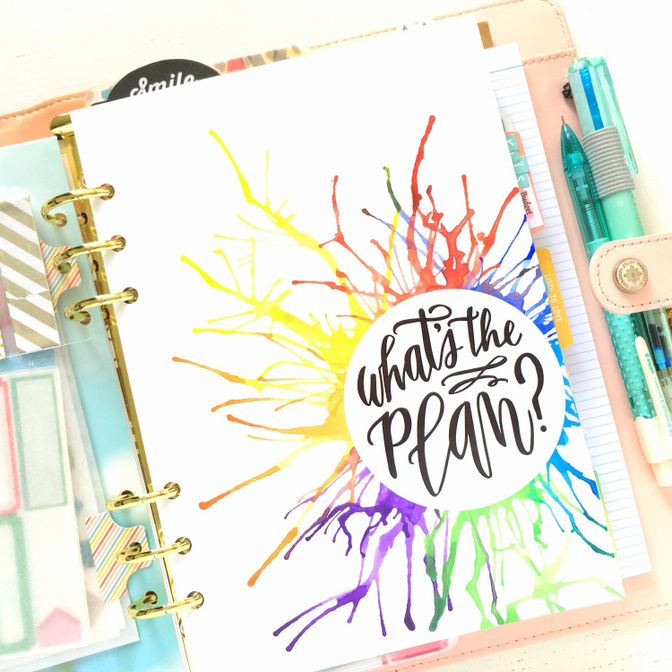
Once I was satisfied with the look of the watercolor burst, I let it dry under a fan. You could also use a heat gun to quicken the drying process. If the paper warps, place a piece of acrylic block over it when the paper is dry to touch and leave it for a good 10 – 20 minutes. And to finish off the dashboard, I pasted down the quote sticker, punched holes and slotted it into my planner. There you have it - a handmade dashboard, simple enough to create, and delivering an awesome effect. Big love!
I hope this blog post leaves you with ideas that will help your planning more enjoyable! Till next time.
xx, Rachel
Supplies: Kit – Young at Heart Planner Kit ; Stamp Sets - 4X3 Planner stamp set by Hello Forever, 4X3 Lousy Day stamp set by Jasmine Jones
Comments
Sign in or sign up to comment.
0 comments
No comments yet — be the first!