Using the Story Board Documenter Kit | Kelly Noel
Hello, SC friends! In the past, I haven't been great at keeping up with my Documenter pages throughout the entire year. I typically do really well until the start of summer, but then the kids are out of school, life is busy with vacations and everyday activities, and I fall behind. This year, I committed to keeping up, and I've been doing so with a bi-weekly approach. By documenting two weeks at at time, I'm able to get things documented twice as fast.
For a long time I've been printing at home. However, it gets pretty costly with ink and photo paper, so I decided to try out Persnickety Prints for the first time for the photos for this page. While it did take some pre-planning (something I'm not great at), I'm really pleased with the prints themselves and how fast it was to put this page together once I received my photos. As an added bonus, I ordered my prints on Friday and they arrived on Monday! Talk about fast!
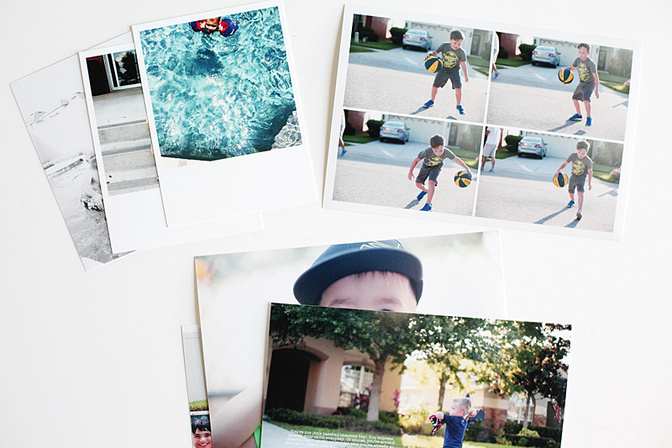
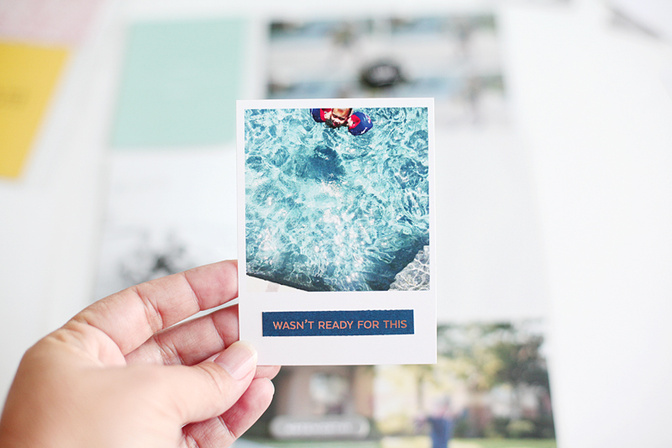
I love the print options Persnickety offers, so I was anxious to try a few, specifically the Polaroid prints. They're perfect for Instagram photos, and they leave a perfect space for adding journaling or embellishments underneath the photo.
For this page, I had a variety of photos to use. It actually started out as a two-page spread, but the photos were so varied that I had a hard time creating a balanced spread. No worries, though! When that happens, I just go with creating one page and then I'll come back to the spread with fresh eyes another time. I was excited to use more of the October Story Board Documenter kit. The colors, specifically the blues, in the kit were a great match for these photos from June.
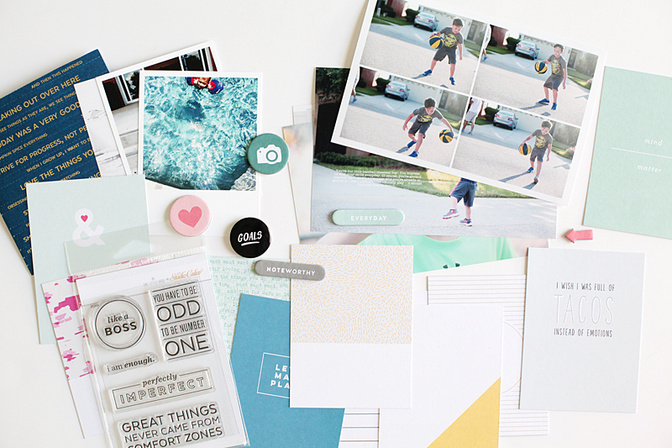
The prints from Persnickety helped this page come together super quickly. I created the grid of basketball photos on the Persnickety website, so all I had to do was slip it into the pocket. I added the "goals" badge to the center, and I love the way it turned out! I also added journaling to the photo of my youngest playing catch, again making this page a breeze to put together. I created a finished look by adding the "noteworthy" chipboard right to the outside of the page protector. I like to add any thicker embellishments to the outside of the page protector, so that the pockets don't get wrinkled or bulge.
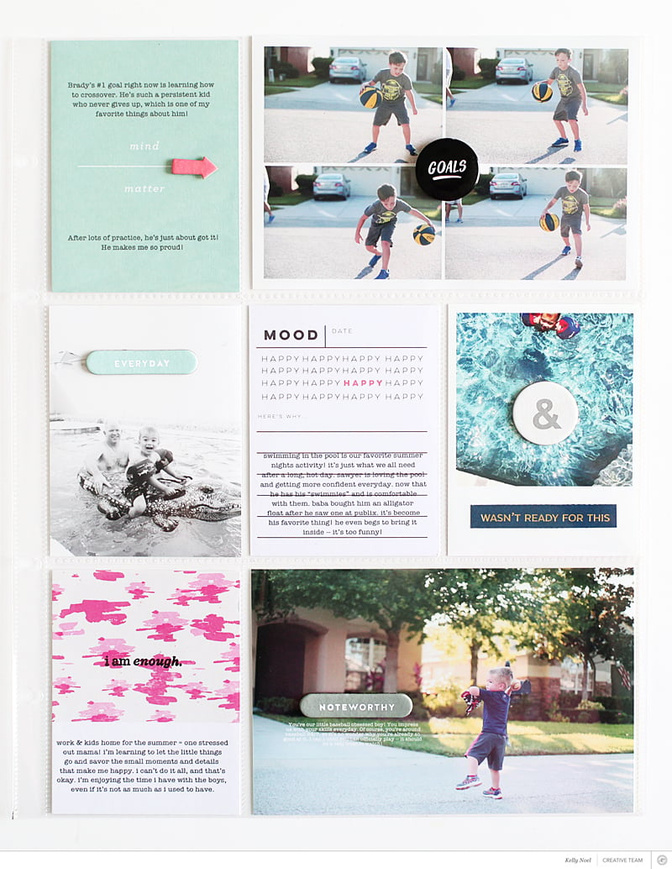
Adding a few other journaling cards with typed journaling finished this spread off. I'm really happy with the way it turned out, and I hope you're inspired to use your Story Board Documenter kits!
Supplies: Kit - "Story Board" Documenter Kit; Ink - Studio Calico Color Theory Pigment Ink ("Inky Black"); Photos - Persnickety Prints
Comments
Sign in or sign up to comment.
1 comment
This is one of my all-time fave layouts. SO MUCH LOVE FOR IT.
Replies to kelseyespecially
Sign in or sign up to reply.