Video | Using September's Stamp Sets with Lisa Spangler
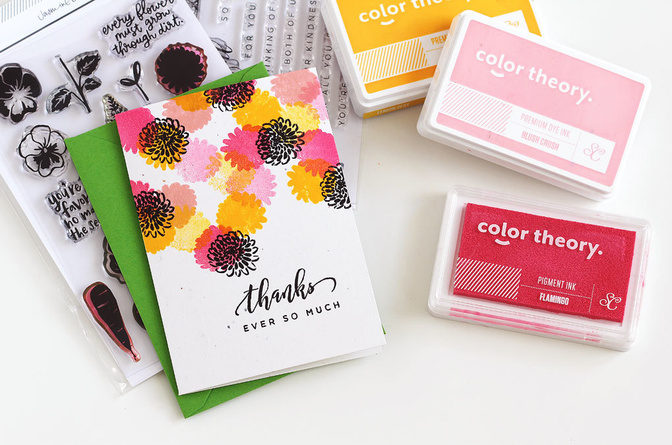
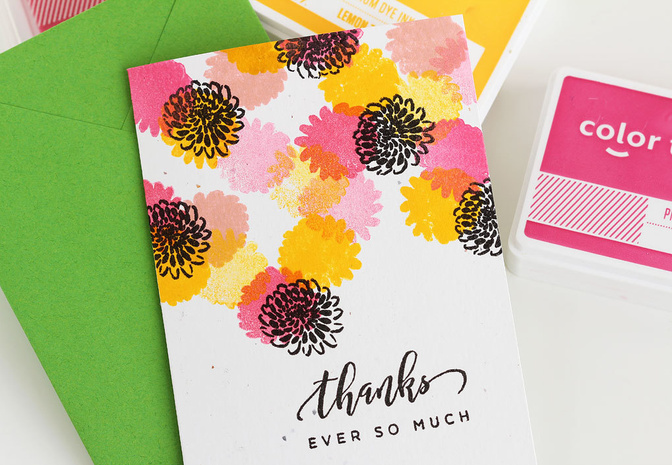
Tags:Hi! Today I'm sharing a mix-n-match ink technique video using the Fall Plants stamp set by Jasmine Jones and the Floral Thank You stamp set by One Little Bird.
You get such a cool look this way—watch and see!
So cool, am I right? But yet so simple! Just how I like it :)
Tips & Tricks:
- Don't be afraid to mix and match your pigment and dye inks—even when they're the same color! Here I used both "Flamingo" pigment and dye. I love how the pigment ink is more opaque so it looks more solid, while the dye ink is translucent so that the white of the paper shows through and makes it look "brighter."
- Overlap your inks to make new colors—see how the "Flamingo" plus the "Lemon Zest" gives you orange?
- You can get another color variation by doing second generation stamping. This is where you ink up your stamp, stamp it on scratch paper, and then stamp it on your project. I've found that dye inks work best for this.
- Use a sticky note along the edge of your card so you can stamp right over it and still keep it clean.
- When stamping the outline flowers, offset them by a wide margin so that it looks intentional.
- Rotate your stamp while you're stamping the flowers so they're not all going in the same direction
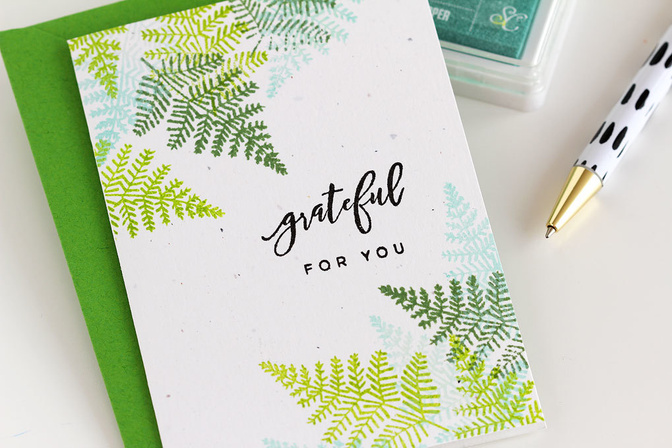
One last tip: while you have your supplies out go ahead and make another card! You'll be glad you did. Here I used the same mix-n-match ink technique to make a fern card.
Thanks so much for joining me. I hope you give this technique a try! xo


Comments
Sign in or sign up to comment.
0 comments
No comments yet — be the first!