Video | Using the Starlight Scrapbook Kit with Nancy Damiano
Tags: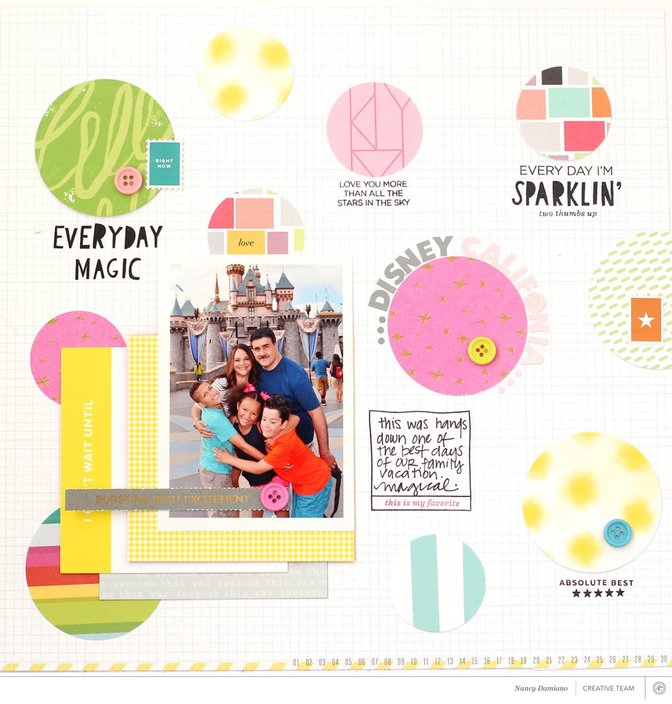
Hey there! Nancy here today with a closer look at the "Starlight" Kit and stamps. Let's gather some of our favorite patterns from this month's kit and create an interesting, colorful layout that's fun and easy to make. We'll use buttons and shape to create movement and learn a tip or two about stamping in your scrapbooks. Take a look at how the layout came together in the video below.
Tips & Tricks:
- For a quick and easy way to get all of your stamped text centered perfectly, remember to stamp first, then glue. It's much easier to center your paper elements around a pre-stamped image or sentiment.
- Emphasize the repetition of shape in your design. Nothing adds more fun to a layout than a burst of floating circles. Emphasize the circular design with alphabet stickers, buttons, or sequins.
- Add a final layer of texture to your layouts with a sprinkling of buttons, sequins, or enamel shapes. The final touch is an important one!
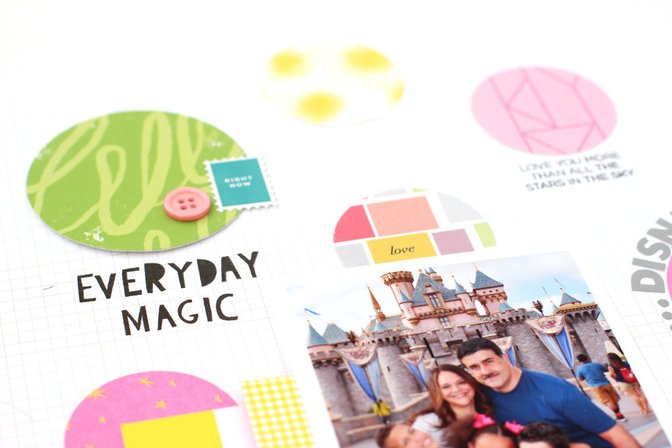
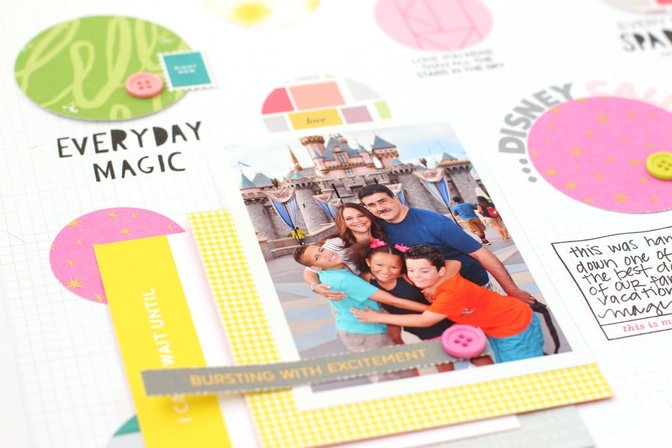
Creating colorful pages with textured elements is a fun way to tell a story! Thanks so much for stopping by and watching today. Now go break out your "Starlight" Kit and get to creating!


Comments
Sign in or sign up to comment.
1 comment
Love your LO! Totally agree that circles always make for a fun layout. Thanks for the tips too ?
Replies to Janice15
Sign in or sign up to reply.