Using February's Kit & Add-on Stamp Set with Barbara Picinich
Tags:Hello, everyone. Barbara here to share a little bit more about the Hey Nineteen Traveler's Notebook spread I made using the Pattern Builder stamp set. I really loved this particular Pattern Builder stamp set because I'm a big fan of subtle and small background elements, especially when I'm going to use them in a Traveler's Notebook spread. Because of the limited amount of space, sometimes it’s nice to have smaller subtle stamps that fit the scale instead of being bold and dramatic.
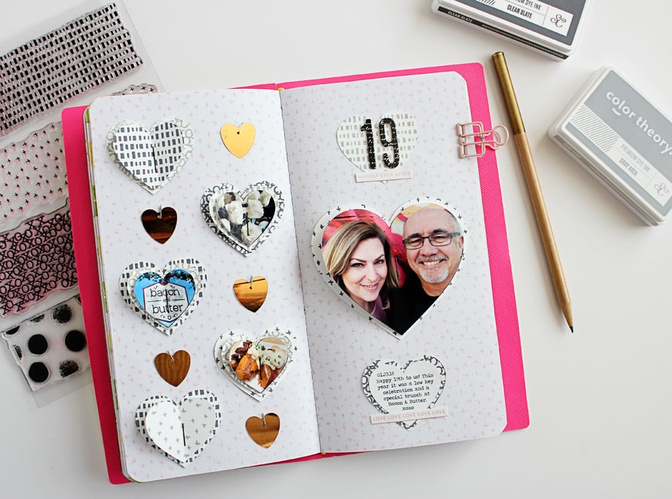
I started creating the spread by stamping the tiny plus sign stamp edge to edge down both sides of the pages with the "Pink Lemonade" Color Theory Ink. I love how this adds just the right amount of interest to keep the page from being too stark.
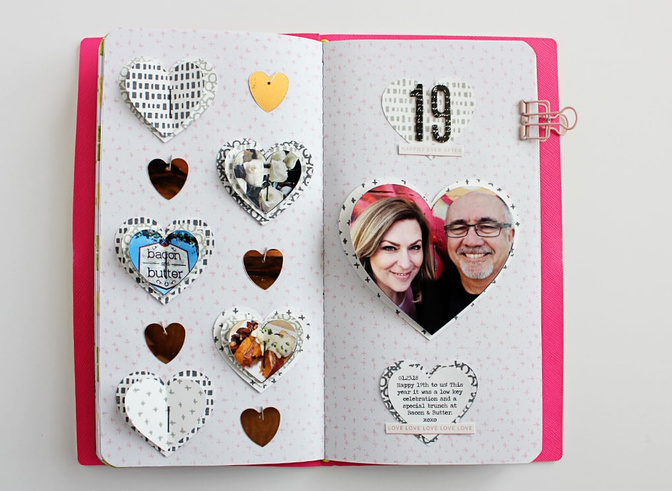
I knew I wanted to cut and layer heart shapes so that the spread would be super dimensional, so I laid out the design on my computer first so that I could determine the right size for the layers of the hearts. I clipped my photos to the heart shapes in Photoshop Elements and then imported the images into my Silhouette and did a print and cut so that I didn’t have to fussy cut the hearts. I also used my Silhouette to cut the same hearts from plain white cardstock so that I could stamp on them.
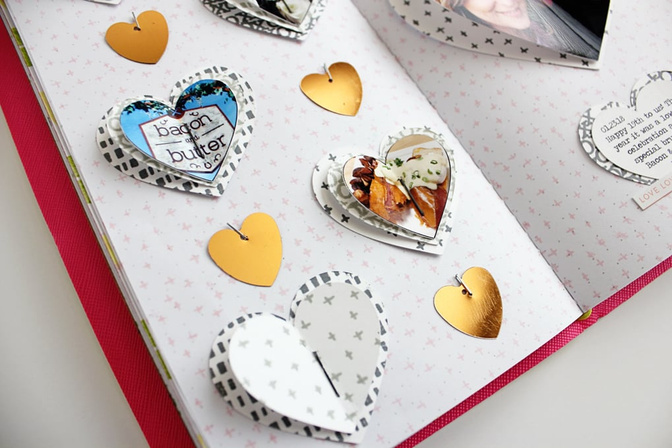
I kept my stamping of the hearts to just two colors and used "Clean Slate" and "Gray Area" Color Theory Inks. I love how well the patterns work together, especially when layered and peeking out from each other. By choosing more monochromatic ink colors, it allowed for the graphic nature of the stamps to show while still allowing my main photo to be the focal point. I stamped two layers for each heart mixing up the patterns and colors so they weren’t duplicated. I just bent the hearts down the middle after I stapled them together to get the dimension. For the clusters with photos, I very gently bent the photos in half but made sure not to actually crease the photo paper.
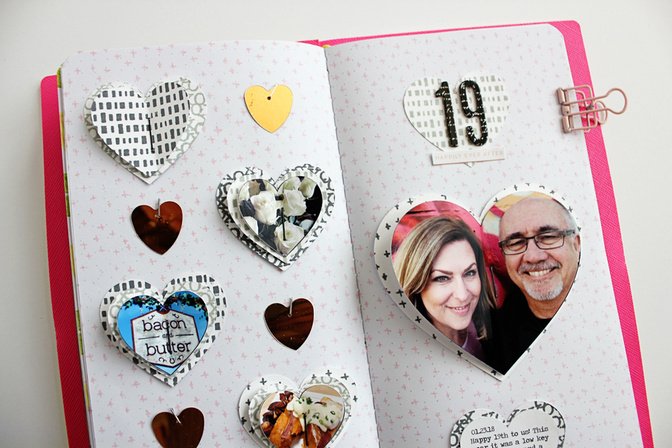
I had planned on stapling the heart clusters directly to the page of my Traveler's Notebook, but when I realized my stapler wouldn’t fit, I just stapled the hearts together and then stuck them to the page of the notebook. I added in some of the gold sequin hearts that I first stapled with my tiny attacher because I wanted them to look like they were hanging off the page. On the right side, I used a few of the word strips from the Documenter Kit to add in another element type. This keeps the layout from looking too flat. I used the thickers from the "Lolly" add-on to note the year and also added a bit of journaling to one of the hearts prior to cutting it out.
I love how much dimension this spread has and I love how it pops open when you turn the page. I hope this inspires you to play with layering and dimension in your next Traveler's Notebook spread.


Comments
Sign in or sign up to comment.
1 comment
I love Traveler's Notebook pages. I am going to have to create a few myself. Thanks for the inspiration.
Replies to kimberlyatlga
Sign in or sign up to reply.