Scrapbook Techniques | Bookmarked
Tags:Starting with a blank page can be an intimidating way to begin a layout. The following scrapbook techniques are perfect for pairing with this month's "Bookmarked" Kit, or just tuck them into your back pocket for a time when your creative mojo is low. Either way, we hope they’ll help inspire your next project!
Get creative with large chipboard alphas.
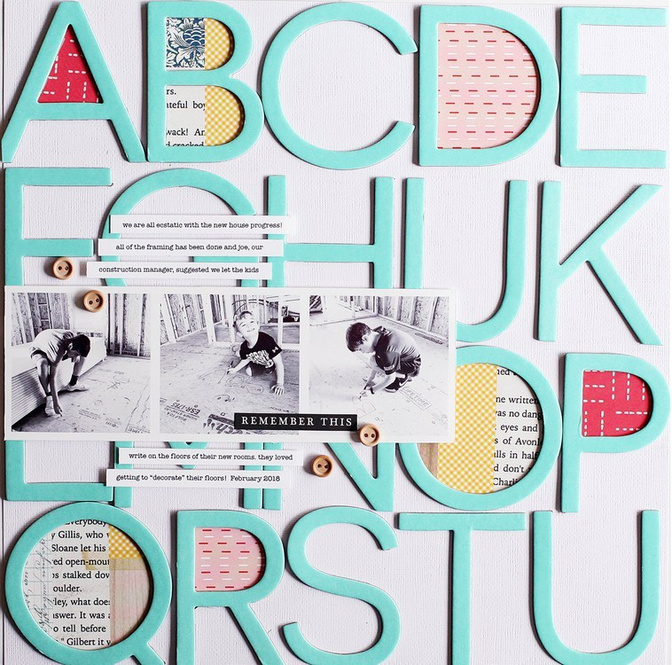
Kelly Noel used nearly all her large mint chipboard alphas to create a one-of-a-kind background for her layout, Names. Not only does this technique create a wow factor on her page, it also helps tie in the theme of her story!
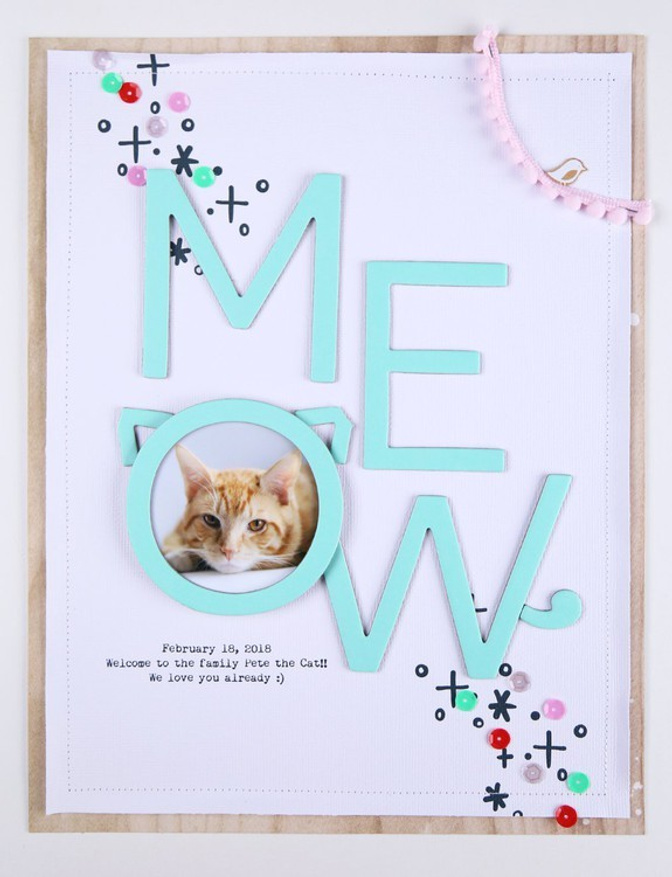
On her layout, Meow, Pam Baldwin used the large chipboard alphas to create her fun title. The ears on the "O" and the apostrophe tail on the "W" add a playful touch to her page!
Lead the eye to your photo with a sunburst design.
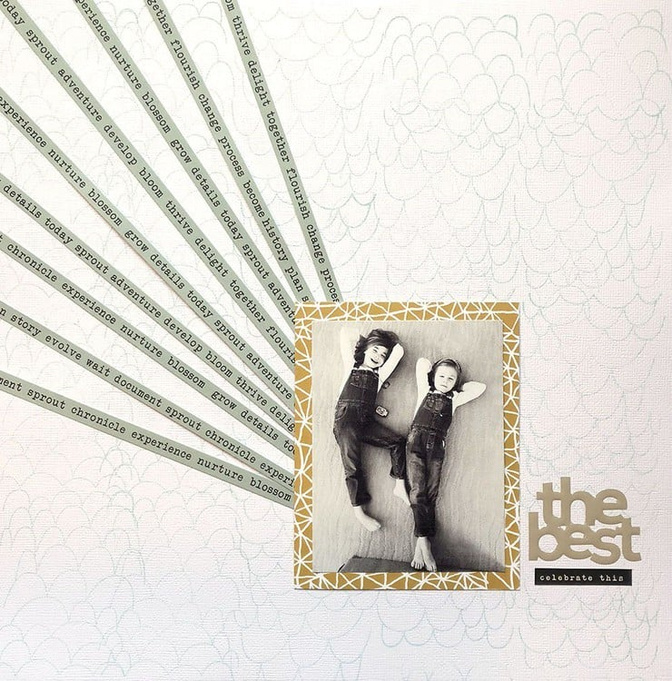
Catherine Davis cut strips of patterned paper and fanned them out behind her photo on her layout, The Best. This technique works to create movement on the page while drawing the viewer's eye to her photo.
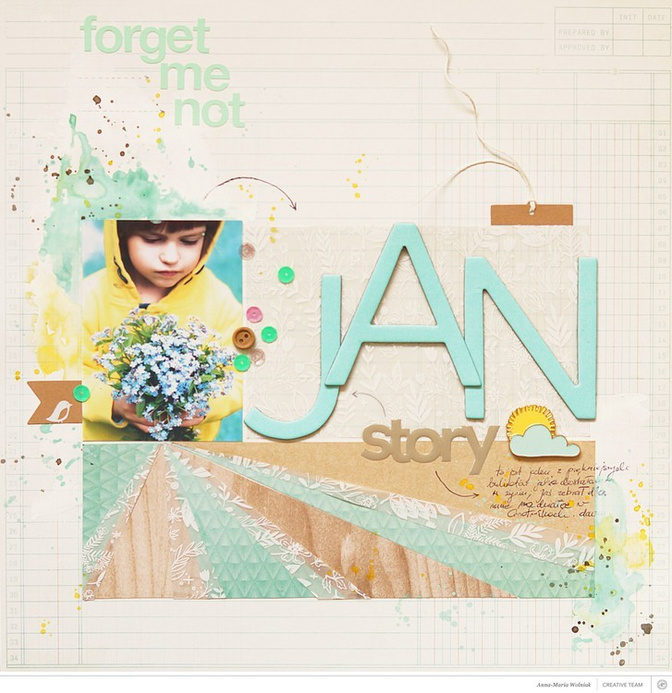
On her layout, Forget Me Not, Anna-Maria Wolniak used wide triangles of patterned paper along with the botany specialty paper from the kit to create leading lines to the photo above. The result is stunning!
Repeat your stamps.
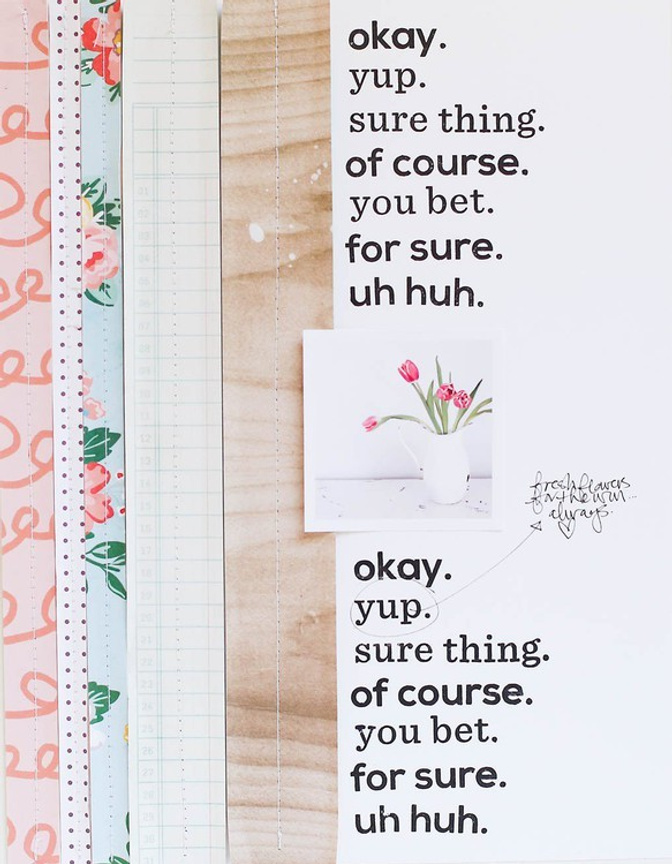
On her layout, Fresh Flowers, Marcy Penner stacked the "yes" stamps from the Yes & No add-on stamp set and stamped them both above and below her photo. Repeating her series of stamps created a big impact and a well-balanced page.
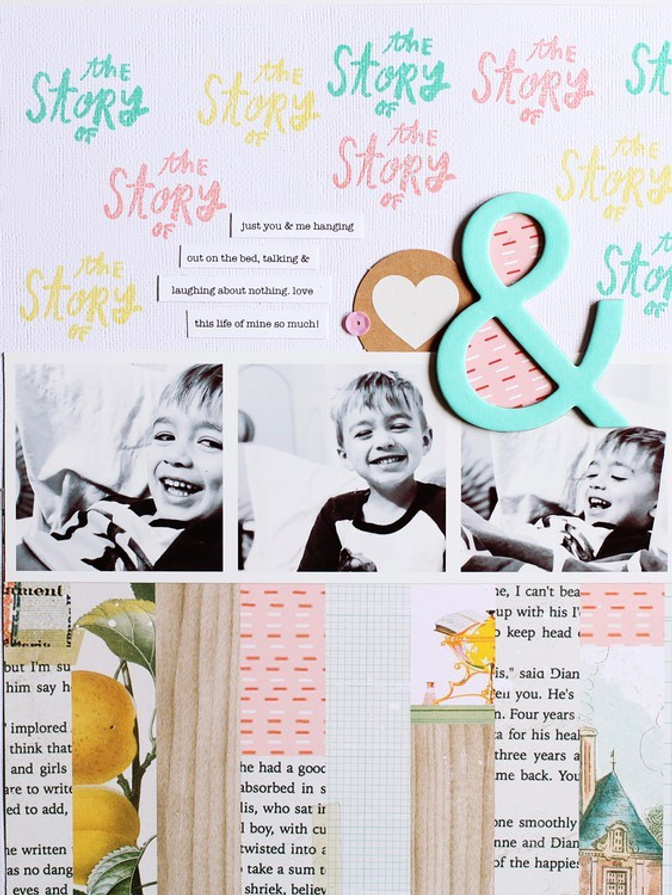
Kelly Noel created a colorful, custom background for her layout, Story, by stamping the "The Story Of" stamp multiple times in the upper section of her page. This technique perfectly ties in the colors from the patterned-paper-strip lower half of the page.
Fussy cut florals to create your own embellishments.
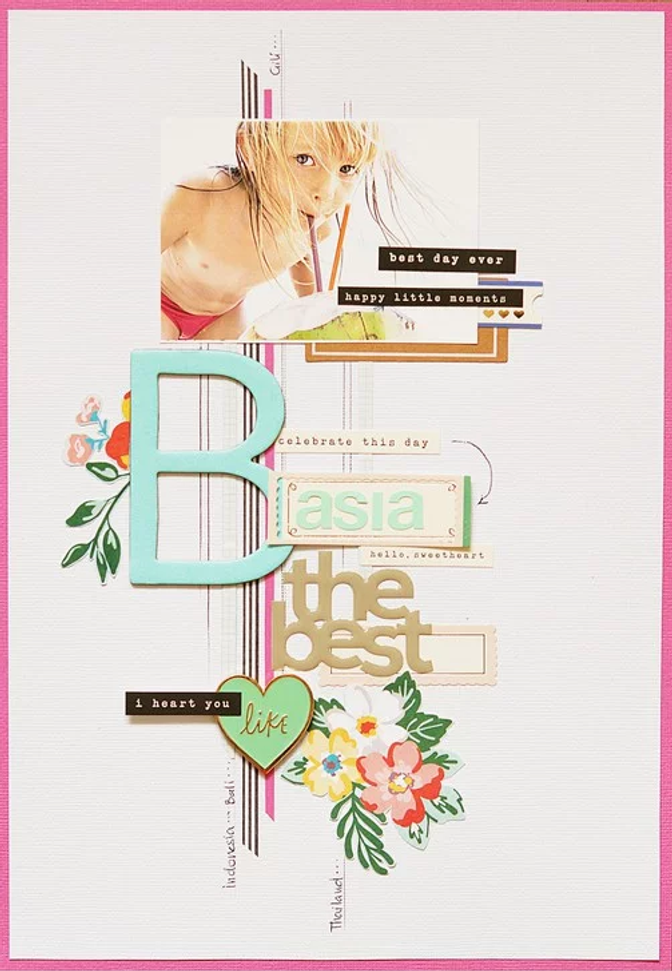
Anna-Maria Wolniak added fussy-cut floral embellishments to the center column of elements on her page, The Best - Basia. These custom pieces give her layout a fun, feminine touch.
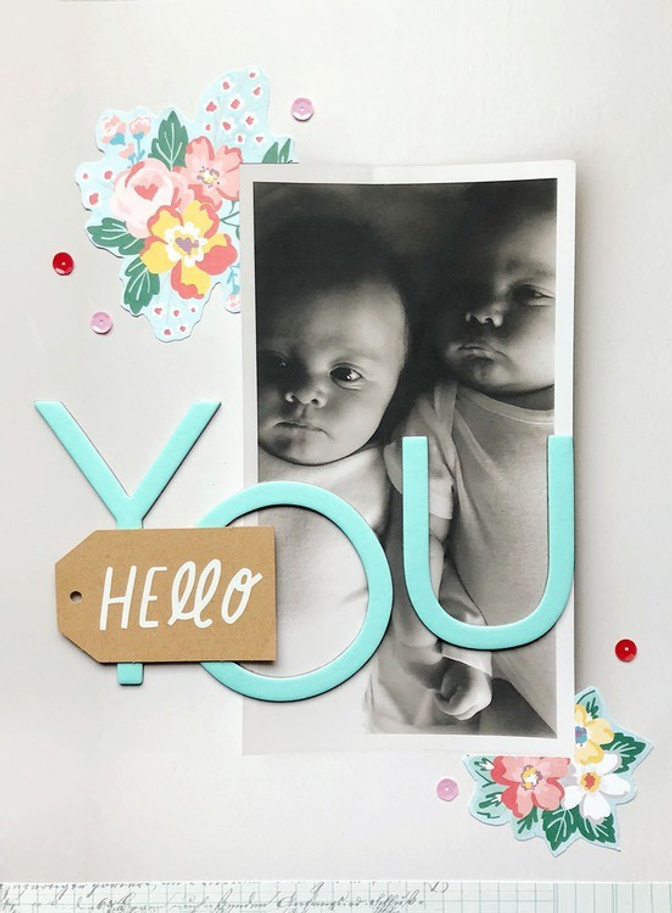
On her layout, Hello You, Catherine Davis layered fussy cut floral pieces behind her photo in opposite corners. Along with the chipboard alpha title, these floral elements add pops of color to contrast her black and white photo.
Create a custom background with the Scallop Pattern Builder stamp set.
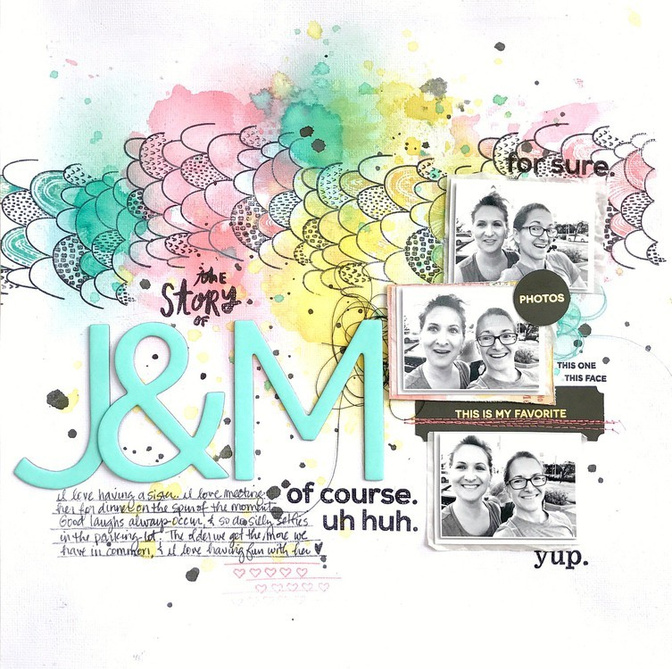
Guest designer Missy Whidden combined the Scallop Pattern Builder stamp set with Distress Oxide inks to create a gorgeous watercolor effect on her page, The Story of J & M. This created the perfect background for her layout.
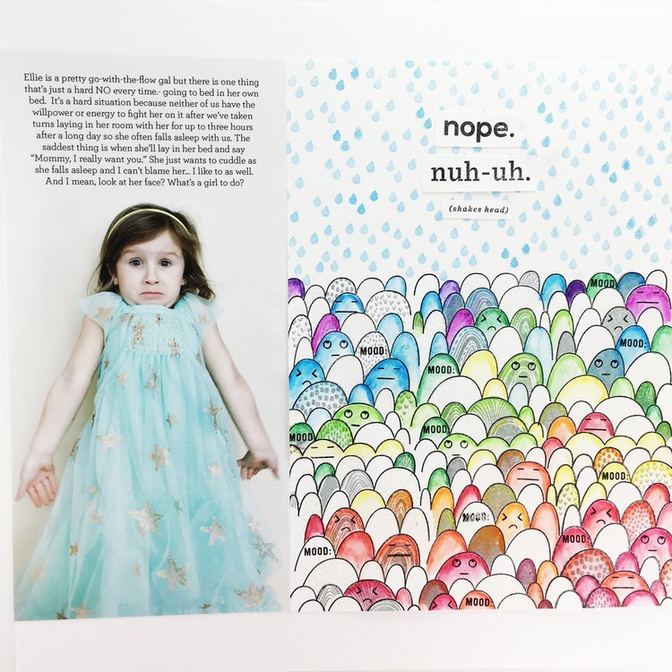
Guest designer Laura Wonsik combined four stamp sets, including the Scallop Pattern Builder, to create her fun layout, Ellie's "Hard No." The result is a fun and playful background design that perfectly complements her story!
The design possibilities are endless with the "Bookmarked" Kits and March add-ons. Which scrapbooking technique do you plan on trying out this month? Post your creations in the gallery and add a link in the comments. We can't wait to see what you'll make!


Comments
Sign in or sign up to comment.
1 comment
I love these layouts. I love that they are "paper" layouts. I wished that Studio Calico would add another filter to the gallery whether a layout is paper, digital, or mixed.
Replies to kimberlyatlga
Sign in or sign up to reply.