Using the Be Happy Kits with Barbara Picinich
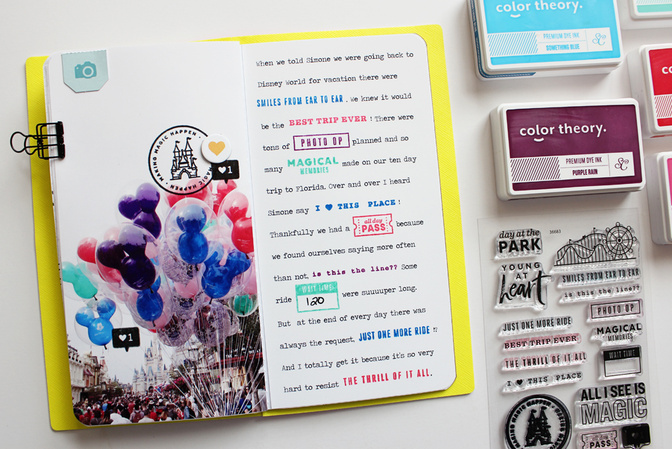
Tags:Hello, everyone! Barbara here to share a little bit more about my A Day at the Park Traveler's Notebook spread. It was pretty perfect timing to receive this stamp set since we had just returned home from a trip to Disney World. When I opened the stamp set and started looking at all of the cute stamps on the set, I realized that the stamps told the story of our recent trip really well.
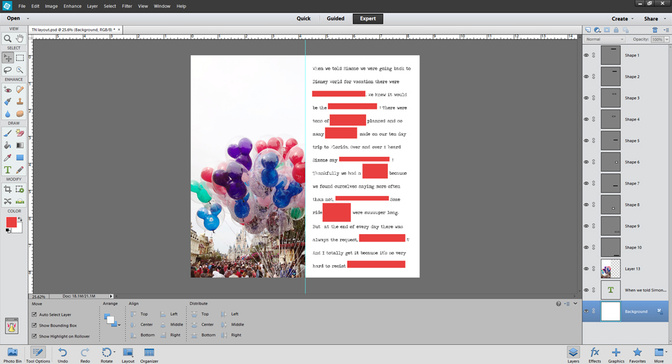
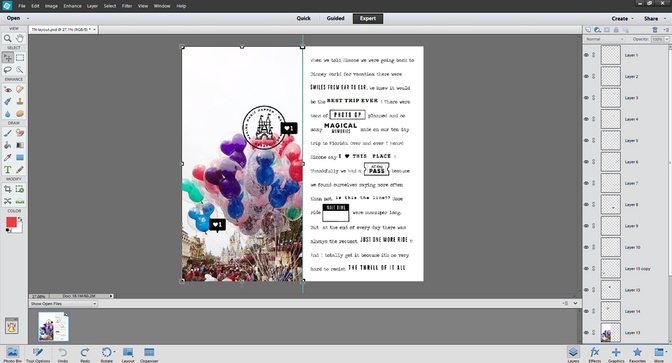
Because of this, I designed the page completely around telling the story with stamps. I sat down and wrote up our story incorporating the phrases on the stamp set where appropriate. Since I wanted this layout to have a mix of typed text and stamped images, I had to determine how much space to leave in my typed text for the stamps. You can go about this one of two ways. The first is to use digital files of the stamp set and simply add them to the text as you're typing. The other is to measure and create blocks to map out how much space you'll need to leave. Below are examples of how each would look. Using the digital files is the easiest method, but if you don't have access to the digital files, making the blocks works great, too.
It was so much fun stamping each phrase in colors that matched the balloons and I love how many of the stamps I was able to use on such a small space.
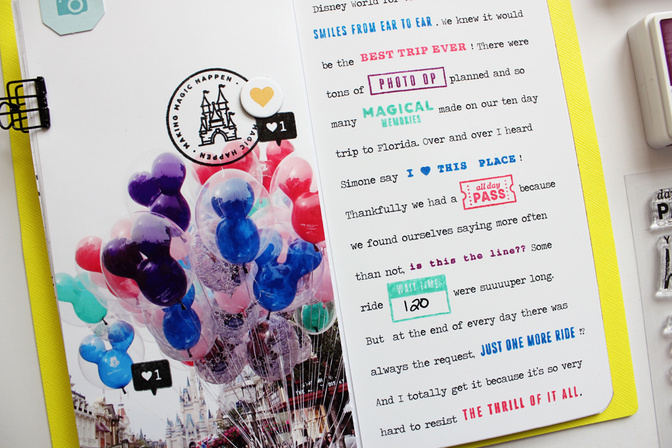
I made sure to add a few more stamps to the left side of the page to carry the stamping over and tie it all in. I added a chipboard circle and the camera tab for dimension to keep the layout from looking too flat.
Telling stories with stamps is so much fun so I really hope you give this technique a try.


Comments
Sign in or sign up to comment.
0 comments
No comments yet — be the first!