Color Theory Acrylic Paint Tutorial | Anna-Maria Wolniak
Tags:
Today I would like to introduce you to the new Color Theory Acrylic Paints. My paints are already at home and I thought that it would be nice if I will write few words about acrylic paints in general before you will start playing with them, plus – I’ve put together a fun technique you can try with them!
Few basics - acrylics are water-based paints, which means that you don't have to use turpentine to thin the paints and clean your brushes. One big advantage of acrylics is wonderful versatility. Using them you can achieve many different effects and a variety of styles. For example you can apply them either very thickly (for example using palette knives) or very thinly - or all sort of combinations between. The consistency and texture of acrylics can be changed with acrylic medium and gel, or modelling paste and water. You can use them on various surfaces: wood, paper or canvas. Acrylics can be applied to almost any surface that has been primed with gesso, such as fabrics, cloths, clay, etc. These paints dry very fast, so remember to squeeze only a small amount out of a tube at a time. Acrylic paint is PERMANENT - so please be careful and watch out on your clothes and furniture. :) Unlike a watercolour the dry paint is insoluble and can be over-painted without any concerns - that's a good part about their permanent nature (that it can be painted over). And the last basic thing - always clean your brushes when changing to a new colour to avoid muddiness. Before you begin mixing paint, make sure you know the ins and outs of the color wheel (you can get lots of information from Lisa Truesdell's 'Color Studio' class). Knowledge of pigment blending can save you time and frustration, as well as rescue a background from unsightly mistakes.
Let’s get start with an easy but eye-catching technique for all acrylic beginners – making a print from a plastic bag.
If you are not familiar with acrylic paints, or if you are not sure how they work and you are afraid of ruin the background paper - this method is for you.
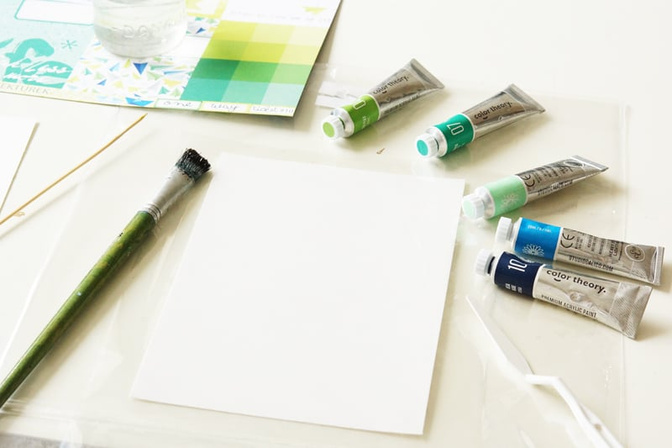
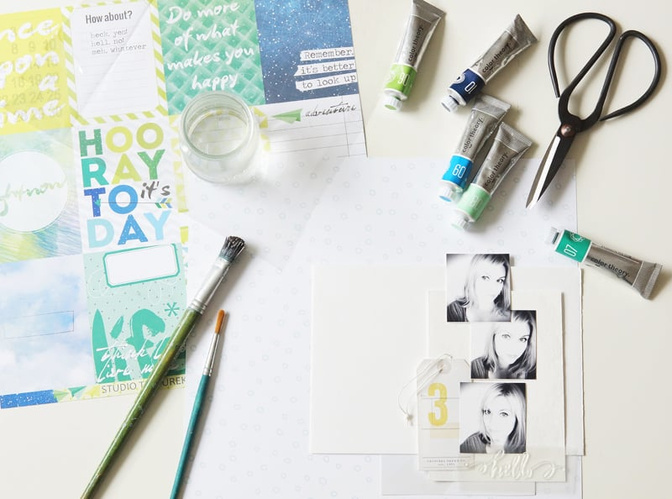
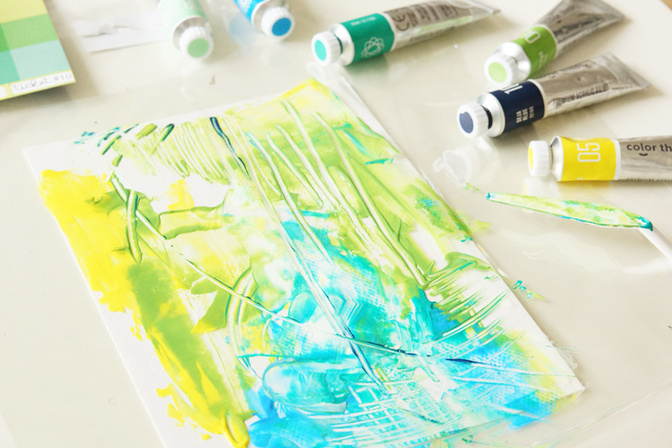
You will need a piece of plastic (it can be recycled packaging or a piece of waxed paper or saran wrap). I put white paper under my plastic to know the area which should be covered by the paint. If everything is ready, you can start applying paint to the plastic. Your color palette can be totally random, but remember what I was writing about mixing colours.
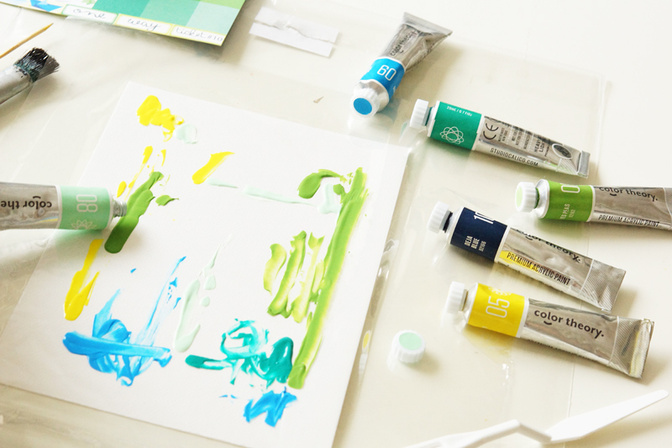
Now take a brush, or a piece of paper or palette knife (like on the picture), and spread and blend paint a little bit. You can 'draw' some lines on it. It's the easiest way to give an interesting element to this painting. You can also cover the plastic with a smooth, thick surface of paint and scratch some words on it...

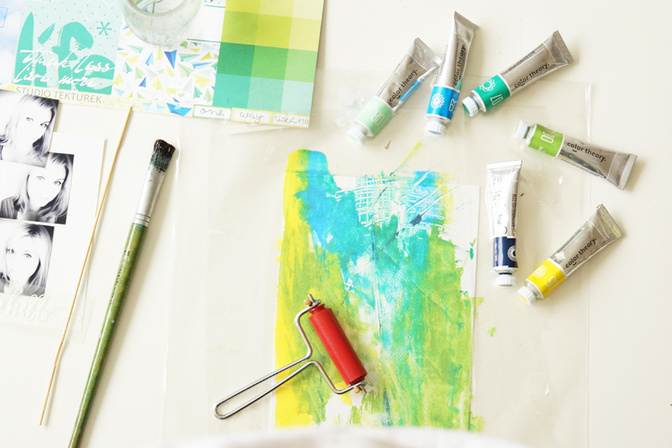
When the painting on the plastic is ready (remember you can't wait to long because the paint will be dry), you should take a piece of paper and put your painting upside down. And now - you can make a print using your painting. You can make it on a random piece of paper and use it as a layer of your project, or you can make a print directly on your background.
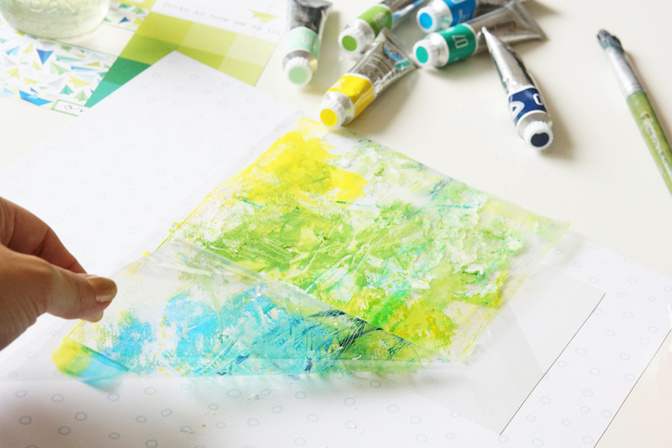
I decided to make a small print and save it for a layer project - I'll be using the painted plastic on my page. I put the plastic upside down and I used a brayer to make sure that all of the paint will transfer to my paper. I rolled my brayer over it a couple of times and peeled the plastic away from the surface. I was left with a print and almost dry piece of plastic bag with fabulous painting on it.
I think this technique is easy for anyone. You can use a transparent layer on your project. You can place it wherever you want. There will be no dirt, no blobs of paint - for me it's a great thing. Of course you can make the same thing directly on a background if you want. Experiment with colours and shapes! Even if you don't like what you have done it's not a big deal. Just brush over this 'mistake' with gesso. I do this quite often lately :)
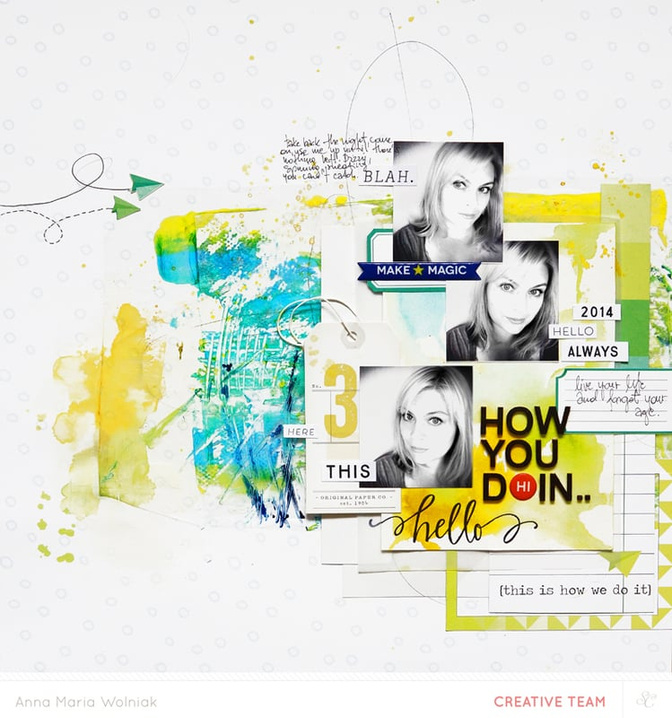
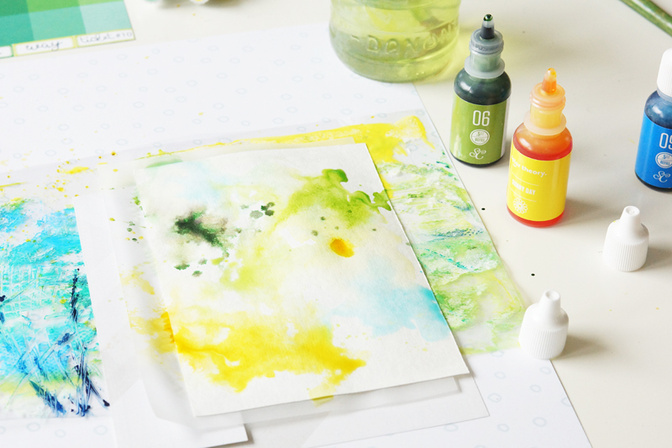
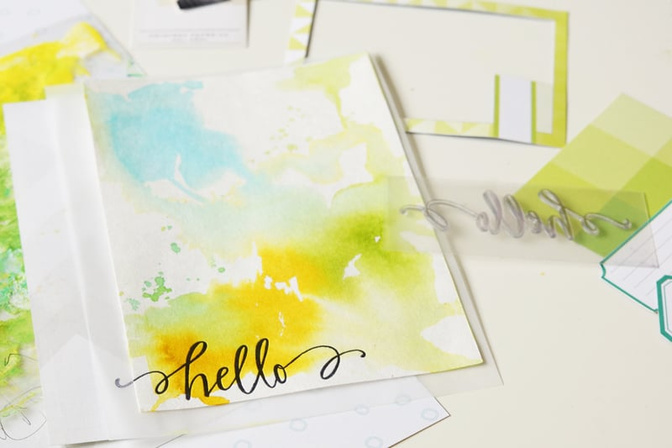
Coming back to the tutorial. I put few extra layers on the plastic (pale patterned paper plus vellum and another white paper). I decided to enrich this project with other technique - watercolors. This time I was using Color Theory refillers instead of custom watercolours - they worked great!
When watercolour part was totally dry I put it into the letterpress platform and make a 'hello' print using black ink (of course you can't see this letterpress effect on the picture, but believe me it looks sooo good).
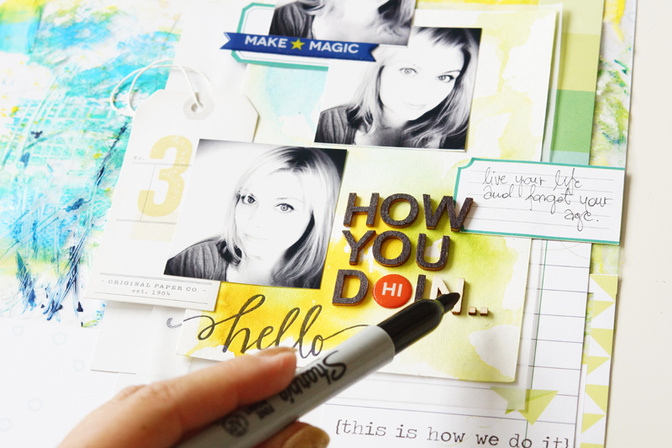
Now it's only few steps to the end. Stick everything together, combine the layers, add embellishments and pictures, glue the title... I used those lovely wood veneer alphabet from the 'Whitman' scrapbook add-on, but I coloured it using black marker.
That's all. It was easy, right? :) The technique is for everybody. It isn't stressful at all. It's quick and looks spectacular. Have fun! I am waiting for your own trials! If you have any questions please ask them in the comments below this post.
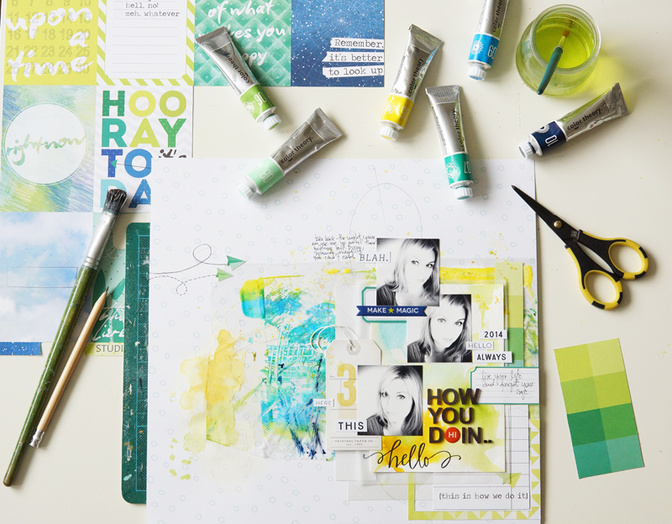
Supplies : Poet Society Scrapbook kit + Dickinson & Whitman add-ons; Color Theory - Acrylic Paints and Reinkers; digital - printables by Life.Love.Paper; letterpress - Hello plate by Lindsay Letters & Black Ink; other - vellum, Precision Pen .01


Comments
Sign in or sign up to comment.
12 comments
Great techniques Ania-Maria... loved this tutorial. Thanks for sharing all your wonderful artistic knowledge :-)
Replies to natalieelph
Sign in or sign up to reply.
Thnaks for sharing it with us. I will try it next weekend.
Replies to dani_miranda
Sign in or sign up to reply.
Love it and your page! Thank you!
Replies to amyscalze
Sign in or sign up to reply.
Thanks so much for sharing this tutorial, I will definitely try this out. I just love your page.
Replies to supertoni
Sign in or sign up to reply.
ok um amazingly beautiful.
Replies to neetasduggal
Sign in or sign up to reply.
Where is that 12x12 green/blue/yellow paper with all the 3x4 cut outs from?? i NEED it. ania-maria how did i miss this!
Replies to neetasduggal
Sign in or sign up to reply.
@neetasduggal it's in the main scrapbook kit ( the A side in navy with constelation) :*
Replies to aniamaria
Sign in or sign up to reply.
Thank you all for good word!
Replies to aniamaria
Sign in or sign up to reply.
Thanks for the tutorial. I am always inspired by your work. I haven't used any paint in my projects for awhile but you make me want to get them out and play!!
Replies to threekidneys
Sign in or sign up to reply.
Your work is always so amazing - so gorgeous. TFS
Replies to iscrapmyworld
Sign in or sign up to reply.
I love the colors and all your techniques!! just beautiful!!!!
Replies to justlisa7
Sign in or sign up to reply.
Nice tutorial. Just what I was looking for regarding the uses of Acrylic Paints.
Replies to Bunjab
Sign in or sign up to reply.