The Underground Tutorial | Geralyn Sy
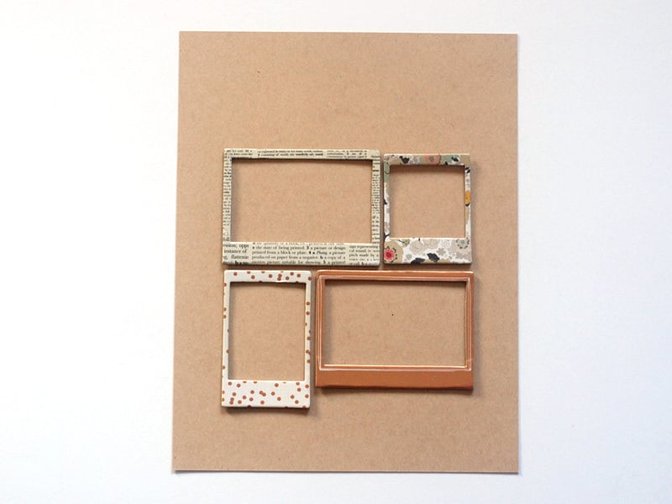
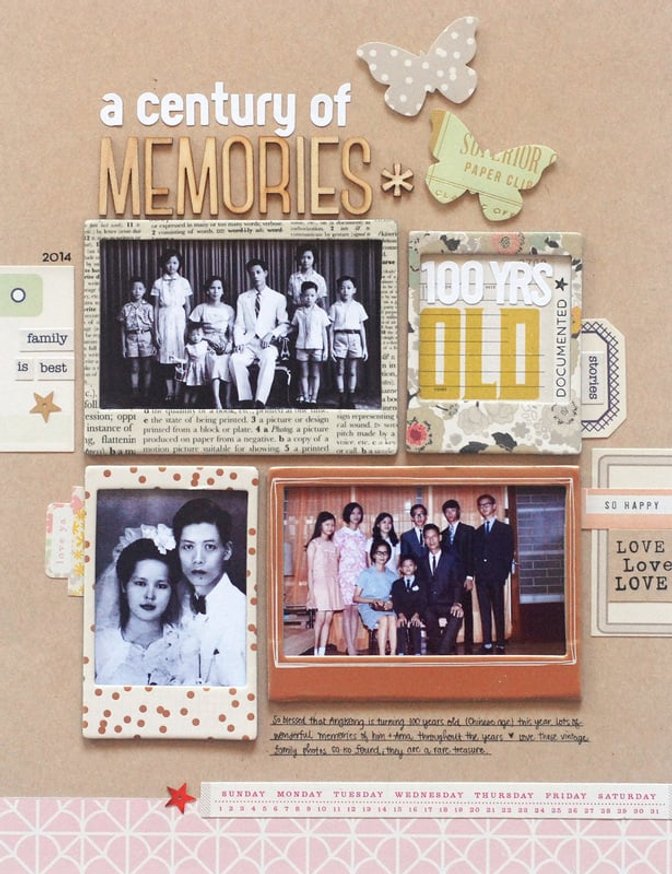
Tags:I started by arranging some Crate Paper chipboard frames until I was happy with their layout. I decided to go for a grid design.
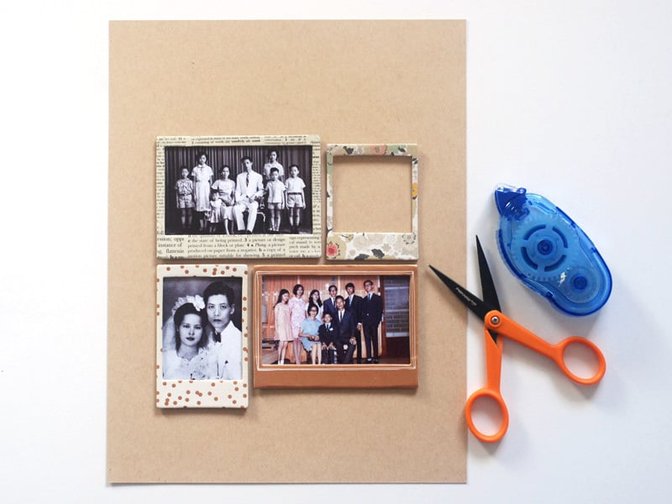
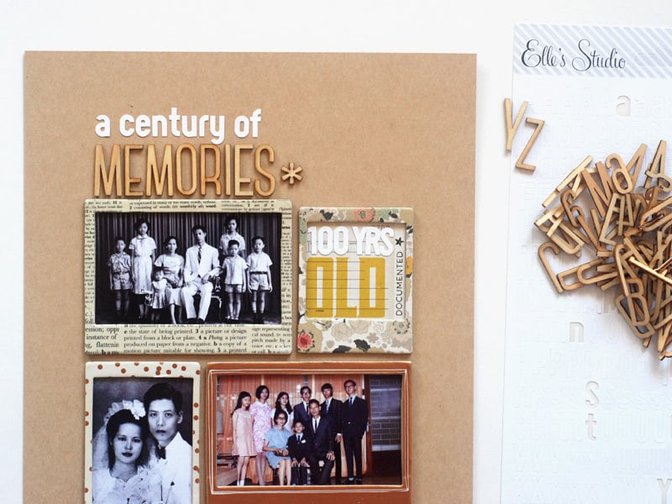
Once I settled on which frames to use, I edited the scans of my heritage photos and printed them so that they would fit perfectly inside three of the frames.
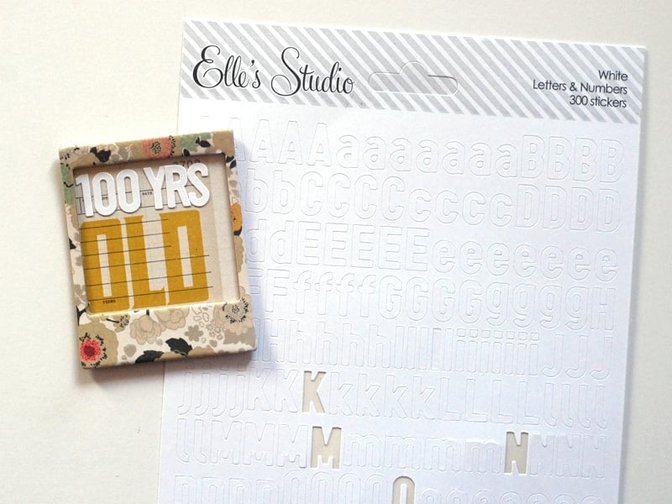
In the fourth frame, I added some Crate Paper patterned paper (the cut-out piece originally said "SOLD" but I cut off the "S") and used Elle’s Studio alpha stickers right above the word "old."
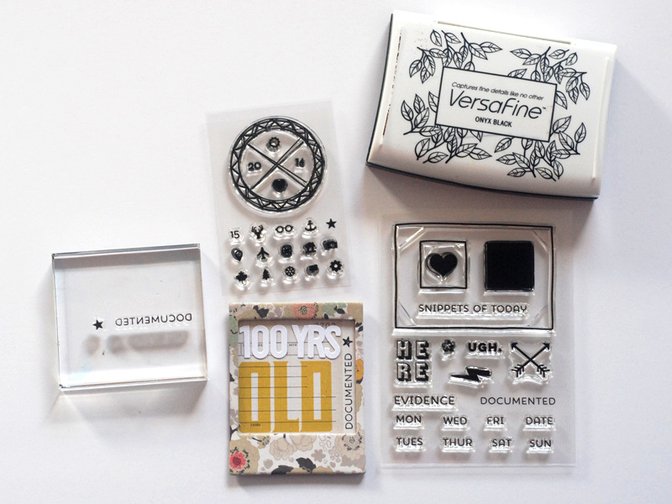
To finish off this frame, I pulled out some stamps from this month’s kits and stamped "documented" and a star on the side. The tiny stamps are so useful for adding extra details.
I glued my chipboard frames to my page and chose the wood veneer alphas from the main scrapbook kit and the Elle’s Studio alpha stickers to spell my title.
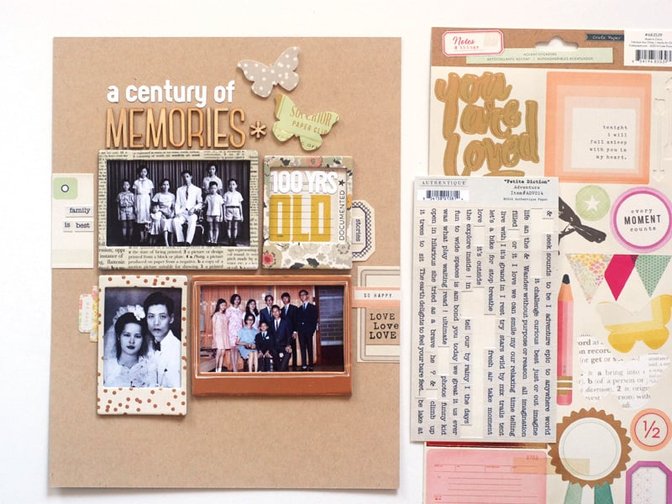
The next thing I wanted to add was some embellishing, since I found the layout to be too plain. I used lots of Crate Paper element stickers as well as some word stickers to add more details to my page. I adhered the butterflies to my page with foam adhesive to give the layout some more dimension.
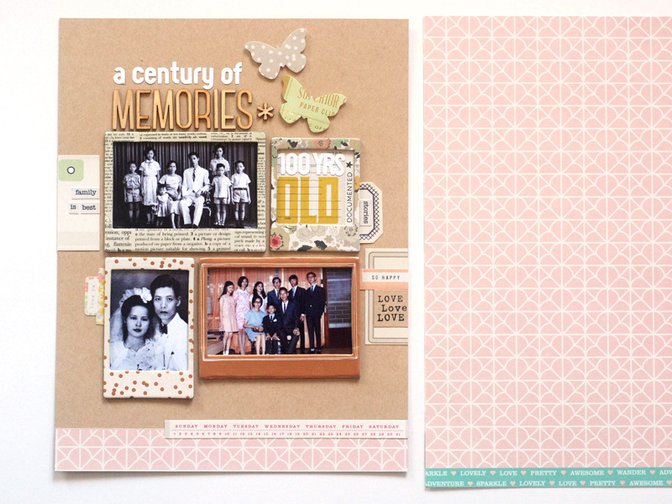
There was too much white space at the bottom of my layout, so to balance it out, I added a strip of patterned paper as well as a little calendar strip.
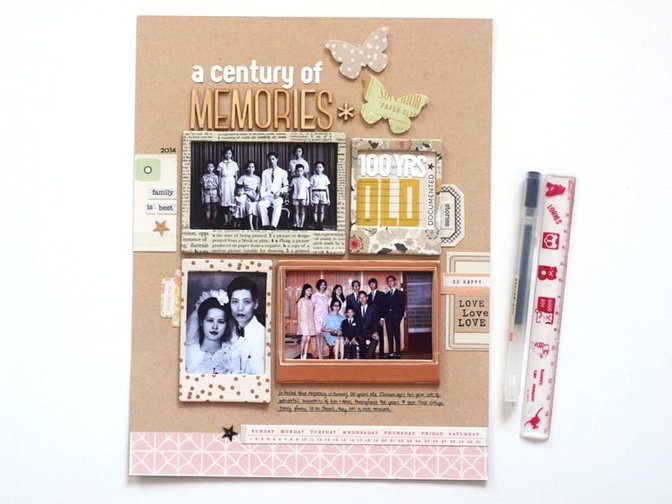
The last step was to add a few sequins and my journaling, right under the copper frame. This layout was so simple to make and I love that I was able to document these old family photos that would otherwise have been boxed up and forgotten.



Comments
Sign in or sign up to comment.
11 comments
This layout is gorgeous Geralyn!!!
Replies to PamBaldwin
Sign in or sign up to reply.
Such a fantastic page!
Replies to DinCA
Sign in or sign up to reply.
This is beautiful Geralyn! I am coming to love the simplicity of grid design.
Replies to 1Djc
Sign in or sign up to reply.
Beautiful page - lovely tribute!
Replies to writerlady
Sign in or sign up to reply.
Beautiful! One more thing to add to my to-scrap list!
Replies to pinksoup
Sign in or sign up to reply.
amazing!!
Replies to rkokes
Sign in or sign up to reply.
Gorgeous!
Replies to spagirl
Sign in or sign up to reply.
What a lovely page - thanks for walking is through your process!
Replies to toribissell
Sign in or sign up to reply.
Love your layout!
Replies to Karilynn
Sign in or sign up to reply.
Love this!! Thank you so much for sharing. Such a great layout - I am so inspired.
Replies to jrshapiro
Sign in or sign up to reply.
This is an amazing page!! Love it!!
Replies to tammyeberhard
Sign in or sign up to reply.