Natalie Elphinstone's Holiday Cards | Blog Hop and Giveaway with Papercut Labs
Tags:
http://www.papercutlabs.com/giveaway-12-days-of-christmas-crop-hop/.
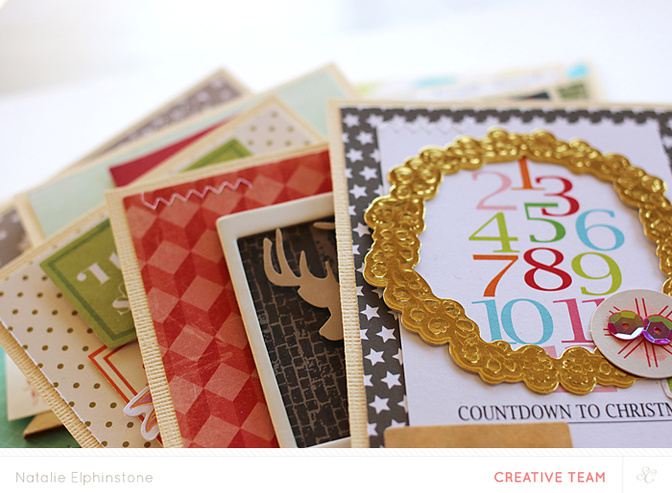
It’s no secret I love Christmas crafting! Give me holly, glitter and reindeer all year round and I’d be a happy scrapper. But with all this tinsel currently running though my veins I started to look back at my 2014 Studio Calico Scrapbook Kits with fresh eyes. It dawned on me that I don’t need any special Christmas supplies to make holiday projects when I can easily turn my stash into something seasonal with just a bit of imagination. So I challenged myself to go back through my stash and make a Christmas card from each month’s kit leftovers, starting with January’s Copper Mountain* and working through to December’s Park Ave. Today I’ll share with you a quick tutorial on how I put together just one of these cards so I can show you how easy it turned out to be!
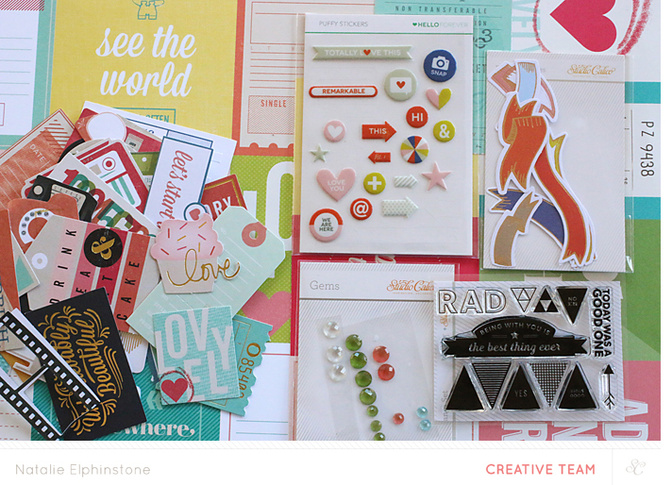
For this card I’m working with September’s Poet Society Scrapbook Kit and Add Ons.* When I pack away my kits at the end of the month I pile all my leftovers in together in a crop bag, whilst still keeping them separated by month. This makes it easy for me to go through what’s left of the kits and pick out a variety of supplies that might work for a Christmas project. I choose bright colours, particularly the reds, greens and golds, as well as anything that involves sparkle (like the gems) and stars (like the puffy stickers). I know I’m not going to use all these things, but it’s a starting point for inspiration.
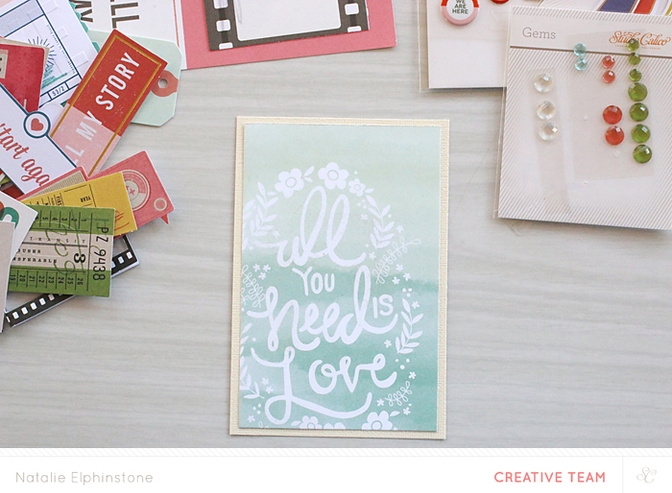
started this challenge, I wasn’t sure what I was going to use these cards for, so I kept them all a standard 4x6” size to keep my options open. Some ideas I had were to use them as Project Life inserts, mount them onto the front of a Christmas card, or use as the base of my December Daily. I’m going with the latter!
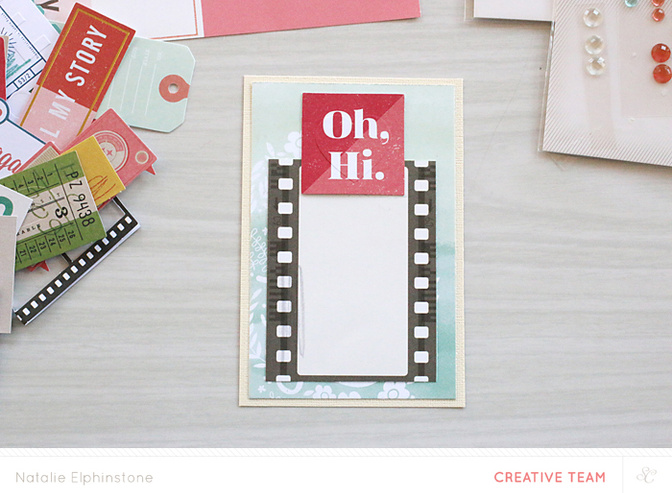
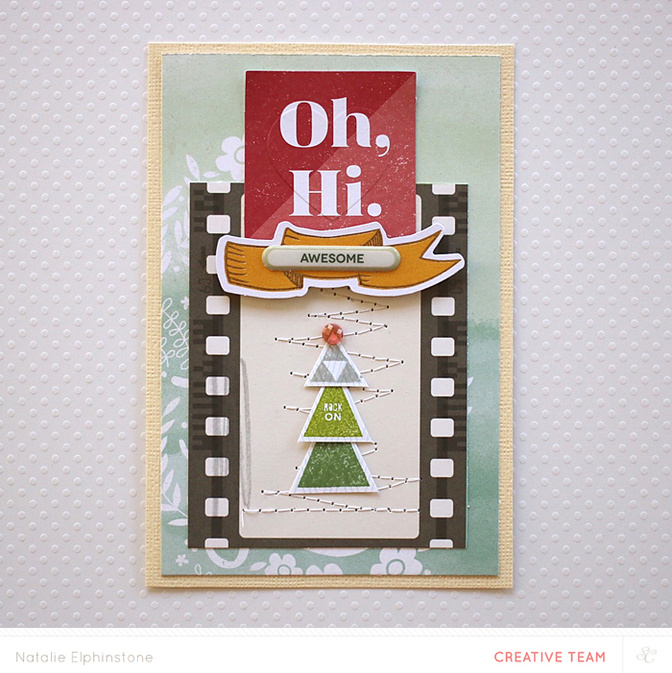
To begin my card I start by building up a few layers of Christmassy colours, so down went the scrap of minty green paper, followed by the black & white and red die cuts by Shimelle.

The next step is about adding texture and dimension. I ran the card through my sewing machine and added lots of messy zig zag stitching which will become the background detail behind the feature image. I also attached the banner die cut with foam tape and stuck a puffy sticker on top to become the sentiment of the card.
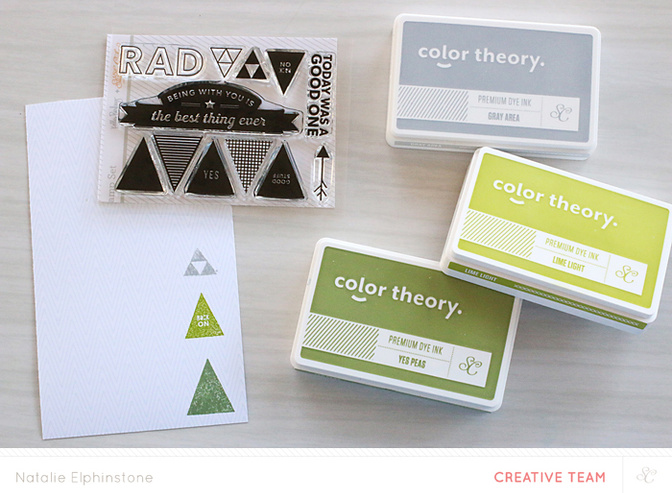
At this point it’s still arguable whether this is really a Christmas card so it’s time to add something undeniably iconic. Obviously September’s kits don’t include anything of the sort, but by squinting my eyes I was able to see that the triangle stamps from the Whitman Add On would make a perfect Christmas tree! I stamped the three different sizes with Color Theory Ink onto scratch paper and then trimmed around them.
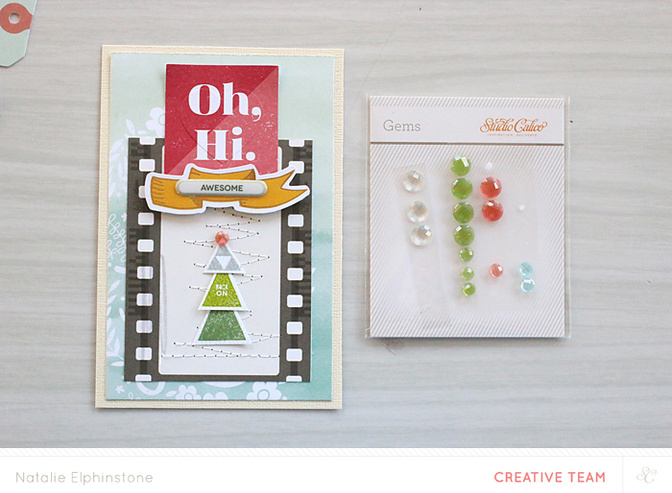
The triangles were stacked on top of one another and finished off with a touch of bling to represent the star on top. Doesn’t get more Christmassy than that!
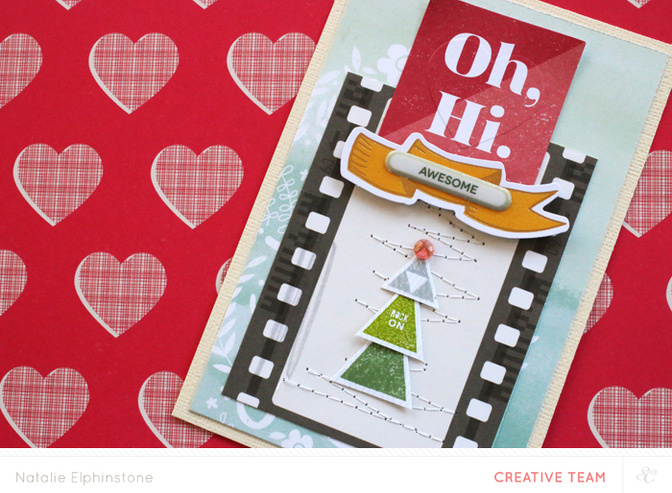
With this card entered into the 12 Days of Christmas Crop and Hop challenges I’ve just earned myself extra points for combining Challenge #1 "add a handmade embellishment," Challenge #4 "stitch something" and Challenge #12 "must be Christmassy!" And I feel extra satisfied that I’ve made a further dent into my old Studio Calico kits and used up my stash at the same time.
If you would like to see what Christmas cards I came up with using the other 11 Scrapbook Kits I’ve accumulated through the year, as well as finding out how you could win a 3 month subscription to the Card Kit, or entry into Send Joy then please stop by my blog: www.onescrappydoctor.com
And here’s wishing you all a Merry and Crafty Christmas!
*Please note, some of the items used in this post are no longer available in the Studio Calico shop.


Comments
Sign in or sign up to comment.
6 comments
Love this post and seeing how to stretch our stamps and goodies from the kits.
Replies to emym
Sign in or sign up to reply.
I love that this has been made using up existing products! I have just done a similar thing in an attempt to use up some of my stash instead of adding to it.
Replies to timtam
Sign in or sign up to reply.
This is so neat!
Replies to welobellie
Sign in or sign up to reply.
This is a great idea
Replies to juliee
Sign in or sign up to reply.
That was exactly my intention @timtam .... to use more of my stash and whittle down the pile!
Replies to natalieelph
Sign in or sign up to reply.