Tutorial | Make Marbled Stationery with Shaving Cream + Paint with Dana Fleckenstein
Tags:
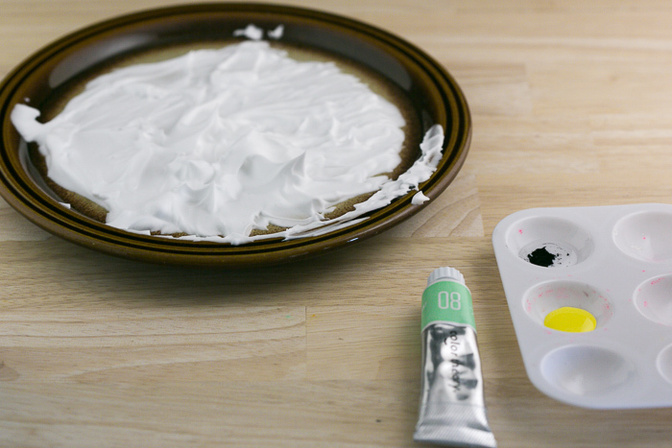
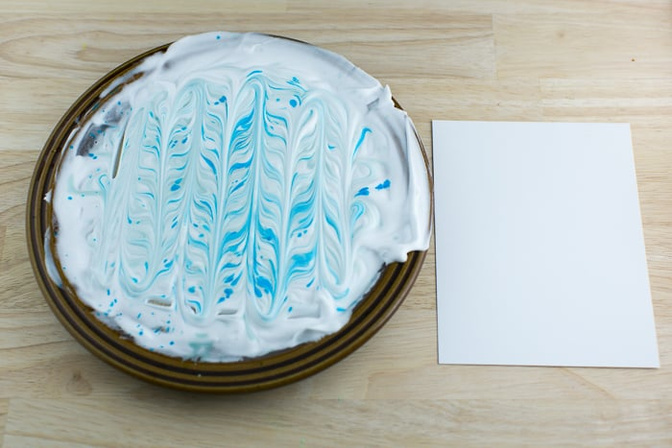
First, prepare an old plate with a layer of foam shaving cream. You can use an old credit card to spread the shaving cream evenly on the plate.
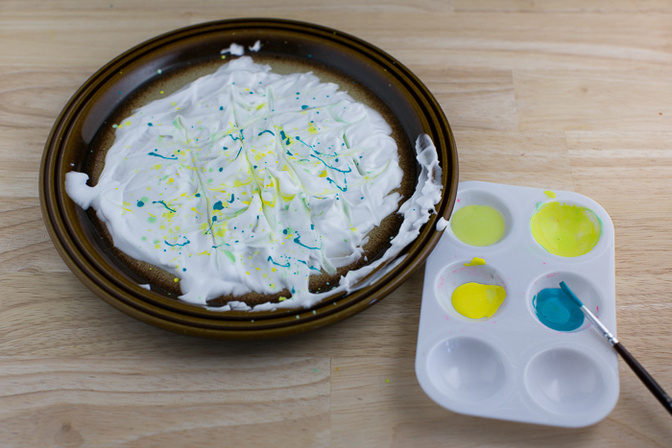
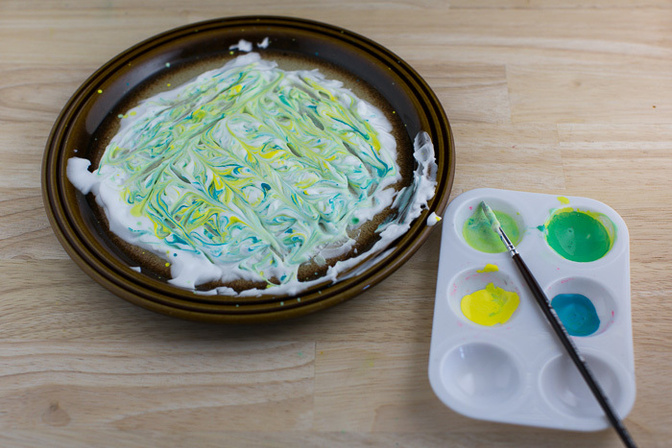
Next, you want to get your paints out and sprinkle/splatter a few different colors on top of the shaving cream. I've successfully tried with acrylic paints, Mister Huey's and Neocolor II watercolors. In order to create your marbled pattern, use a small paint brush or craft stick and swirl it around in the foam/paint mix.
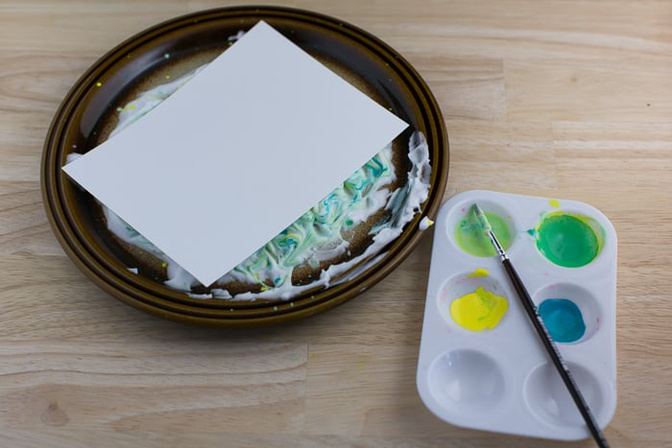
When you like the pattern, you're ready to transfer the paint onto paper. To do this, just press a piece of cardstock or watercolor paper well into the surface of the colored shaving cream, then lift the paper up.
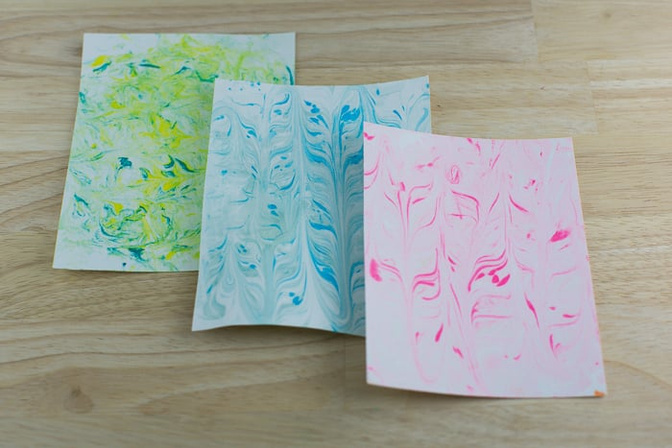
Remember the old credit cad from the beginning? Go get it to scrape of the shaving cream from your paper and set your finished artwork aside to dry.
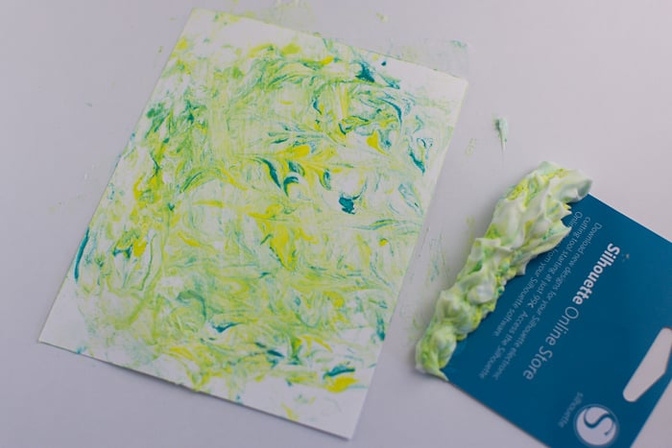
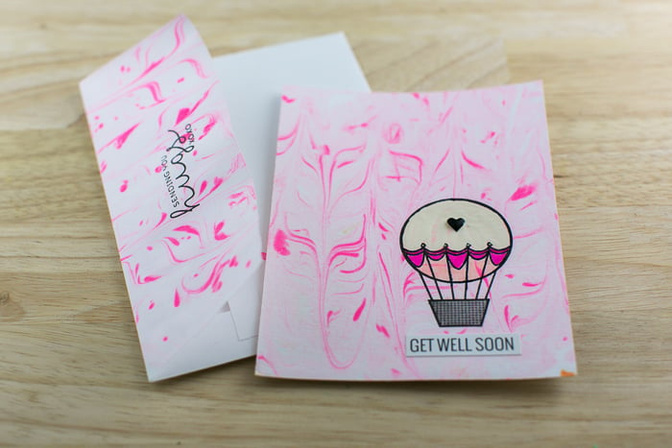
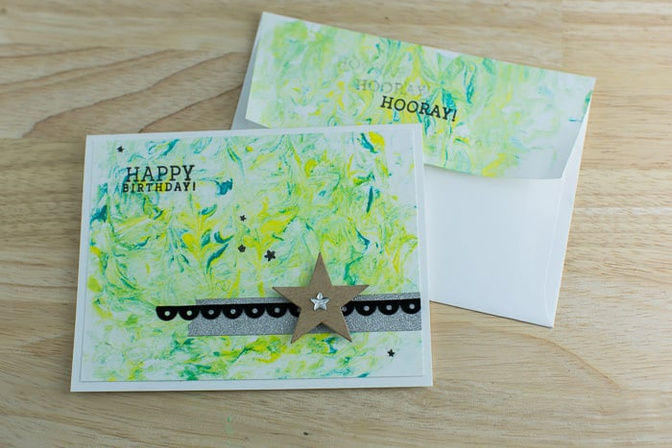
Repeat the process with more cardstock and envelope flaps to coordinate.
Once the paper is dry, you can go ahead and decorate the paper and envelopes with stamps, die-cuts and stickers to your heart's content.
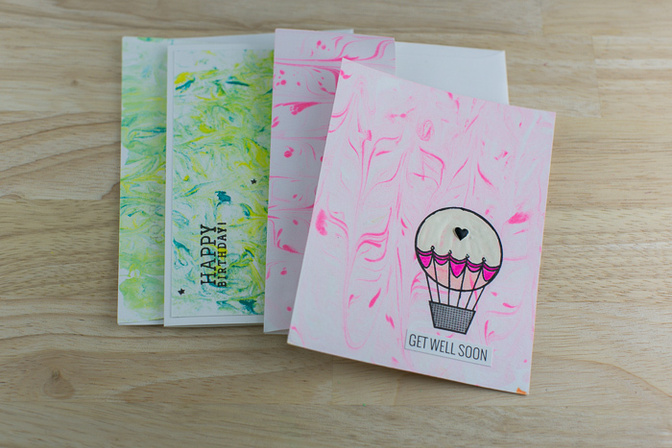
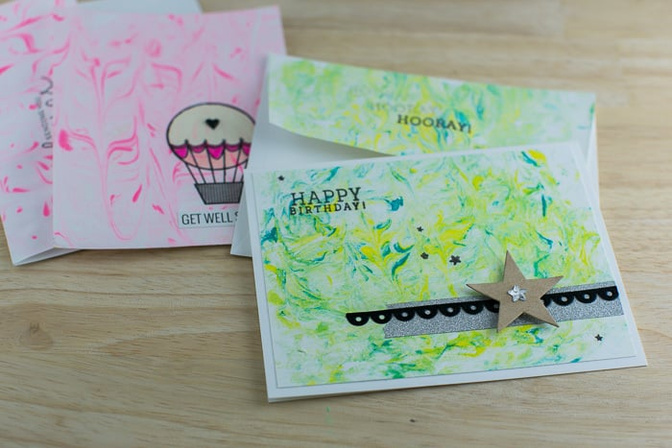
And that's basically it. What are you waiting for? Get the shaving foam and paints out to make your own marbled stationery! Try this technique to make journaling cards and patterned paper too!
Supplies: Kits - Cirque Card Kit, Office Hours Card Kit, More Solar White; paint - Color Theory Sunny Day, Color Theory Mint Hint, teal, neon pink, off-white; ink - Onyx Black Versafine; others - shaving cream, envelopes, Copic markers, EK Success star punch, paint palette


Comments
Sign in or sign up to comment.
10 comments
Oh wow what a cool technique!!
Replies to CristinaC
Sign in or sign up to reply.
That's so cool
Replies to toribissell
Sign in or sign up to reply.
That's one of the coolest things I've seen in a while!
Replies to theslowcrafter
Sign in or sign up to reply.
I'm seen this done with styrofoam eggs for Easter. Never thought of doing it with paper. So cool!
Replies to astoria150
Sign in or sign up to reply.
so so so neat, Dana!!! Just so cool!
Replies to maggie_massey
Sign in or sign up to reply.
Thank you for sharing. What a cool trick!
Replies to flashysoupcan
Sign in or sign up to reply.
It's a fun technique. You can use reinkers also.
Replies to ohanalei
Sign in or sign up to reply.
@ohanalei Oh, good idea! I hadn't thought about using reinkers, yet.
Replies to pixnglue
Sign in or sign up to reply.
I know what I'm doing with my daughter on her next snow day! Very cool.
Replies to chrystilu
Sign in or sign up to reply.