Make a Shaker Card & Matching Envelope Tutorial | Dana Fleckenstein
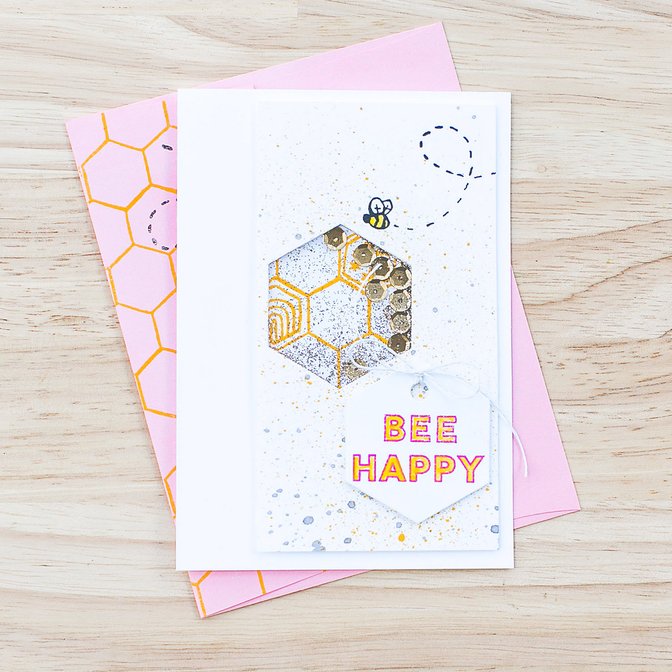
Tags:I had a lot of fun goodies in my April kit box, but just couldn't take the time to give everything the attention it deserved in time for the official Creative Team gallery. One of these items was the super cute Bee Happy stamp set by Katie Thierjung. Another thing that I had still out on my desk was a Easter Gift Tag Stamp & Die set we had as a Cirque kit add on. I saw the two next to each other and found the hexagon tag die would be perfect with the Bee Happy stamps.
Here's my step by step process if you want to create something similar:
Step 1 - Cut a white cardstock mat a bit smaller than your card base and die cut the hexagon tag from it.
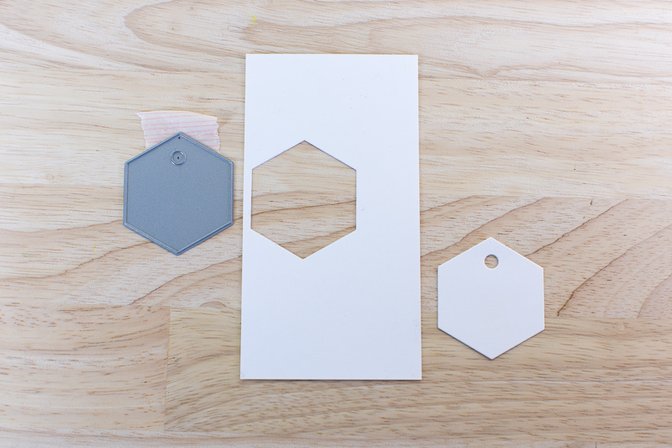
Step 2 - Use the same hexagon die on a full sheet of foam adhesive.
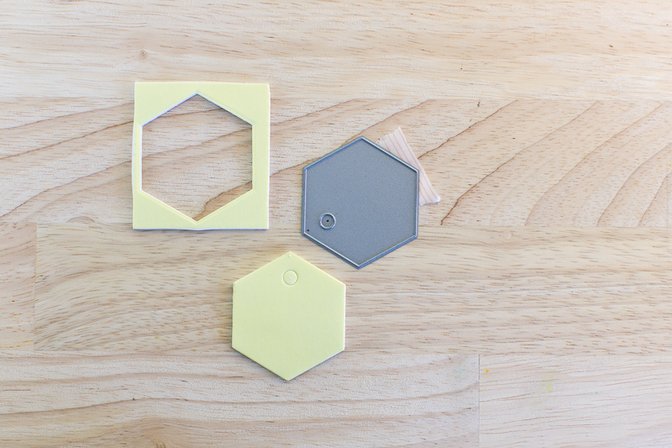
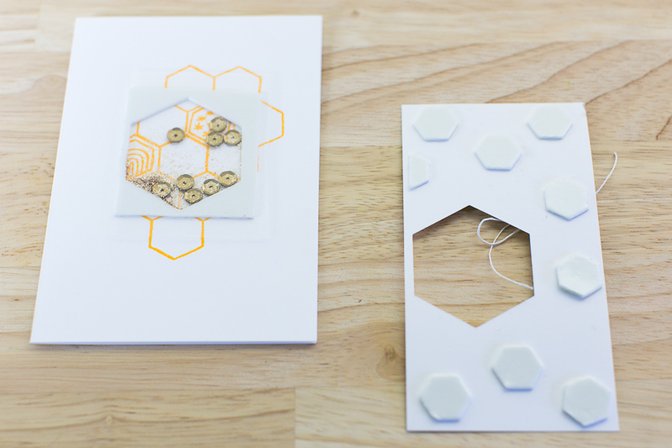
Step 3 - Trace the hexagon from your mat onto the card base with a pencil.
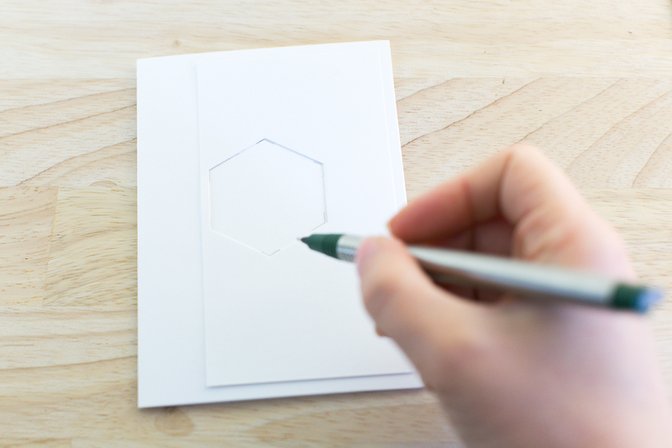
Step 4 - On the card base, mask the edge where the mat would end and stamp over the pencil lines with your hexagon stamps from Bee Happy.
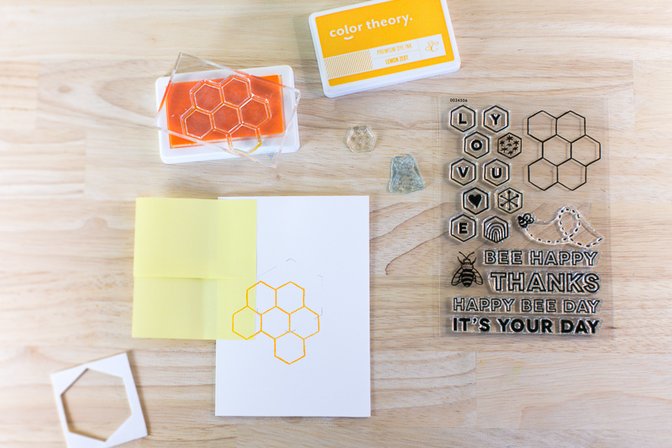
Step 5 - Erase the pencil lines so that only a faint line is visible to you. Remove the bottom protective layer of the die cut foam adhesive frame and stick it down on the card base along the pencil lines. Fill your frame with glitter and sequins.
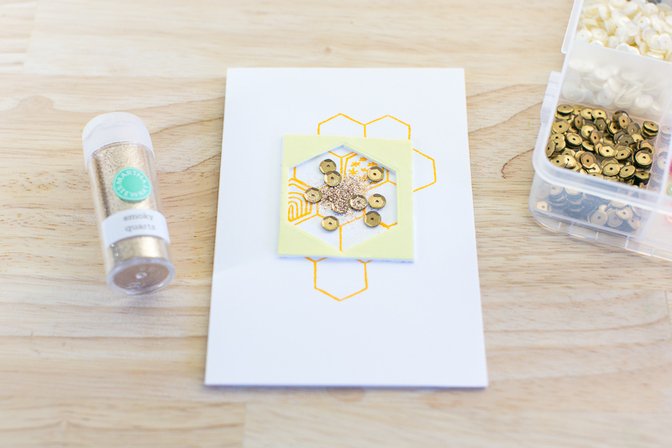
Step 6 - Peel off the upper layer of the foam adhesive frame and add a piece of clear transparency to seal the window.
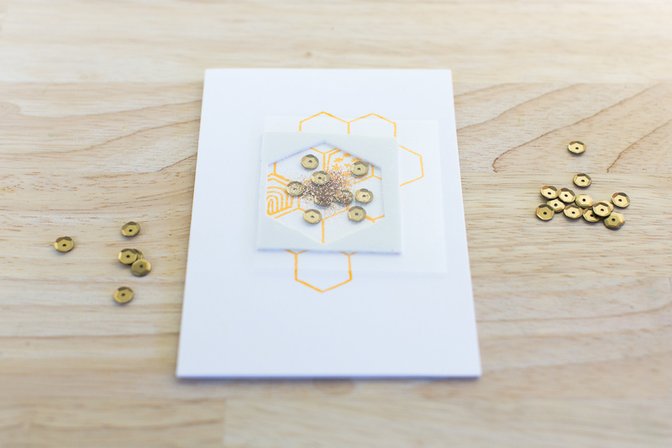
Step 7 - Stamp your mabee and flight trail imageblack ink
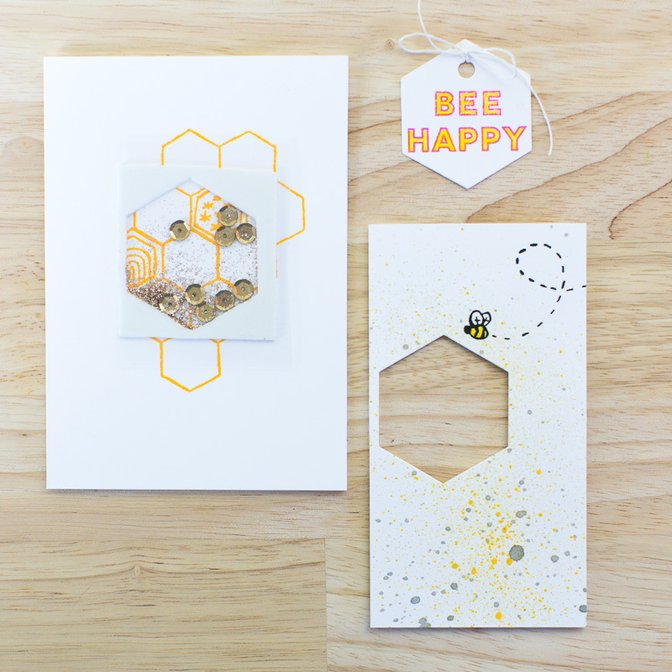
Step 8 - Stamp your sentiment in Color Theory Flamingo ink on the left over cardstockhexagon tag. You can also fill the letters with coordinating watercolor paint.
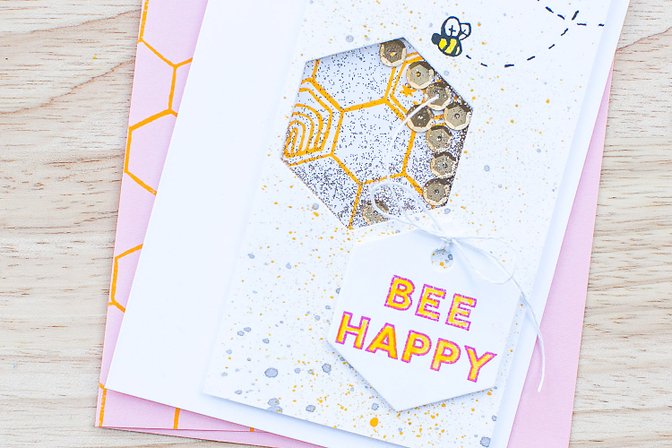
Step 9 - Adhere the cardstock tag to your mat, then pop up the mat with more foam adhesive and place it over the shaker window.
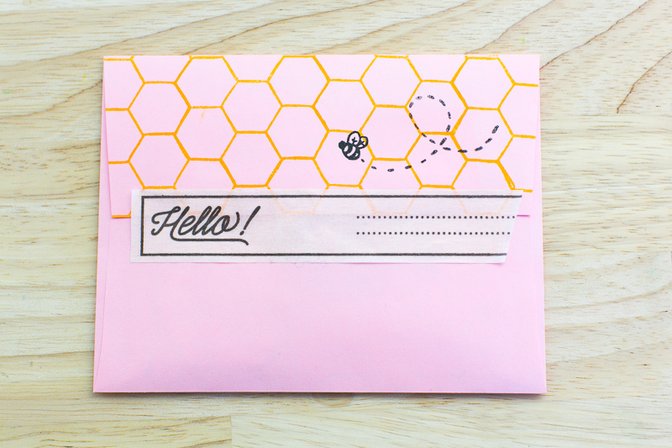
Step 10 - Decorate the envelope from the Card Basics add-on with the hexagon stamp pattern and bee image. Slip your card into the envelope. Add a return address to the labels masking tape and seal the envelope with it.
Lisse Street kitsCard Basics add-onTo/From Labels Masking TapeMore Solar White add-onBee Happy Stamp SetColor Theory Ink Pad Lemon ZestColor Theory Ink Pad FlamingoOnyx Black Versafine Ink PadEaster Gift Tag Stamp & Die SetColor Theory Sequins 24 KaratTransparency Paper Pack 12x12Zig Watercolor System Brush H2O Medium TipNeocolor II Yellow


Comments
Sign in or sign up to comment.
7 comments
Loved this card Dana! Thanks for the how-to!
Replies to Brinkleyboy
Sign in or sign up to reply.
Love this so much, Dana!!!
Replies to sideoats
Sign in or sign up to reply.
brilliant!
Replies to jamiewaters
Sign in or sign up to reply.
Such a cute card! You've completely sold me on this stamp kit but unfortunately, they are sold out. There is no 'notify me' button. Will they not be restocking?
Replies to pinksoup
Sign in or sign up to reply.
This is such a cute and creative card! Love it!
Replies to tealandtafetta
Sign in or sign up to reply.
Awesome card! Love the dry glitter on the shaker.
Replies to Cris_G
Sign in or sign up to reply.
@pinksoup Thank you!! The notify buttons are only active in the shop but not in the kit section if I remember correctly. I'm not sure if this will be reorder but when they do it usually makes an appearance in the stamp section of the shop :)
Replies to pixnglue
Sign in or sign up to reply.