Galileo Scrapbook Layout from Start to Finish | Jamie Waters
Tags: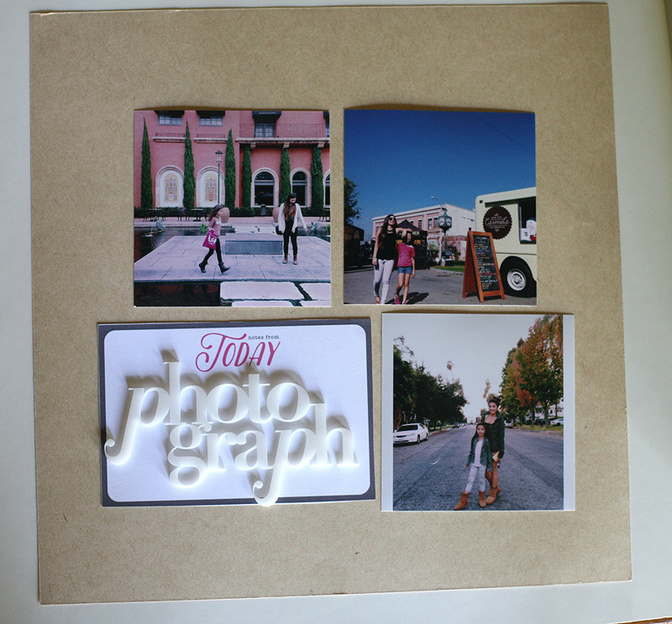
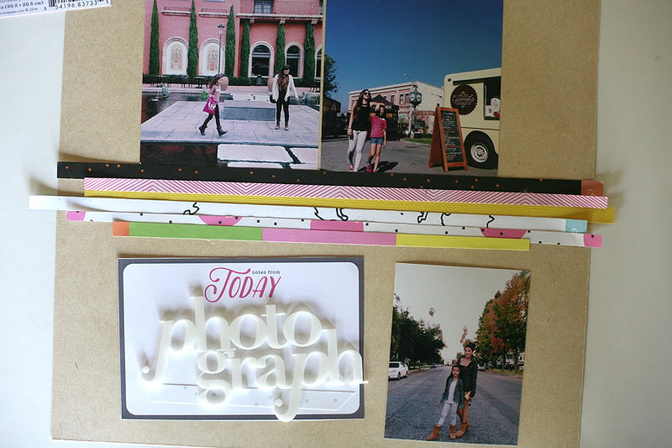
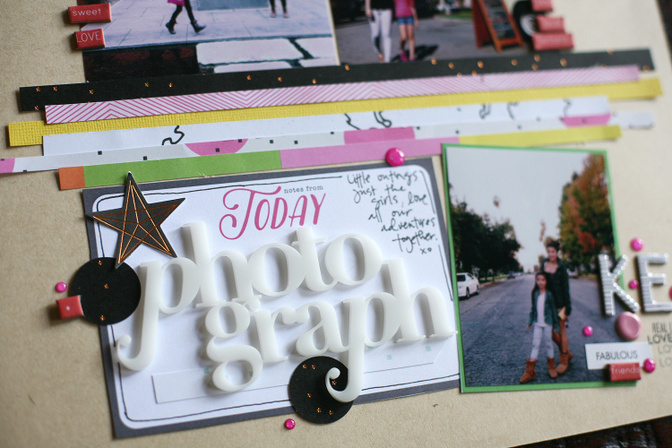
Next I ran my adhesive along the middle of my layout so that I didn't have to individually adhere each strip. I just placed them all down on the adhesive. Next I trim them all down in varying lengths.

Thanks for checking out this tutorial on my Galileo layout, start to finish!
Supplies: Galileo Scrapbook kit, Printable Journal Cards by In A Creative Bubble, More Kraft


Comments
Sign in or sign up to comment.
1 comment
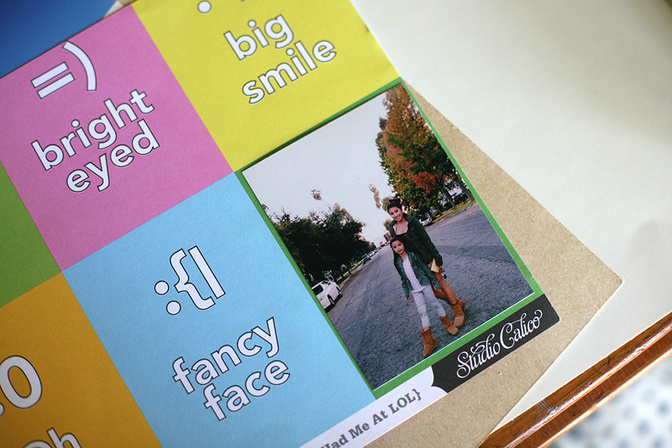
I love that sprinkle of pink dots! Perfection.
Replies to pinksoup
Sign in or sign up to reply.