Tutorial: Using a Big Photo to Anchor a Page | Ania-Maria Wolniak
Tags: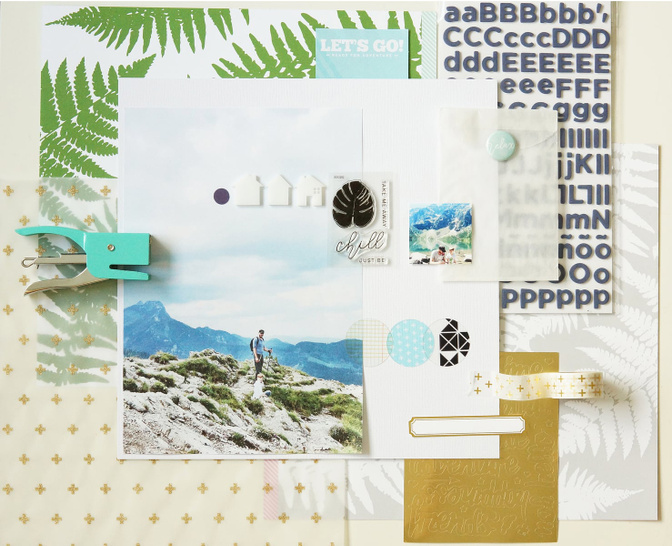
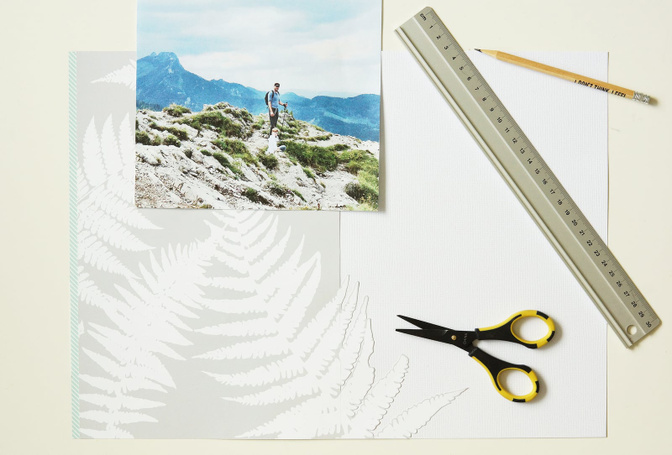
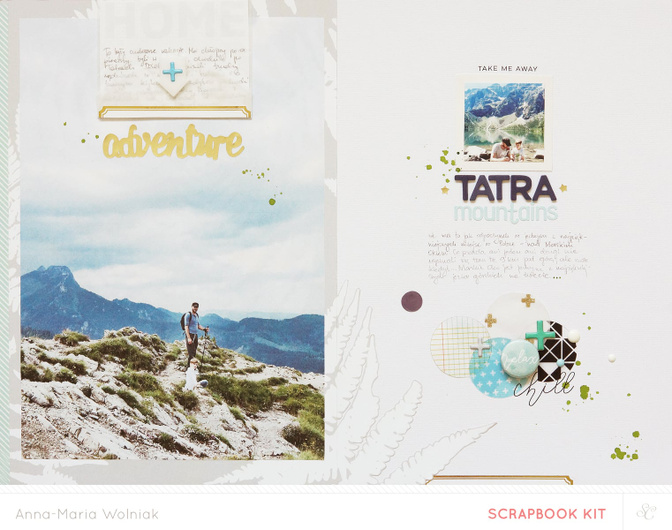
all of this amazingly beautiful fern pattern unders the photo...
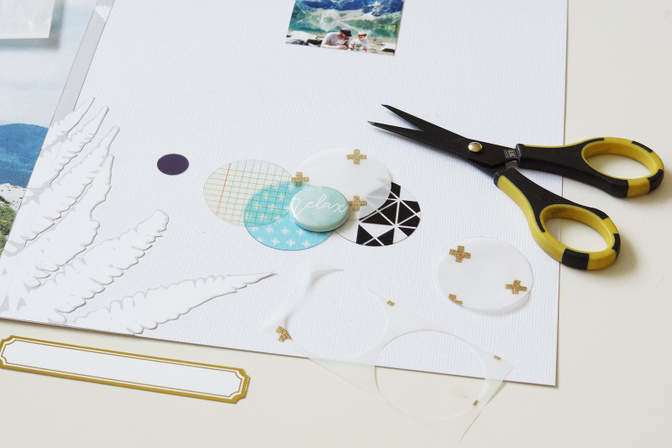
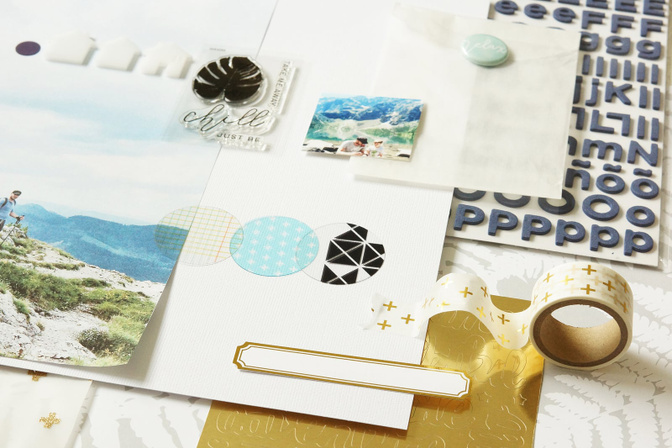
The next step was to combine an embellishment composition with various goodies. I grabbed transparent circles, brad, stickers, I cut few circles from the exclusive vellum from the main kit and some enamel dots...
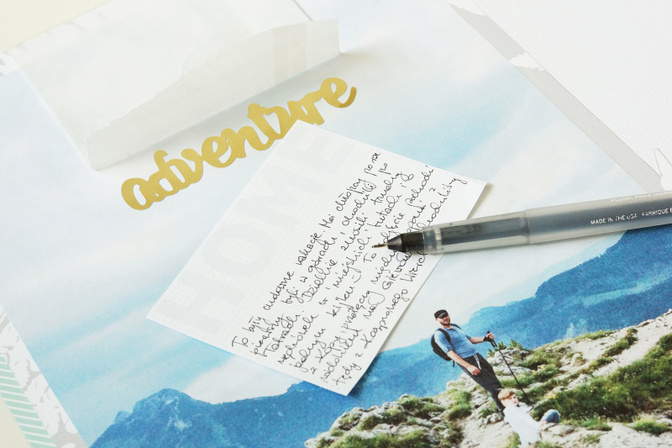
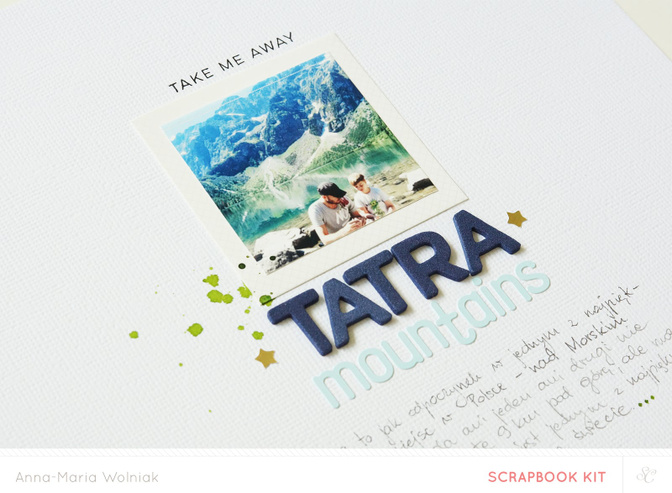
In my opinion the big photo should be decorated too. I covered a top of the sky by the glassine bag and I wrote a short note about that day on a printable journaling card. I added a gold sticker under the envelope to embellish the ensemble.
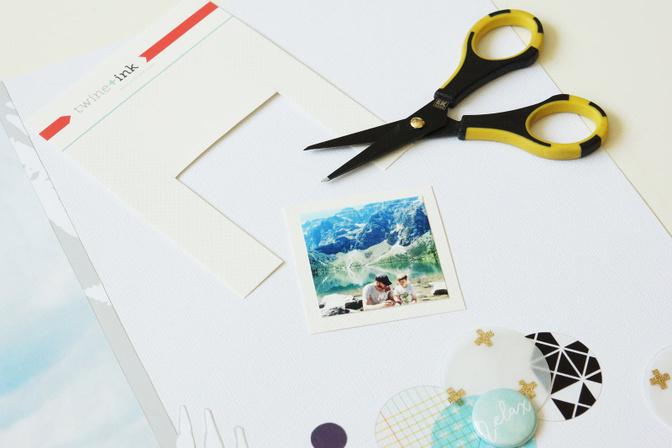
I added a piece of white paper cut from the package to highlight the tiny, square photo. In my opinion it looks a little bit better than without.
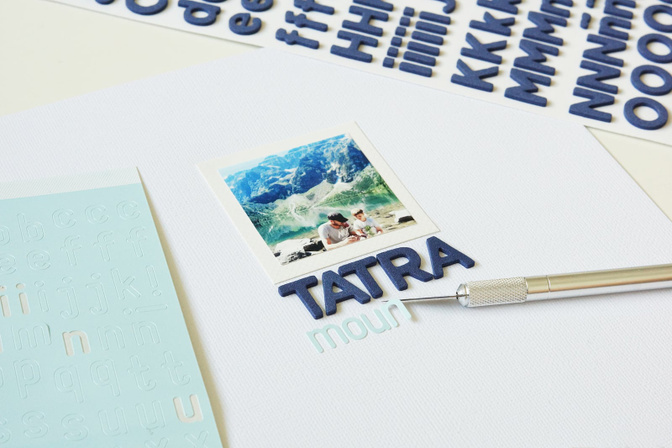
Now it's time for my favorites - alphabets! I love to mix various fonts and shades of alphas. I limited the 'writting' area to the the lenght of the picture with a white frame. The navy foam letters are coming from the Warhol add-on and the tiny ones are from the main PopArt kit.
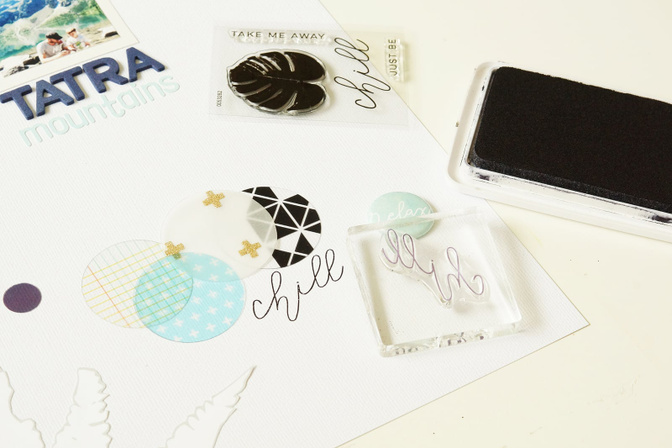
The circle composition under the photo was enriched by the stamp from this awesome set from the add-on. I missed something black what would suit to the black triangles from the transparent circle. This 'chill' word was perfect!
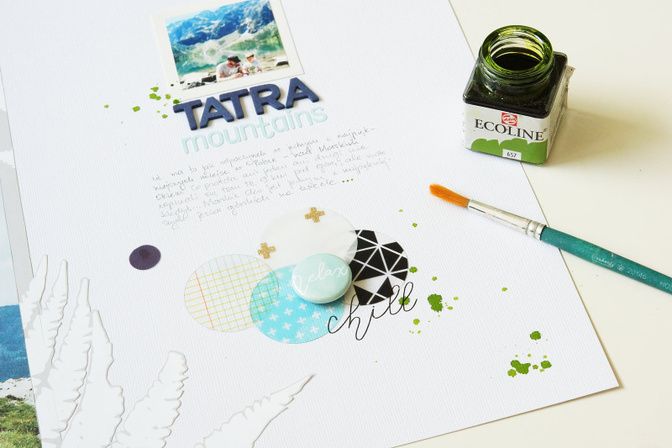
At the end of my creative process I added few green splashes as a perfect finish :) When they were dry I looked once again for both pages together and start added more embellishments - those tiny once like colourful pluses from the Hockney exclusive add-on or few enamel dots. Please check out all the detail photos to find all of these 'last touches'.
Thank you for stopping by. I hope my tutorial inspired you a little bit. Hope you want to try with your own favorite photo and a mix of favorite embellishments.
Have a nice day, waiting for your creations in a gallery!
Anna-Maria


Comments
Sign in or sign up to comment.
8 comments
Love how the fern is cut out!
Replies to paperedpine
Sign in or sign up to reply.
Love that big photo and your layouts are always just divine! They always have that "soft" feeling to them, love that! Can't wait to get my kits after looking at what you created!
Replies to Brinkleyboy
Sign in or sign up to reply.
Beautiful. l love seeing your process of creating.
Replies to denisea
Sign in or sign up to reply.
Love that all your embellishments enhance the beauty of that photo! Perfection.
Replies to pinksoup
Sign in or sign up to reply.
Genius. I love every.single.bit
Replies to shann
Sign in or sign up to reply.
SO gorgeous. Love seeing this as a tutorial!
Replies to jamiewaters
Sign in or sign up to reply.
Thank you so much guys!
Replies to aniamaria
Sign in or sign up to reply.