Tutorial: Using the Lollipop Guild Documenter Kit with Geralyn Sy
Tags: I started by printing out some photos that I cropped into 2.5” squares. I trimmed them out with my paper trimmer, leaving a white border. 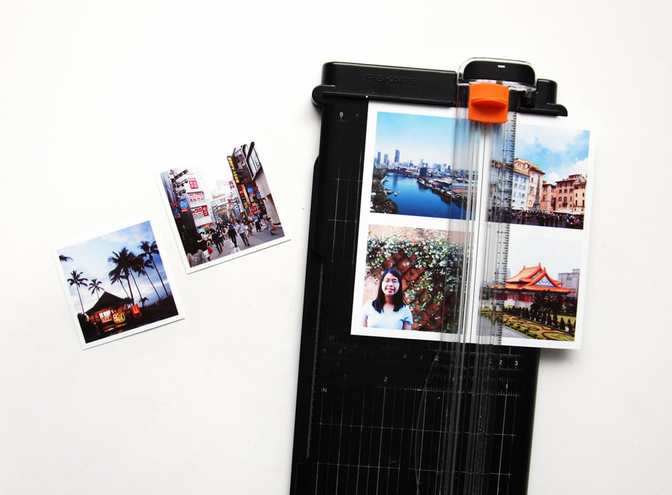
I decided on a grey cardstock base and played around with the placement of the photos on it. I also sorted through my cards and picked two that I thought worked well with my layout. 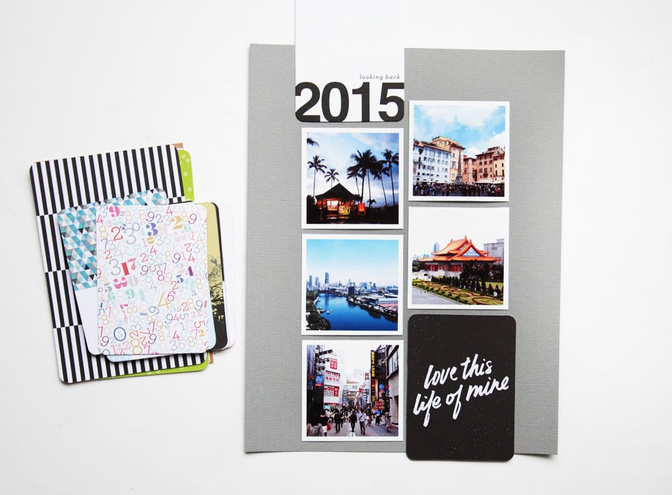
Once I figured out the general placement of my photos and cards, I removed them so that I could add some stamping to my cardstock base. I used the large star and starburst stamps with Grey Area Color Theory ink to add some tone-on-tone stamping to my background. 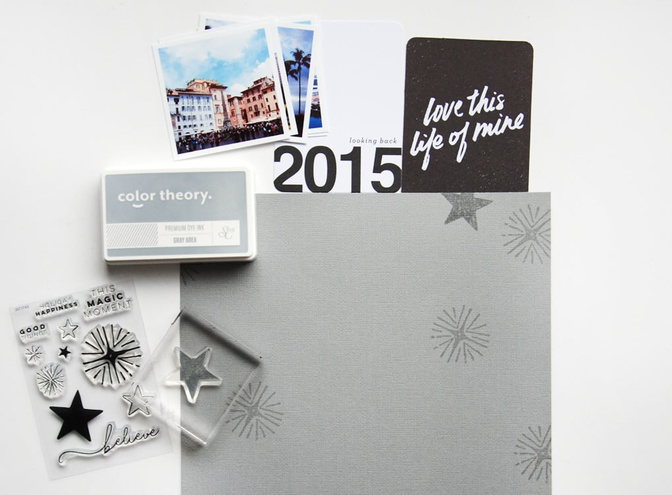
Then I laid out my photos and cards again, adhering them on my cardstock with foam adhesive (for the photos) and regular adhesive (for the cards). 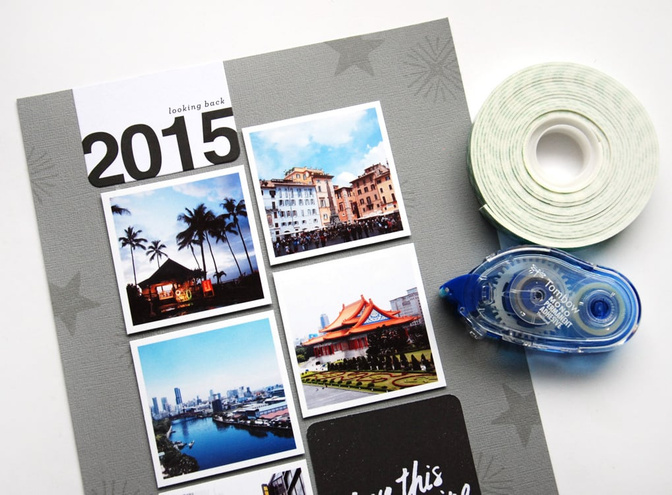
From the same stamp set, I chose the smaller star and starburst stamps to add more stamping to my background. This time, I used a darker grey – Clean Slate Color Theory ink – so that there would be a bit of contrast. 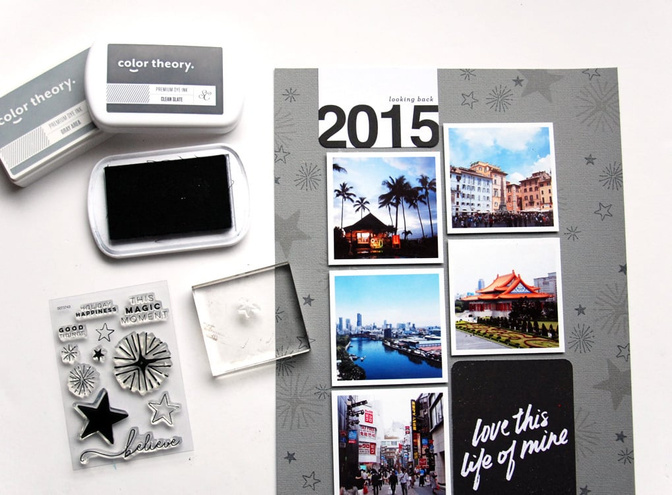
To add pops of color to my layout, I added washi tape strips and the rubber stars from the Documenter kit to the sides of my photos. 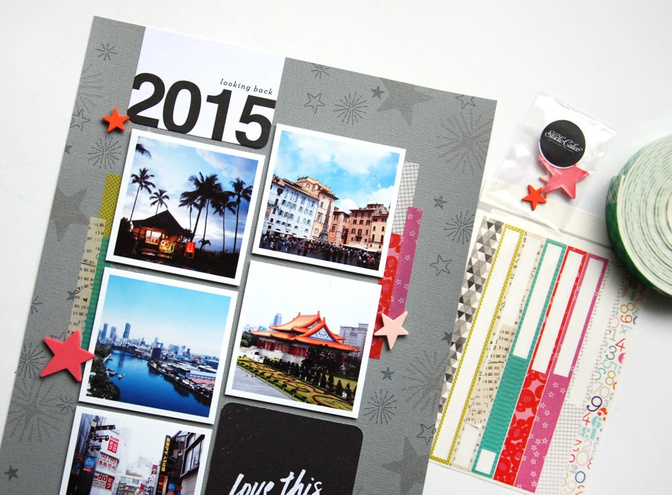
My final step was to adhere a rubber banner to the top of my layout and add a sprinkling of enamel dots. I like grouping things in odd numbers so there are three clusters of stars and enamel dots, forming a visual triangle on my page. 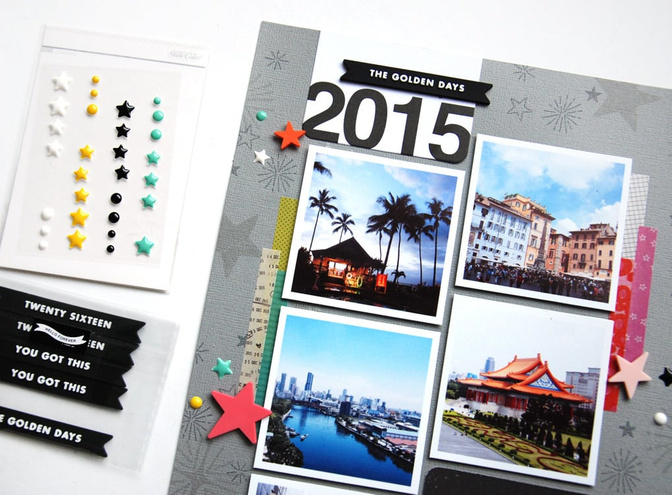
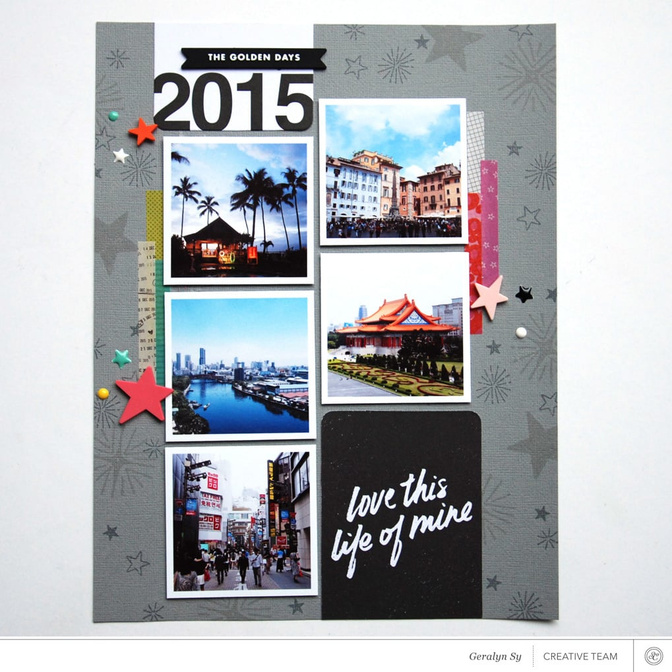

Supplies: Lollipop Guild Documenter Kit – cards, washi strips, enamel dots, rubber stars; Lollipop Guild Scrapbook Kit – cardstock; Tin Man – stamp set, rubber banner; ink – Versafine, Color Theory


Comments
Sign in or sign up to comment.
6 comments
You are just too good for words! I love everything you do.
Replies to pinksoup
Sign in or sign up to reply.
Love this! So many great ideas packed into one layout
Replies to Hsmith_76
Sign in or sign up to reply.
Oh! I really like this layout! I love how you used the stamps!
Replies to cloudyya
Sign in or sign up to reply.
Love this Geralyn, thank you for sharing!
Replies to Bellaa75
Sign in or sign up to reply.
Love it! You're work is so inspiring!
Replies to Janice15
Sign in or sign up to reply.
Love this!
Replies to Leanne1965
Sign in or sign up to reply.