Tutorial: Creating a Glittery Celestial Card with Carson Riutta
Tags: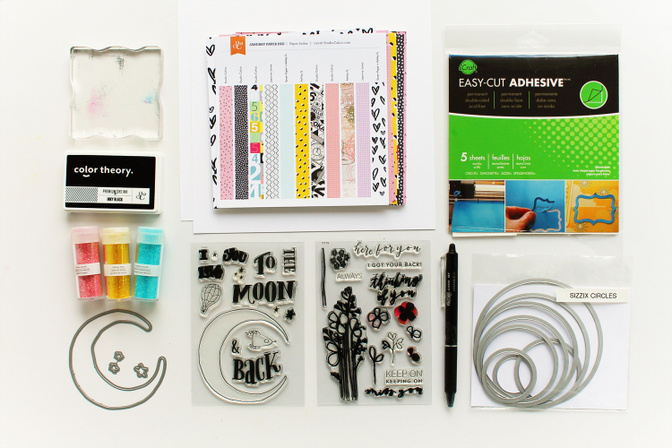
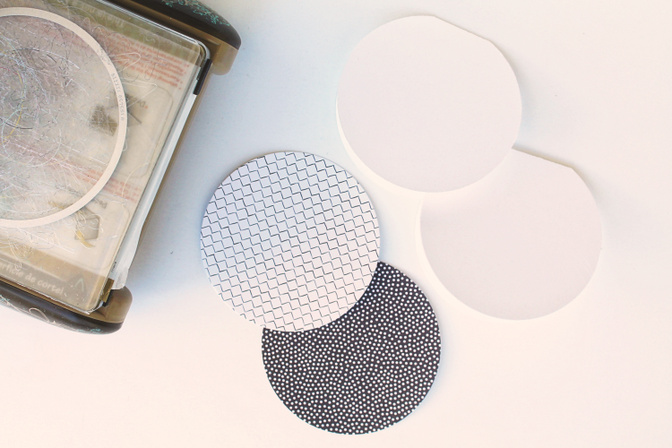
When my Arendal goodies first arrived at my door, I fell instantly in love with the Moon and Back stamp and die set. My initial reaction was to make that moon die shine, and so today I'm able to realize that dream, and I'll show you how you can do it too. You'll need all the supplies you see above, plus a die-cutting machine and some kind of straight edge. You may also want to grab a paintbrush, to help you clean the inevitable errant glitter off your cards.
Not only did I reach way back into my stash to grab my glitter, but also to find these sheets of double stick adhesive, and now I'm kicking myself for not using these sooner, they are genius!
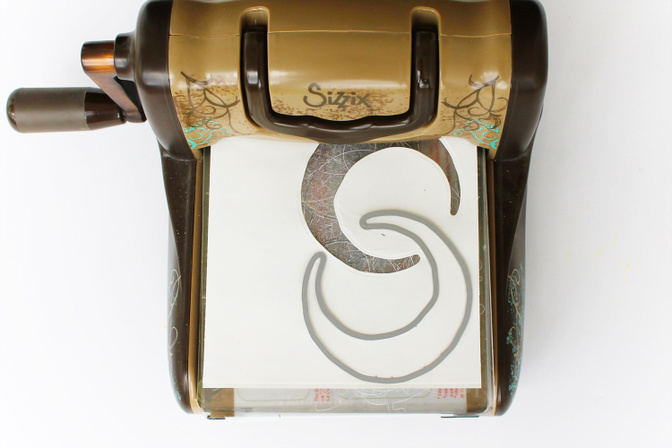
The first thing you want to do is cut as many moons as you please out of your double stick adhesive sheets, one moon per card. I recommend making a bunch of these little cards at a time, as they are super cute, and it may be a year or so before you're ready to play with glitter again, I think that's how long it takes to stop showing up literally everywhere.

Once your moons are cut, peel off one side of the adhesive backing and stick them to a white piece of cardstock. Make sure to leave enough room around the moon to die-cut a slightly larger circle later. When you're ready to unleash the glitter, go ahead and peel the other backing off your adhesive moon and cover the sticky moon with the glitter of your choice. Now this part can be fun, and if you like getting sparkly I recommend getting in their with your fingers and manually rub the glitter into the adhesive. I also tried this with my bone folder as you can see above and both methods work perfectly. Make sure you get really good coverage and don't be afraid to really work the glitter into the adhesive. When you're happy with the amount of glitter on your moon, I recommend turning the excess glitter onto a piece of printer paper and creating a funnel to get it all back into it's jar. At this point it may be helpful to get a paint brush and a dryer sheet to help you clean the stray glitter from your around your moon and white cardstock.
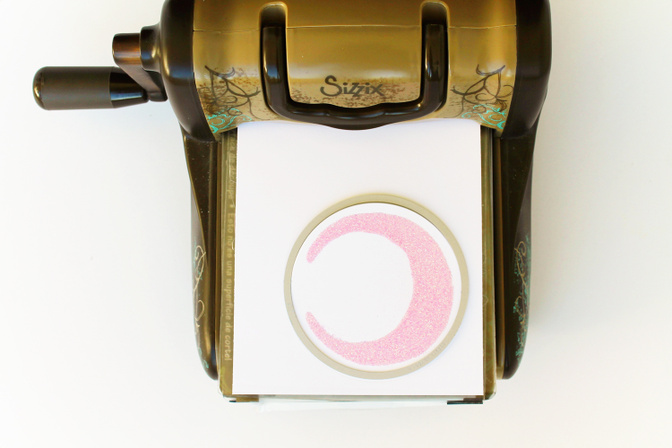
When your moon is fully glittered and full of shine, choose a circle die-cut that is slightly larger than the moon itself, but is not your largest circle. I chose a 3.75 inch circle and ran it through my die cut machine, centered around my glittery pink moon.
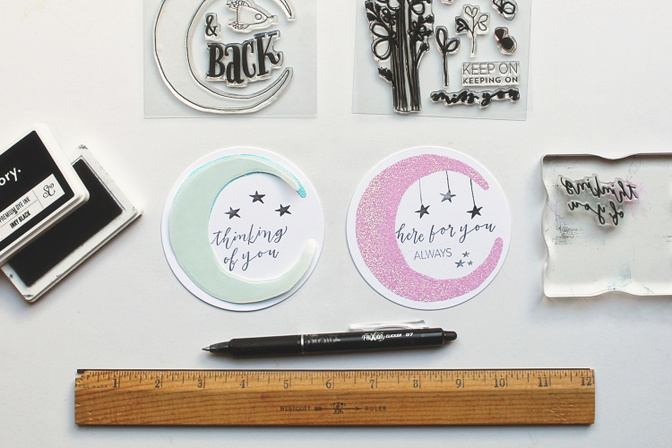
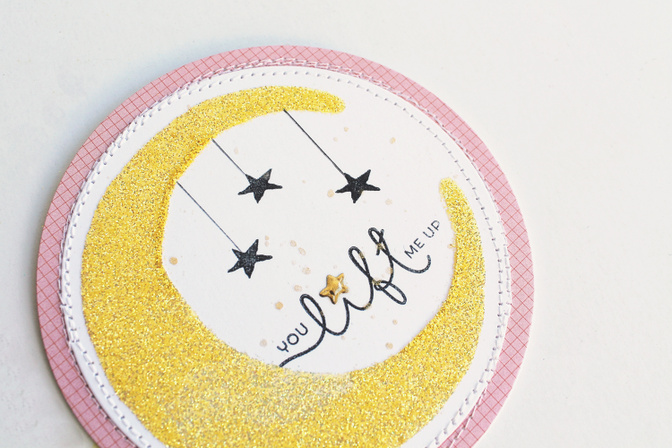
Now is the time to stamp! Go ahead and find some great little hand lettered stamps that fit into the curve of your moon, I chose the beautiful Encouragment stamp set by Jasmine Jones and the Hot Air Balloon set by IACB. I used the backing from the adhesive as a mask and placed it over the glittered moon while stamping. This made the stamp look as though it was peeking out from just behind the moon. I also stamped the larger star stamp from the Moon and Back set to create a sweet little mobile on each of the moons. The string was drawn in by hand using an erasable black Frixion pen and lined up with a straight edge.
Now that your card fronts are complete, you simply need to cut your patterned paper and card bases into circles and adhere everything together. I used my largest circle die with a 4.25 in diameter. Make sure, when you're cutting out your card bases, to leave your crease uncut at the top as pictured above.
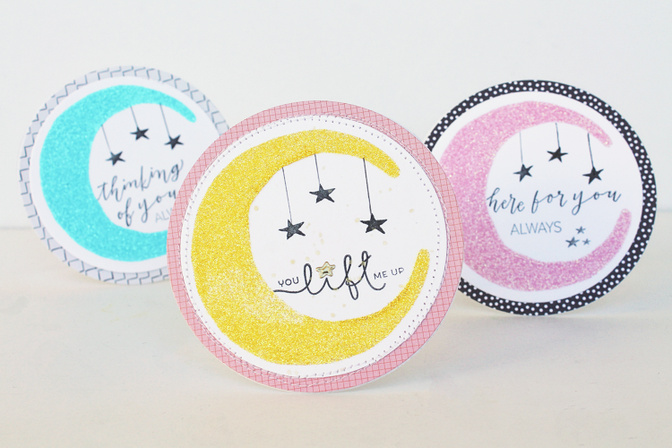
Your cards are complete but you still may want to add some finishing touches. On the card with the yellow moon, you can see that I added a gold die cut star as my dot on the "i" as well as some gold mist splatter. And finally for some texture I stitched messily around the circle a few times.
Thanks so much for stopping in today. I hope I've inspired you to get your glitter on, literally, and have some fun with your die collection. Cheers!
Moon and Back Stamp and Die SetEncouragement Stamp and Die set by Jasmine JonesHot Air Balloon Stamp set by IACBSC Color Theory Inky BlackArendal 6x6 Paper Pad


Comments
Sign in or sign up to comment.
7 comments
Thanks Carson, always fun to get glittery now and again. I was having problems with my Vintaj cutting properly so I invested in a cuttlebug C plate which is thicker than the sizzix and now it works so much better.
Replies to CeliseMcL
Sign in or sign up to reply.
I love this! Thanks for the inspiration. My daughter-in-law is expecting again, and this will make a great new arrival card!
Replies to Kristi_
Sign in or sign up to reply.
Very cute!
Replies to memorymaker2016
Sign in or sign up to reply.
SO creative!!!
Replies to ginny
Sign in or sign up to reply.
Carson, these are FABulous!
Replies to tsurutadesigns
Sign in or sign up to reply.
Love playing with glitter - but I'd never thought to use whole sheets of double-sided adhesive before. This is so clever, and so pretty!
Replies to natalieelph
Sign in or sign up to reply.
This is gorgeous!
Replies to MandieLou
Sign in or sign up to reply.