Tutorial: Using the Arendal Documenter Kit with Maggie Massey
Tags: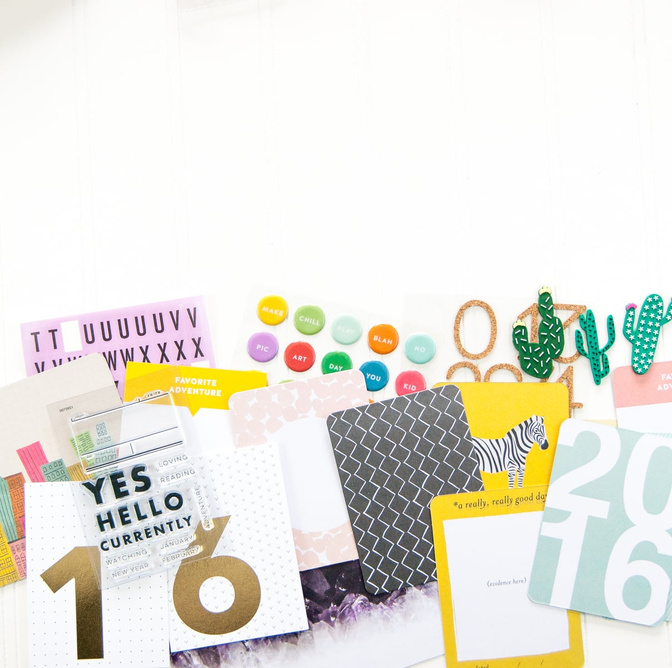
Here's how I started...
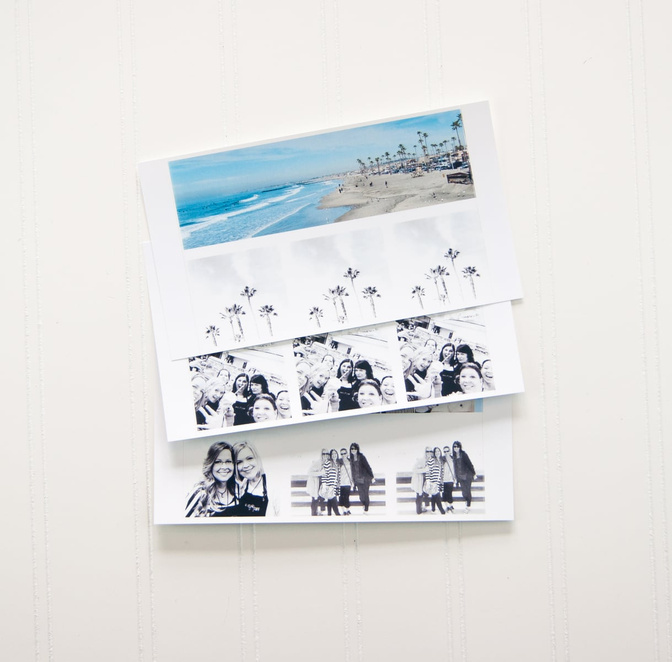
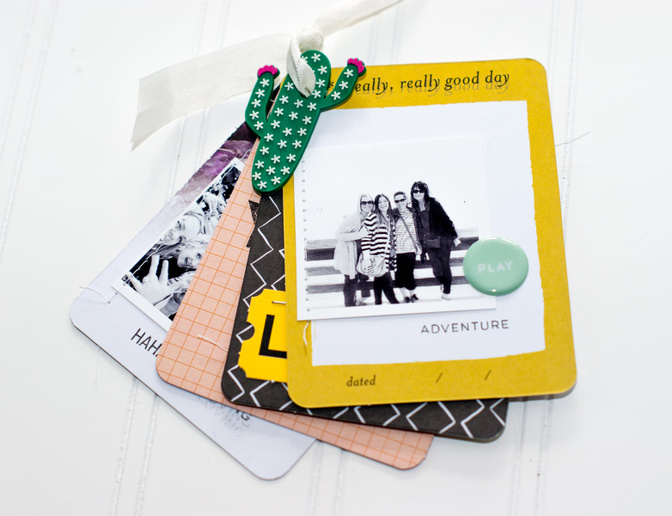
I cut the photos down and spread out some of the 3x4 cards from the Arendal Documenter Kit.
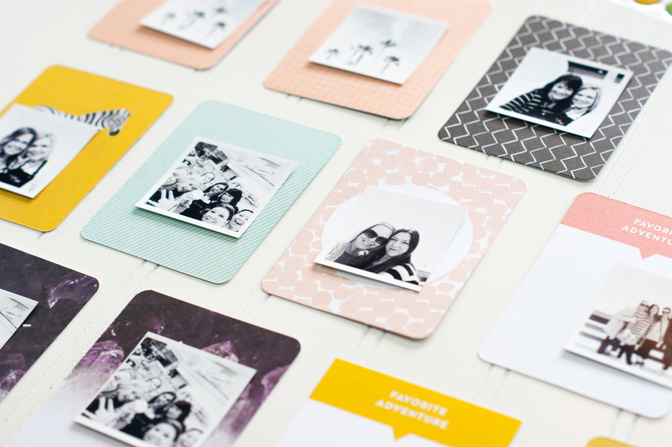
I stitched down one side of each of the photos to add a little texture and because I just really like the look of the stitching. Plus I think it really "grounds" the photo to the card.
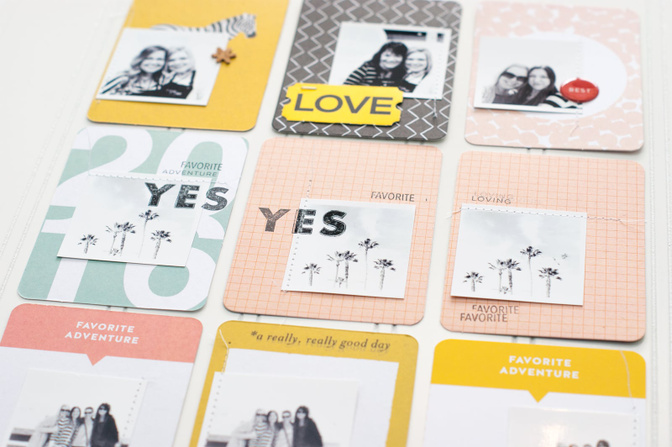
Once all of my photos were stitched I used the Documenter stamp set and the Mega Date Roller to add a few sentiments and the date to each set of cards.
Next I stapled a few of the Nes Verk embellishment tags to a few of the cards.
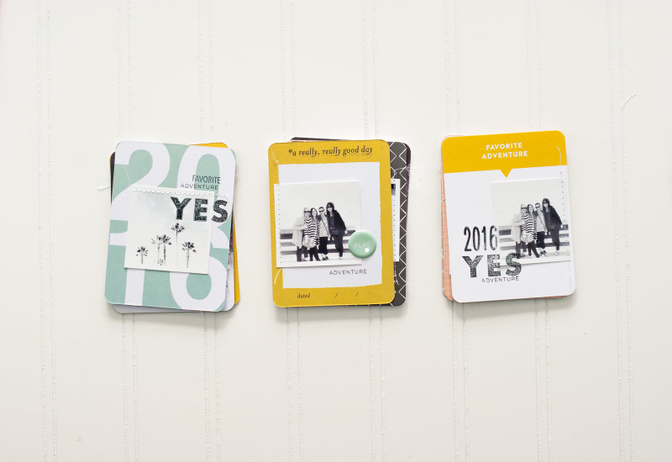
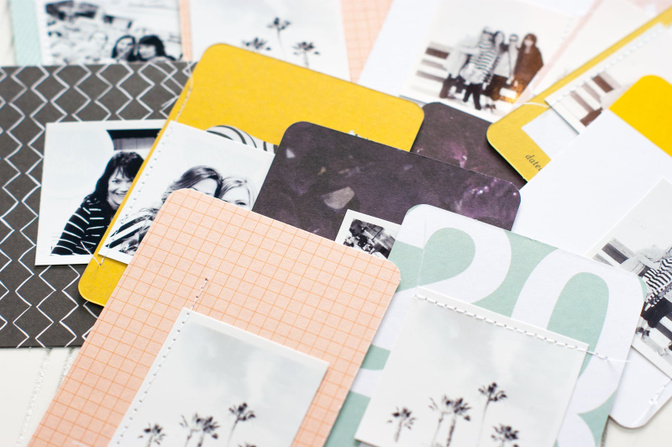
Once my stacks were finished, I punched a hole in the corner of each of the stacks...
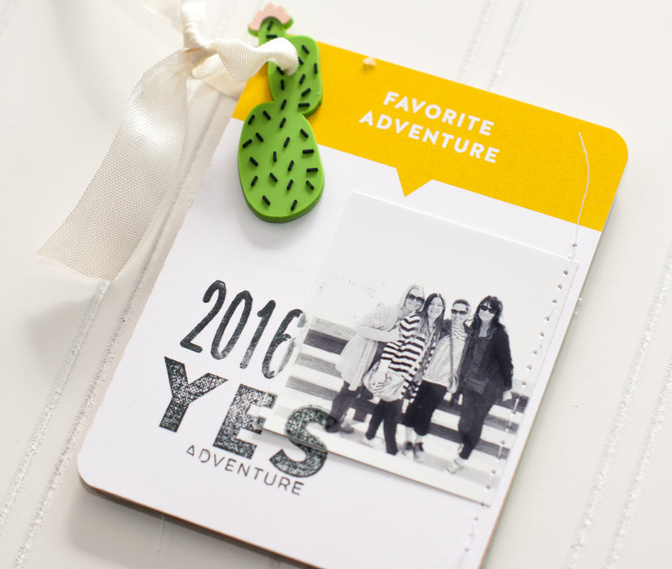
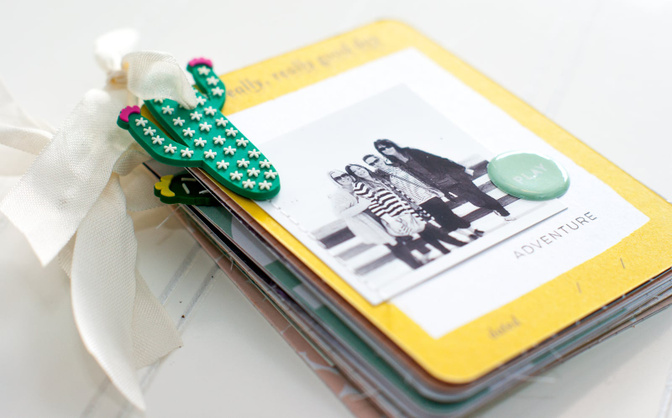
...and bound them with some seam binding and one of the rubber cactuses from the kit (oh my heavens those are adorable).

I'm hoping my friends will like these little "albums," and that they will realize just how special and important these memories with them are to me.
Don't have a trip you'd like to document in this way? No worries! How about creating a thank you, happy birthday or "just because you're awesome and I wanted to create something for you" little card album?
SUPPLIES: Studio Calico Documenter Kit: Arendal, Nes Verk Add-on, Studio Calico Mega Date Stamp, Color Theory Ink Pad: Inky Black, American Crafts Metal Mini Stapler, hole punch (Crop-A-Dile), ribbon or seam binding, small photos


Comments
Sign in or sign up to comment.
8 comments
so cute!
Replies to ginny
Sign in or sign up to reply.
Thank you so so much @ginny!
Replies to maggie_massey
Sign in or sign up to reply.
Such a great idea to use PL card! Can't wait to try this!
Replies to jenjeb
Sign in or sign up to reply.
so inspiring! I love the stitching and stamping.
Replies to JilC
Sign in or sign up to reply.
I love this idea! I have so many PL cards, what a great way to use them up! Thank you for sharing!
Replies to llafore
Sign in or sign up to reply.
Thank you so so much, girls! @jenjeb, @JilC, @llafore :*
Replies to maggie_massey
Sign in or sign up to reply.
This is such a wonderful thing to do! I will also do it. You inspired me!
Replies to moline
Sign in or sign up to reply.
Oh, thank you so much, @monline!
Replies to maggie_massey
Sign in or sign up to reply.