Tutorial: Using the Savannah Kits with Geralyn Sy
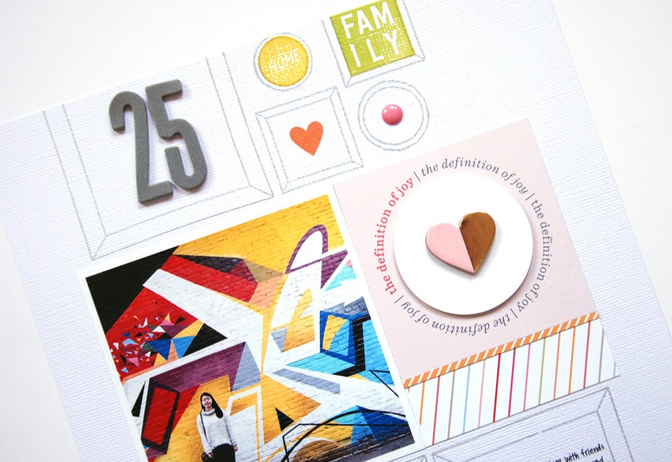
Tags: I started with a white cardstock background, my photograph, and a 4x6 journal card from the Documenter kit. I originally wanted to punch out the ‘definition of joy’ circle on the card, but couldn’t find a circle punch large enough so I settled with cutting the card down to a 3” square. 
I used my 2” circle punch to punch out a white circle for the center of the card, and I added a chipboard heart in the middle. I also cut up some patterned paper scraps to add underneath my journal card. 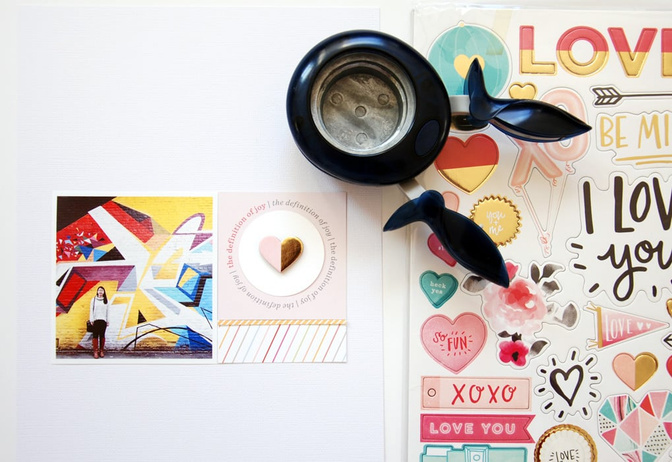
Now it’s time for the stamping! I’m using this awesome stamp set by LifeLovePaper and I plan on creating a gallery of frames around my photo and card. I’m starting with the large square frame, and I stamped it on the top left side and bottom right side. Stamping the same stamp in opposite corners will help keep my page balanced. 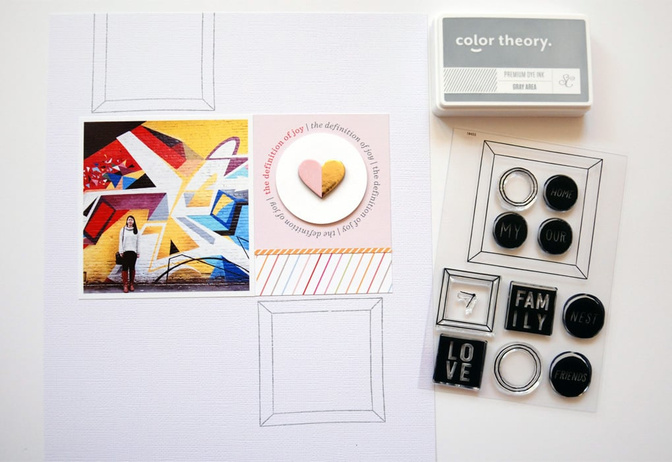
Next, I used the smaller square and circle frame stamps to create an arrangement of frames beside the large square frame. Whatever I stamped above my photo/card, I mirrored 180* below my photo/card. Again, this helps keep the layout looking clean and balanced. 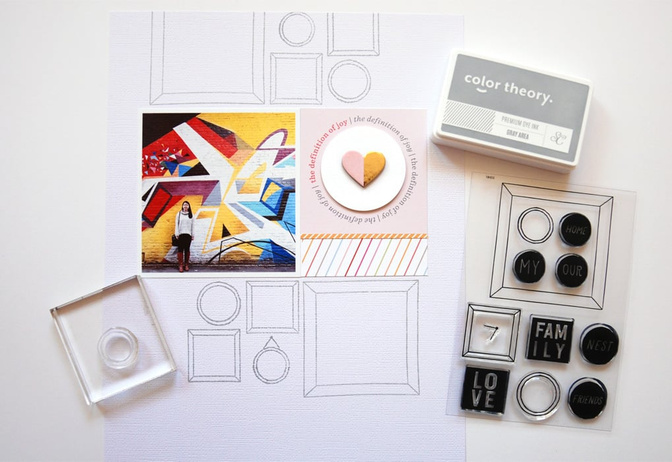
At the bottom of my layout, I stamped the arrangement of frames again, flipping the design horizontally so that the large square frame would now be on the left side and the smaller frames to the right of it. 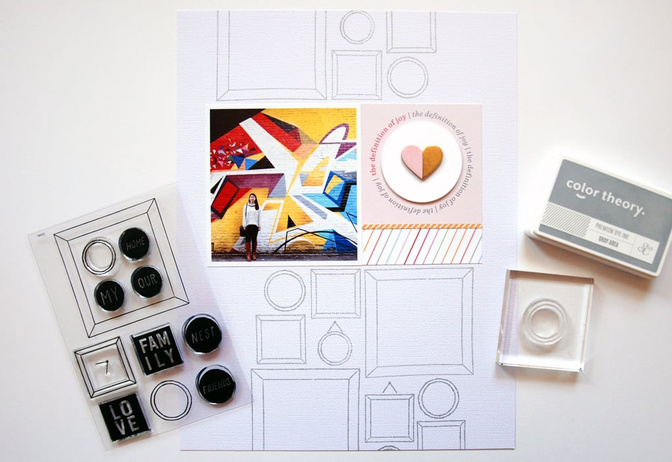
Once all my frames were stamped, I decided to use the solid shapes from the same stamp set with some pigment inks to add details and color to the inside of a few of the frames. 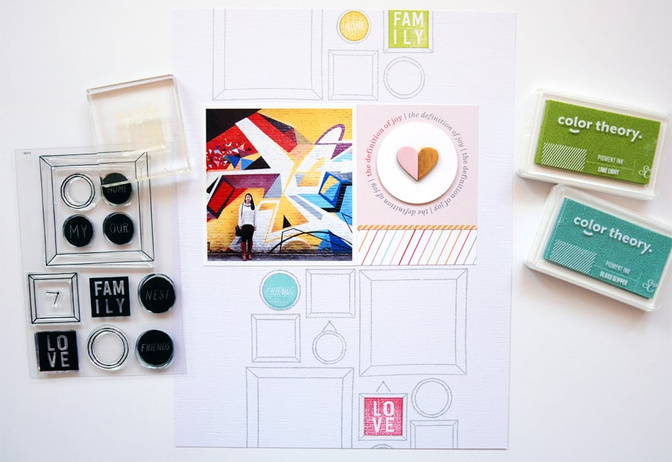
To decorate the rest of the frames, I used embellishments such as alphas, stickers, and enamel dots. I thought about adding some patterned paper to the inside of the frames, but thought it would make the layout look too busy. I wanted to keep the focal point on the middle of the layout so I left the inside of the frames white but just added some fun details here and there. 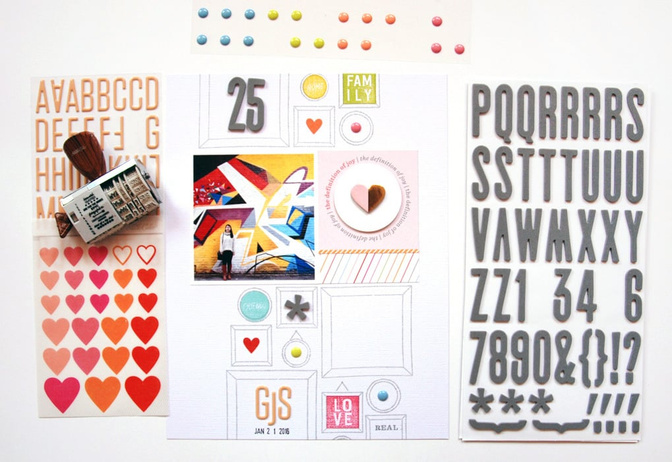
I cut out a few paper banners to adhere underneath my photo on the bottom left, and then I wrote my journaling in one of the large square frames I had left blank. 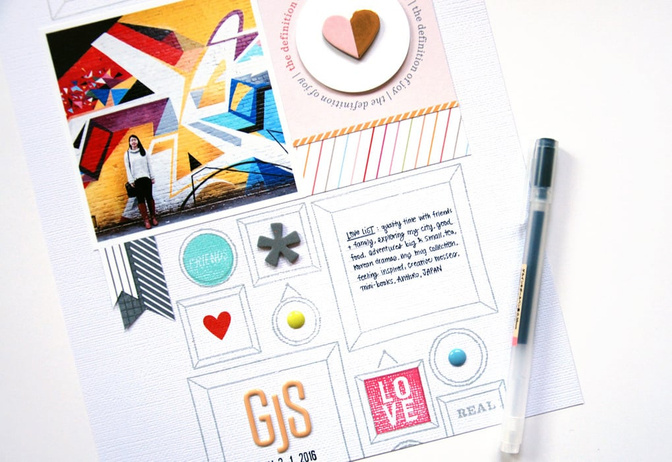
That’s it! I hope you enjoyed this look into my thought process of using stamps on a layout, and how I arranged my stamping thoughtfully to achieve balance on my page. Thanks for taking a look! 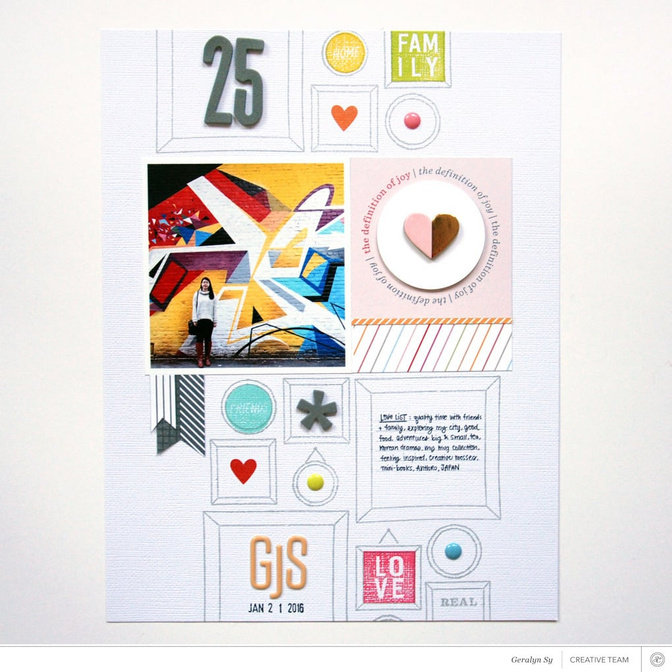
Supplies: kits - Savannah Scrapbook Kit, Savannah Documenter Kit, Gryphon Tea Room; stamps – 4x6 Frame by Life Love Paper; inks – Color Theory Gray Area, Color Theory pigment inks; pen - Muji


Comments
Sign in or sign up to comment.
4 comments
This is stunning! I love everything you do!
Replies to pinksoup
Sign in or sign up to reply.
Really lovely!
Replies to Northrigg
Sign in or sign up to reply.
Love this - so light.
Replies to Swanlady21
Sign in or sign up to reply.
Beautiful page!
Replies to erintaylor718
Sign in or sign up to reply.