Using the Roman Holiday Scrapbook Kit with Jen Chapin
Tags: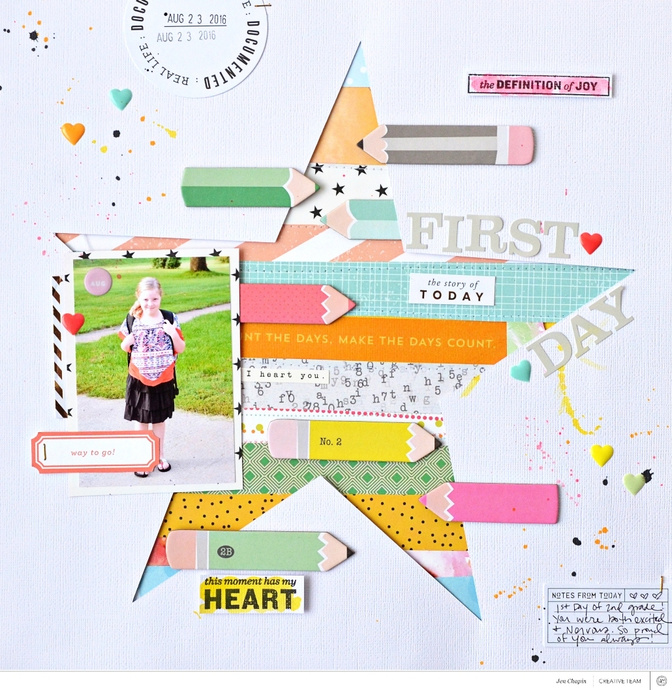
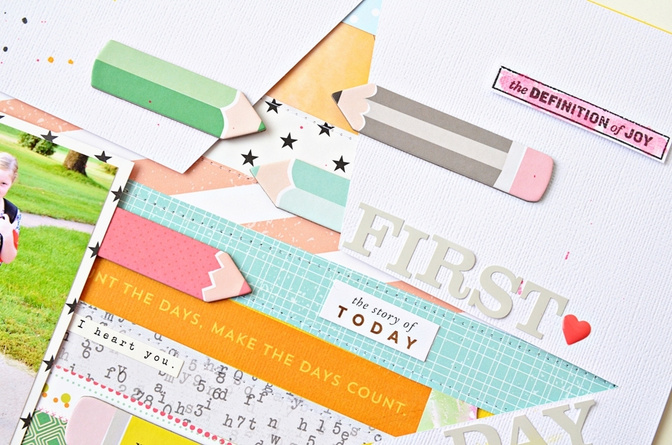
When I first saw the chipboard pencils that were included in the Roman Holiday scrapbook kit, I immediately knew I needed to make a back-to-school layout for one of my kids. My daughter started second grade this past year, and I had a few photos that I hadn't scrapbooked yet, so this was the perfect opportunity!
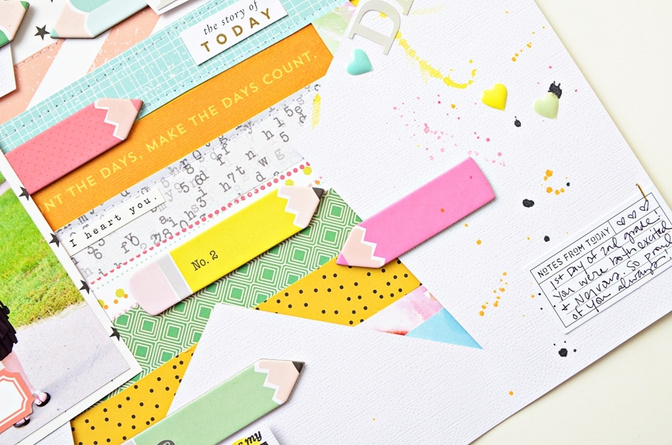
I started out with a piece of white cardstock that I had saved after cutting a star from it several months ago. I like to save large die cuts like these because they can often be used again for new layouts! On another plain piece of cardstock, I layered strips of patterned paper from the kit, along with a washi sticker and some die cuts. I used my sewing machine to stitch through some of the papers for added texture.
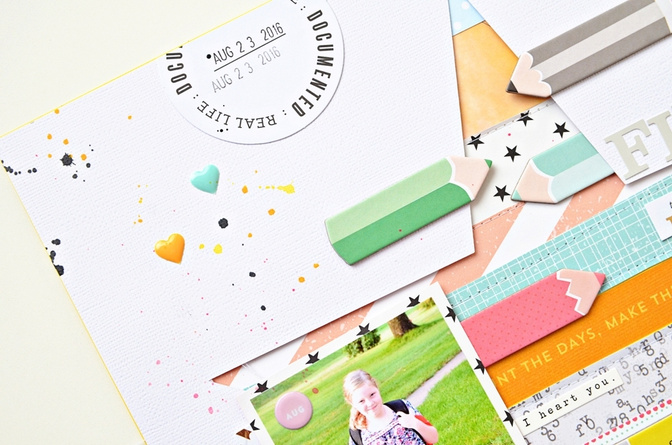
I then layered on my star die cut with foam adhesive, adding more chipboard pencils for embellishment. I also used a few of the stamps from the main kit, cutting them out and watercoloring over them a bit. After adding my photo and journaling, I splattered on some mist for added contrast.
This is an easy technique that creates a big impact. I hope you'll try it soon!
Supplies: Kits - "Roman Holiday" Scrapbook Kit; Ink - Studio Calico Color Theory Pigment Ink (Inky Black), Studio Calico Color Theory Mist (Inky Black, Lemon Zest);


Comments
Sign in or sign up to comment.
2 comments
I love this!
Replies to Kaybree
Sign in or sign up to reply.
Love this!
Replies to Neela
Sign in or sign up to reply.