Using the Starlight Documenter Kit with Marie Lottermoser
Tags:Hi, everyone! Thanks for stopping by today while I share a spread I made with the "Starlight" Documenter Kit. When my kit arrived and I saw the colors, I knew I wanted to make something with my photos from Seuss-Landing at Universal. We went there for vacation a few years ago and I really wanted to get the trip included in my album. The photos are so bright and colorful, and I wanted my cards and embellishments to match. Not to mention, nothing says “magic” like Dr. Seuss.
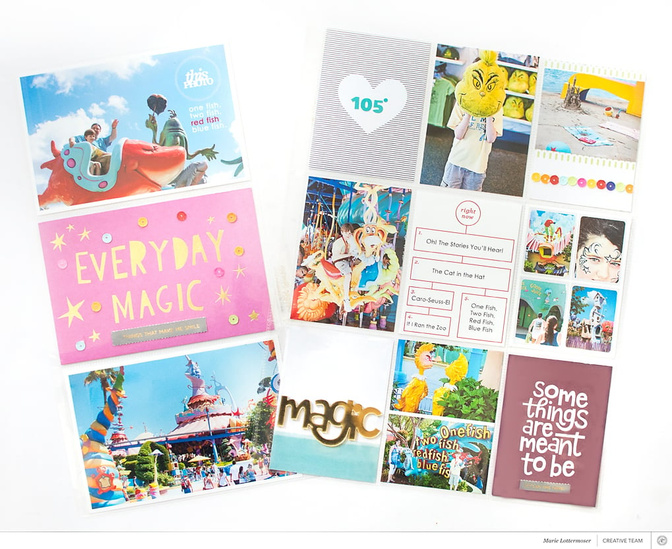
I tend to take a lot of pictures, especially when we’re traveling. Lately, I’ve been making more of an effort to get more pictures off my computer and on to my pages. In this layout, I added an insert and some small collages to fit in more pictures. By doing that I could include 11 photos! To make the 6" x 12" insert, I simply trimmed down a 12" x 12" page protector. Now that I’ve switched to a 9" x 12" album, I’m trying to recycle as many of my old page protectors as I can by cutting them down.
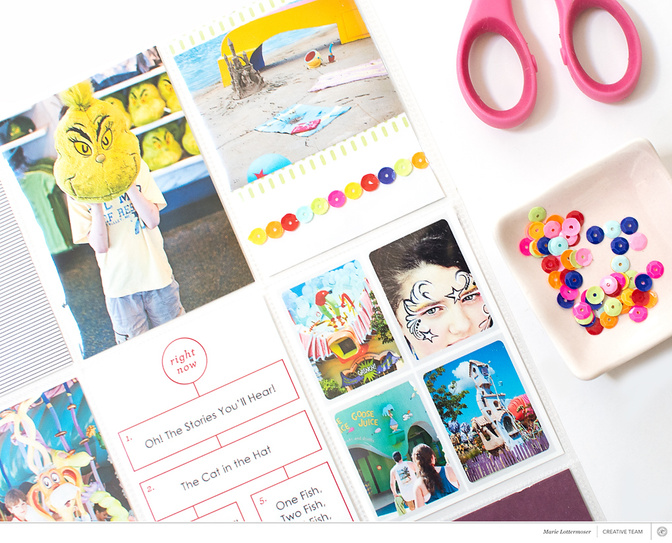
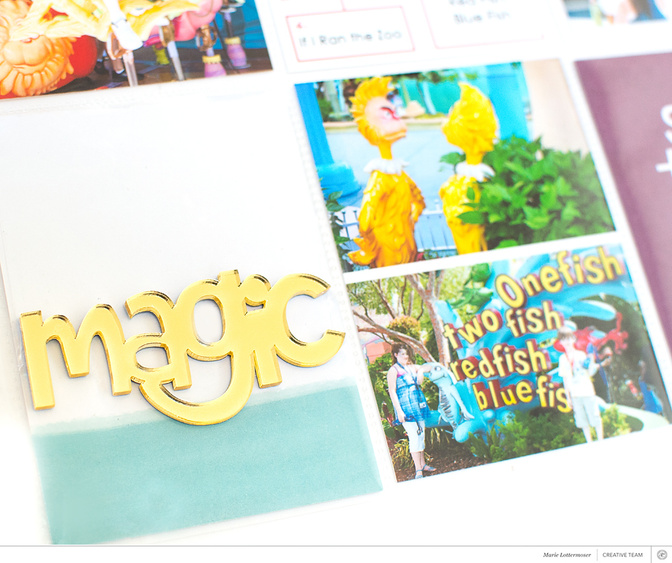
The two things that really stood out to me with the "Starlight" Kit were the beautiful gold “magic” word and the sequins. A lot of times, when I see sequins, I get out my fuse tool and make a shaker pocket. This time I wanted to change things up. On one of the 3" x 4" cards, I laid down some red line tape in a straight line and then added sequins on top to make a fun border. Then I took one of the 4" x 6" cards and used craft glue to add sequins which added some extra fun and dimension.

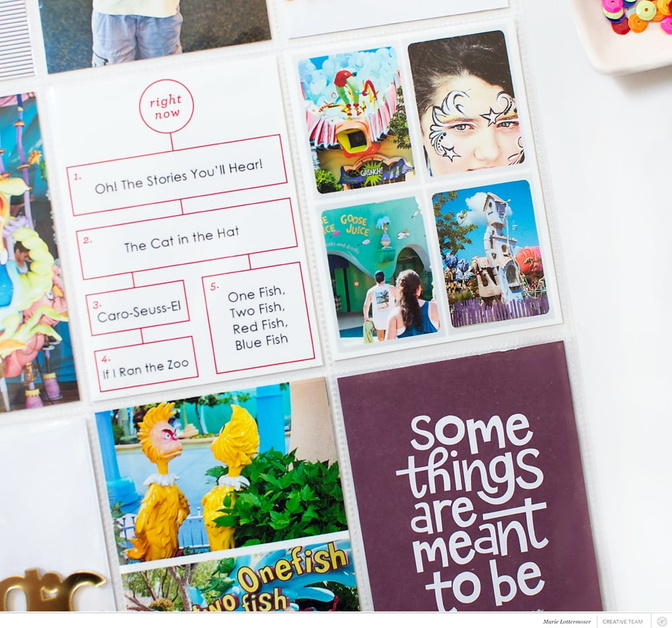
I took one of the journaling cards and added the names of the different rides at the park. I ended up using the digital version of this card because it was easier to place my type and I didn’t have to worry about making mistakes. I also used a digital version of the “this photo” stamp that came with the kit. I knew I wanted the stamp to be in white against the blue sky background and I thought I’d get a cleaner look if I printed out the photo with the stamp already on it.
Thanks so much for stopping by today. I hope you're having fun creating with the "Starlight" Kits!


Comments
Sign in or sign up to comment.
0 comments
No comments yet — be the first!