Using the Starlight Kits with Catherine Davis
Tags: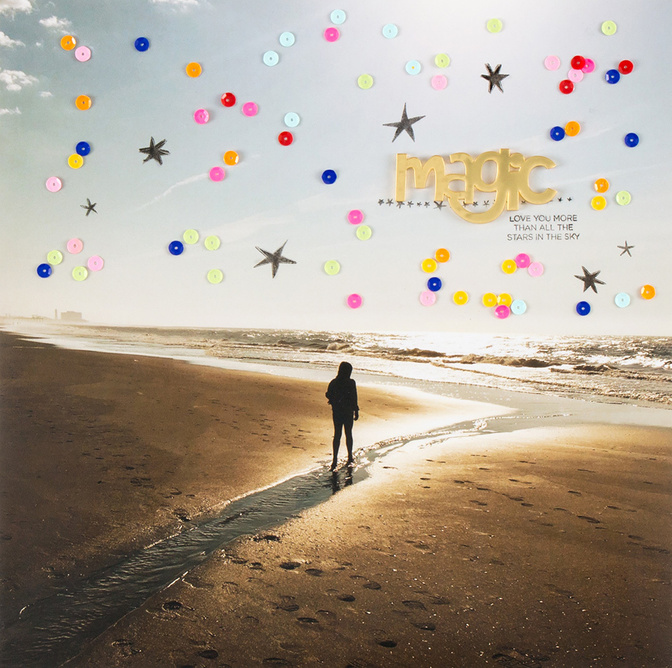
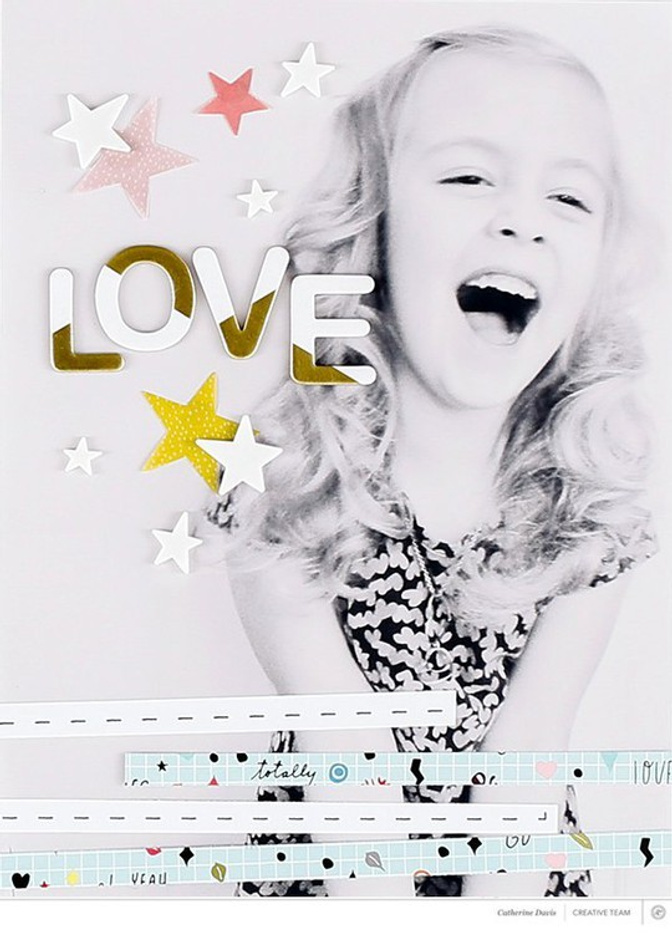
For this blog post, I wanted to share a quick and easy project to stretch your kits. Occasionally, there are items from kits that I absolutely love but don’t quite have a plan for. For "Starlight," I couldn’t bear to put the multi-colored sequin pack or mirrored acrylic word away in my stash. To get started, I printed a favorite image from our summer beach trip at 12" x 12". Here’s the cheat—with a strong full-size image as your base, there is very little design or figuring out needed. You are simply adding accents, dates, or journaling to create a beautiful memory.
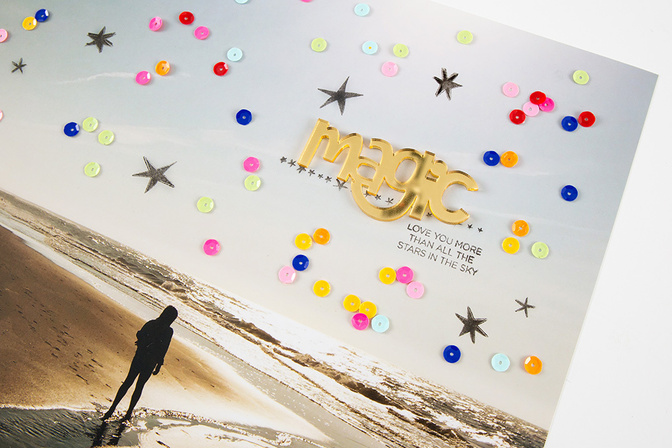
I knew I wanted the word "magic" to be the focal point here and stamped a row of stars to essentially underline the word and give it even more weight. I then scattered stars from the same stamp set around the top of the image to tie it all together. I never met a sequin I didn’t like, so I scattered the bag on my photo and got to gluing. I did very little rearranging to keep the placement pretty organic.
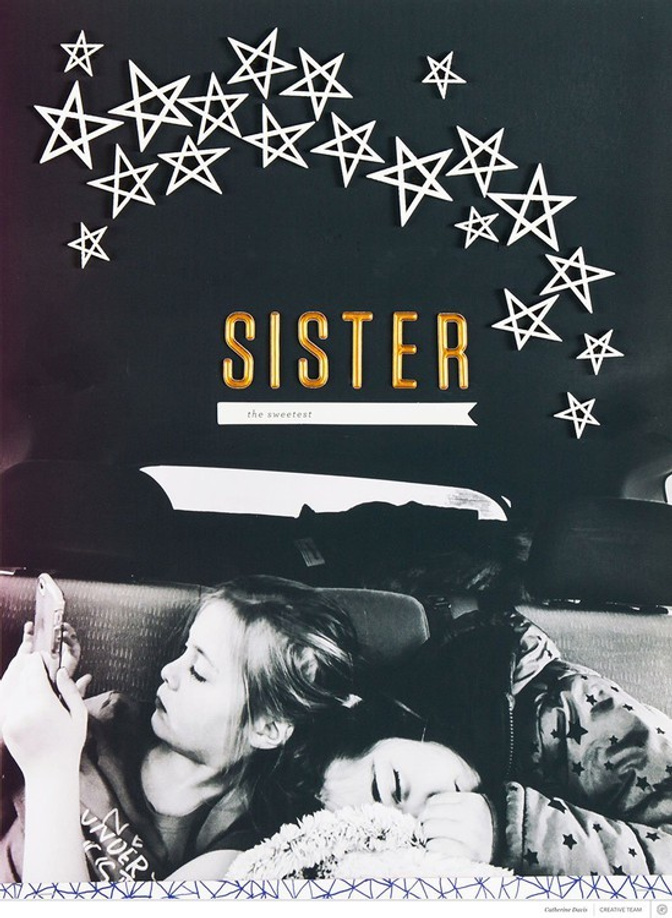
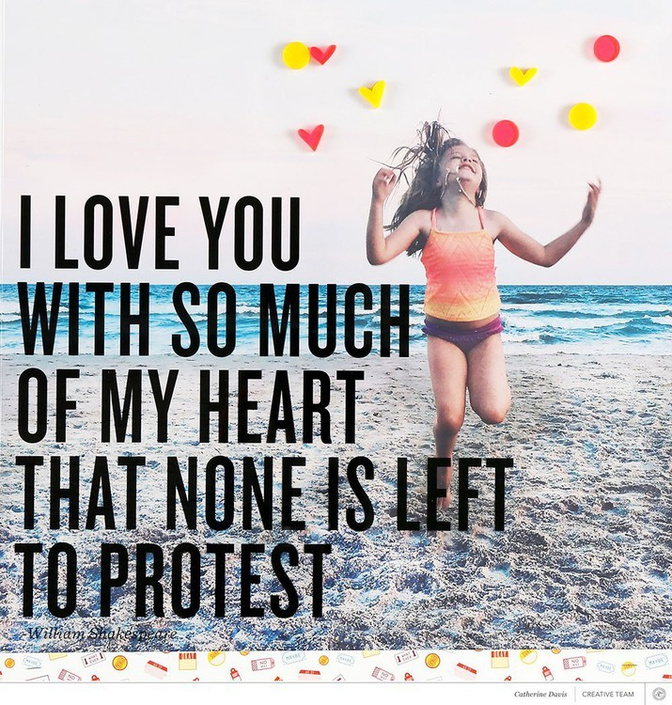
Below are some more projects I created with full-size images. You’ll see that there really is very little product. It’s more about strategic placement on bold images. Images that don’t have busy backgrounds or too many colors work best. I tend to go black and white when I really want the product to pop.
I hope you found this useful and are inspired to try this out! Please let me know if you have any questions—I’d love to chat.


Comments
Sign in or sign up to comment.
2 comments
I love love love your layouts! Amazing!!
Replies to SteffiandAnni
Sign in or sign up to reply.
Great inspiration for using large photos!
Replies to iScrap
Sign in or sign up to reply.