Using the Northern Lights Documenter Kit and Add-On Stamp Set with Pam Baldwin
Tags:Hi, friends! This is Pam, here to share a documenter page for my album and a few ways I’m working on getting over my “fear” of stamping. Truthfully, I find stamping to be really intimidating, so I’ve avoided it for a really long time. But every so often, a set comes around that makes me think “I HAVE to use that!” That’s exactly how I felt about the Cozy Winter stamp set designed by Life.Love.Paper this month. It’s just completely perfect, and I wanted to use it, so here’s what I did:
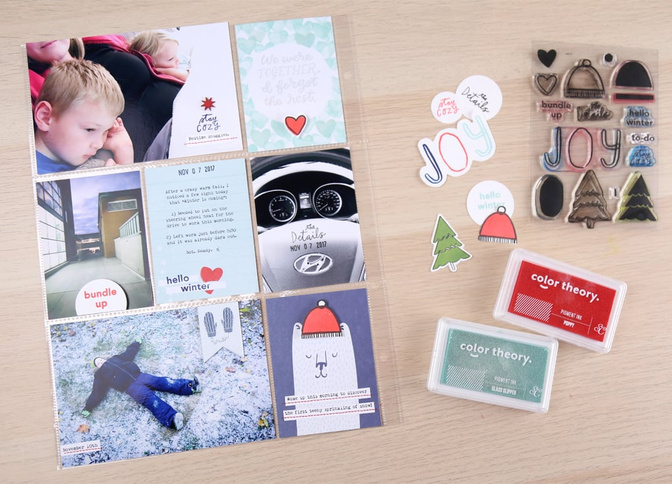
I began working on this page the way I do with all of my documenter pages. I picked the photos and shuffled through the journaling cards until I found the ones that were the best fit. Then comes the journaling and embellishing. I think the thing that “scares” me about stamping is that if you make a mistake—if you don’t ink up the stamp just right, or if you don’t put quite enough pressure in just the right spot—you could wind up with an incomplete image and RUIN your project. Just thinking about it makes me nervous (“Take a deep breath. It’s not the end of the world!”).
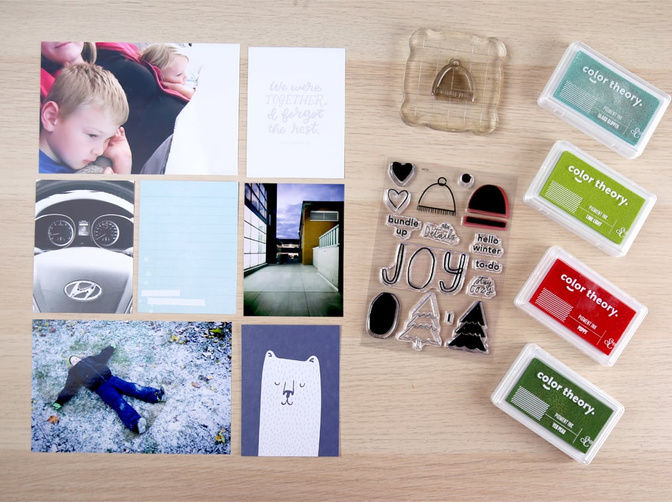
I eased my way into stamping for this spread by playing with the stamps on some plain white cardstock. I used the Solar White cardstock from the shop, and it provided a perfectly smooth surface for stamping on. I also recently purchased quite a few of the pigment inks from the Color Theory line in the shop, and I've been so impressed with how well they work! Great coverage and fun bright colors!
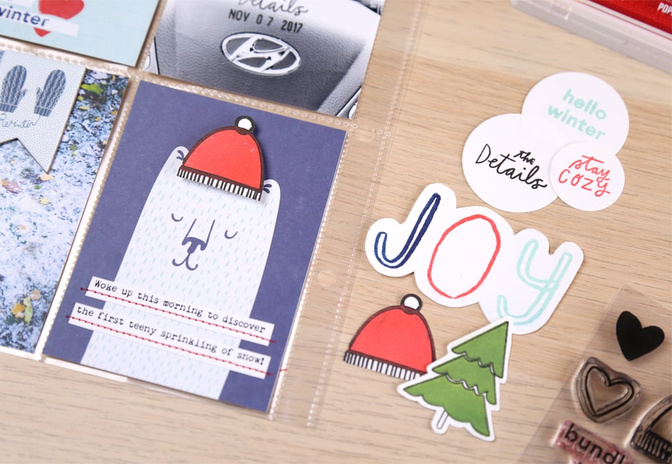
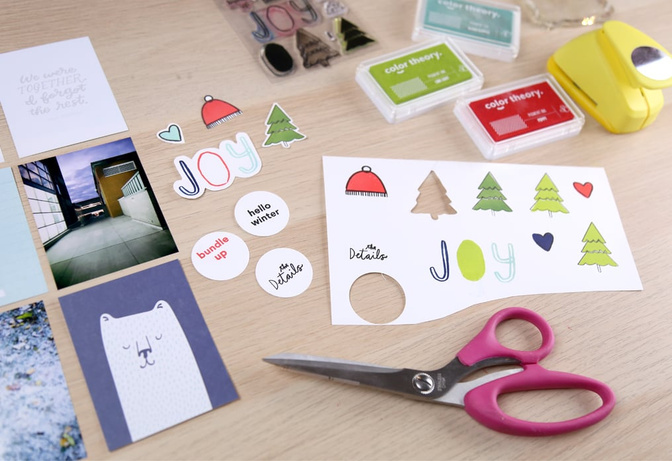
I went ahead and cut out my stamped images with scissors/punches to make my own die-cuts to add to my page (that sweet little bear looks even sweeter with a hat!). I spread my new “die-cut” shapes across the page, adding them to photos and journaling cards and raising them up off the page with dimensional foam tabs.
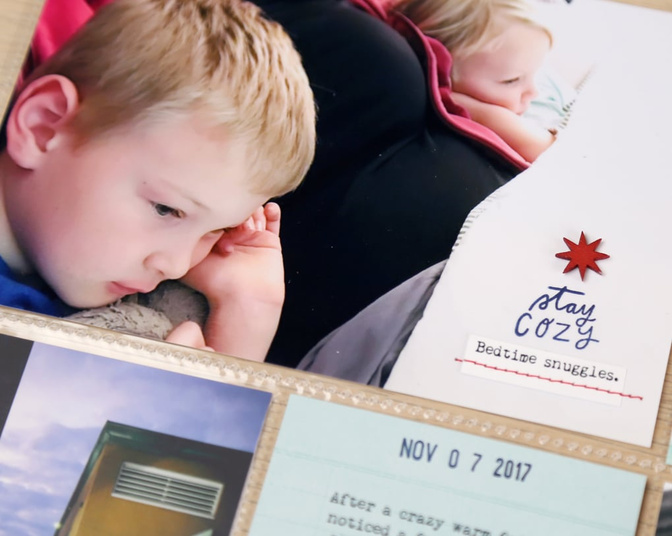
Feeling excited about my success with the custom “die cuts,” I decided to add some stamping to my photos (at least if I messed it up, I could reprint it). I print my photos at home on glossy photo paper.
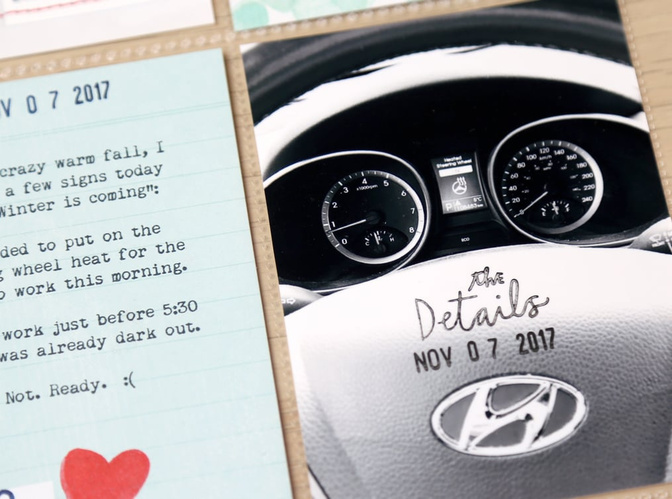
I was happy to discover that the stamped images using the Color Theory inks turned out quite well. They dried quickly. But if you’re using a printing service for your photos, you may want to do a test run first because you may find mixed results. Staz-On ink works very well on shiny surfaces.

Still feeling good about the stamping, I got a little braver and decided to add some stamping to one of the journaling cards. Love that quote, “We were together. I forget the rest.” I thought it might be fun to frame it with some repeated stamping with the heart stamps. I created a mask with plain paper and circle punch and then stamped all over the card.
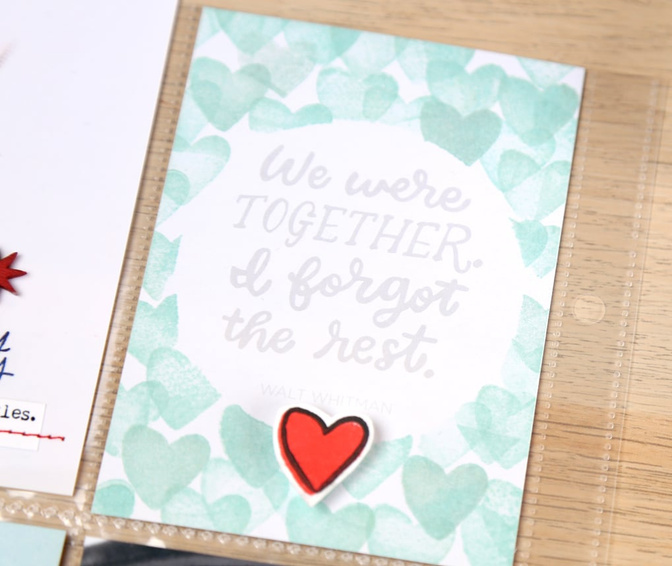
Bonus: I didn’t have to worry about it being “perfect” at all for this technique of random pattern stamping.
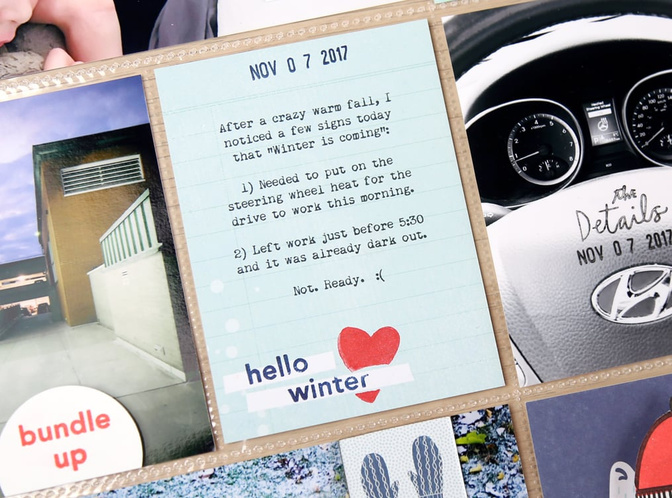
I went ahead and did some more stamping directly on the blue journaling card with the same masking technique to get the “hello” and “winter” into those lines (…and then I got a little carried away with the heart. That’s when I decided to wrap it up).
This was a fun page to make. I hope this has inspired some fun ideas to try with your favorite stamp set. Or if you're intimidated by stamping (like me!), I hope you'll be brave and give it a try. :) Thank you so much for stopping by today!


Comments
Sign in or sign up to comment.
0 comments
No comments yet — be the first!