Video | Using the Summit Planner Kit with Julie Kinneeveauk
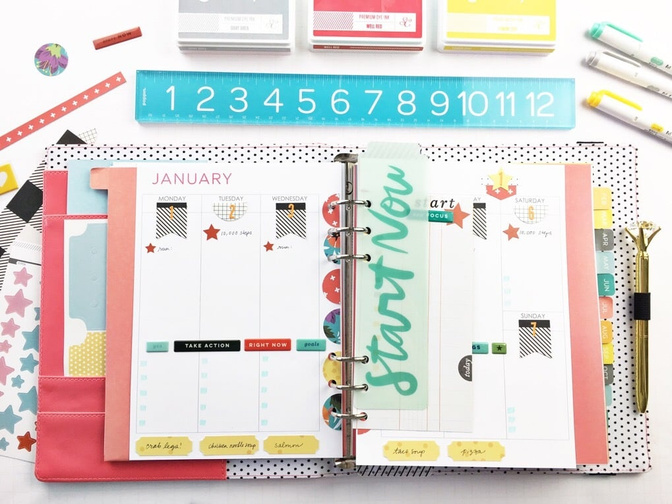
Tags:While I love pattern and color on my planner pages, I truly love when they serve a purpose or provide a function. In this video, you'll see how I sprinkle the bold colors and patterns in the "Summit" Kit across my planner, all while staying "on task" and building my usual framework.
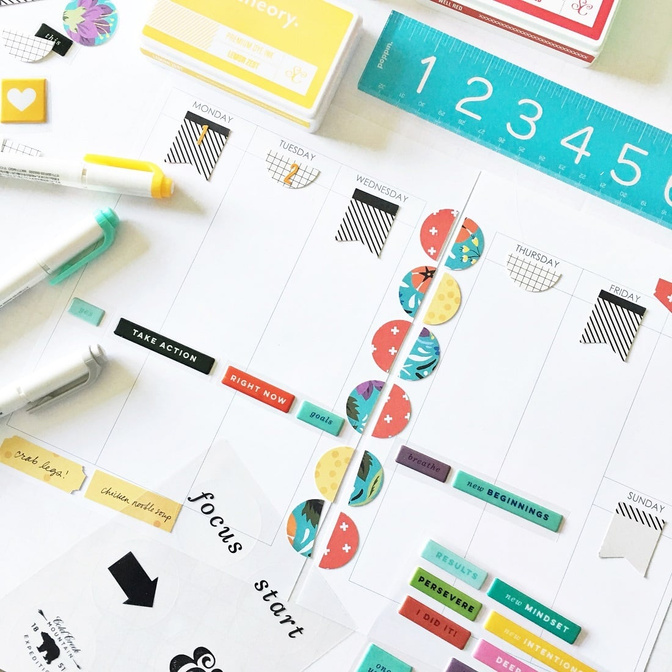
Take a look at the video below to see how I created this spread.
Tips & Tricks:
- Lay things out (even cut out stickers and "place" them) before committing so you can get a feel of the final picture.
- Punches are a great way to create small, planner-sized elements for your pages!
- Find creative ways to separate your sections in your planner (like the puffy stickers to section off my to-do list area).
- Use a simple highlighter to create your own checklist.
- Create a mid-week checklist to house your non-day-specific tasks that need to be accomplished (and that could be carried over to a new week).
- Cut slits into pages or things you plan to move around in your planner to make them easy to pull in and out!
Thanks for stopping by the blog today, and I hope you're leaving with some ideas for using creative products in a functional way in your planner!


Comments
Sign in or sign up to comment.
0 comments
No comments yet — be the first!