Using the Bookmarked Scrapbook Kit & Add-On Stamp Set with Marcy Penner
Tags:Today I wanted to walk you through my Fresh Flowers layout and share a little tip with you about adding a texture to your page.
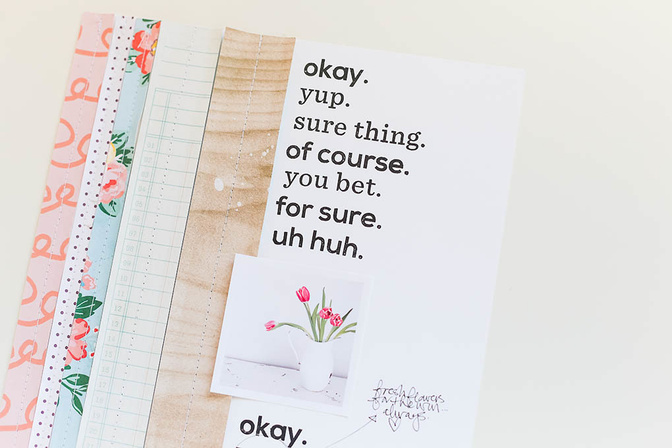
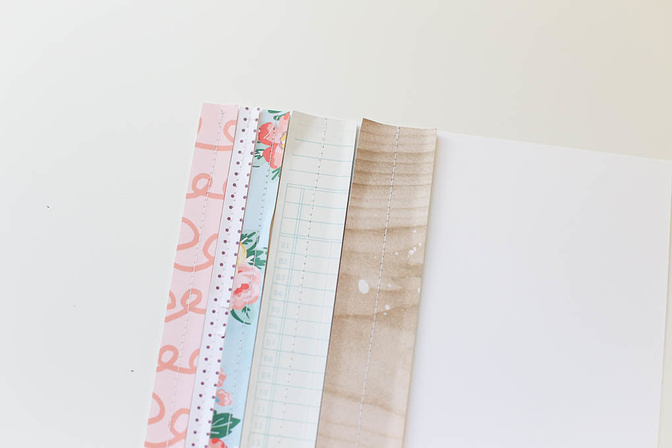
As soon as I got the Yes & No stamp set, I knew I wanted to create something bold with it...to have it be the feature of my spread. One of my favorite ways to do this is to stack my stamps. Knowing this was going to take up about half of my page, I started trimming patterned papers into strips that I could layer up until that point.
From here, I added machine stitching down the center of each patterned paper strip.
Tip: To add a bit of texture to your page, bend up the edges of patterned paper pieces and die-cuts slightly. I can NOT leave a page without doing this.
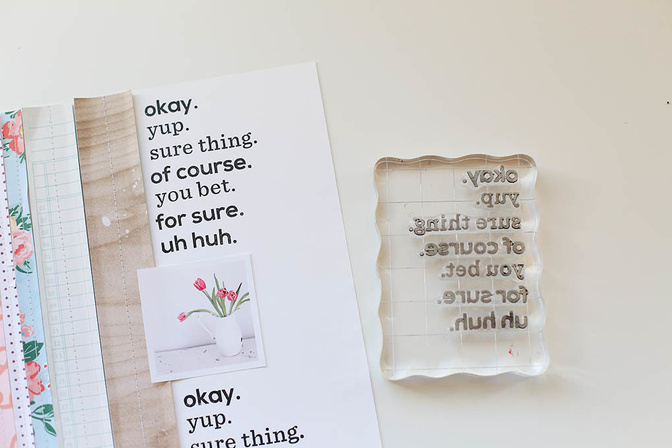
Once that was done, I could start stamping. I rarely stack individual stamps on an acrylic block together, and instead, prefer to stamp them individually. However, since I knew this was going to be such a tall column, I decided to do it in two passes. After I determined where my photo was going to sit, I placed my stamps on the block, inked them up, and stamped at the top of my spread and then repeated that below. I made sure to space out my stamps accordingly so that I could do this just in two presses.
I adhered my photo, added my journaling, and that's it!
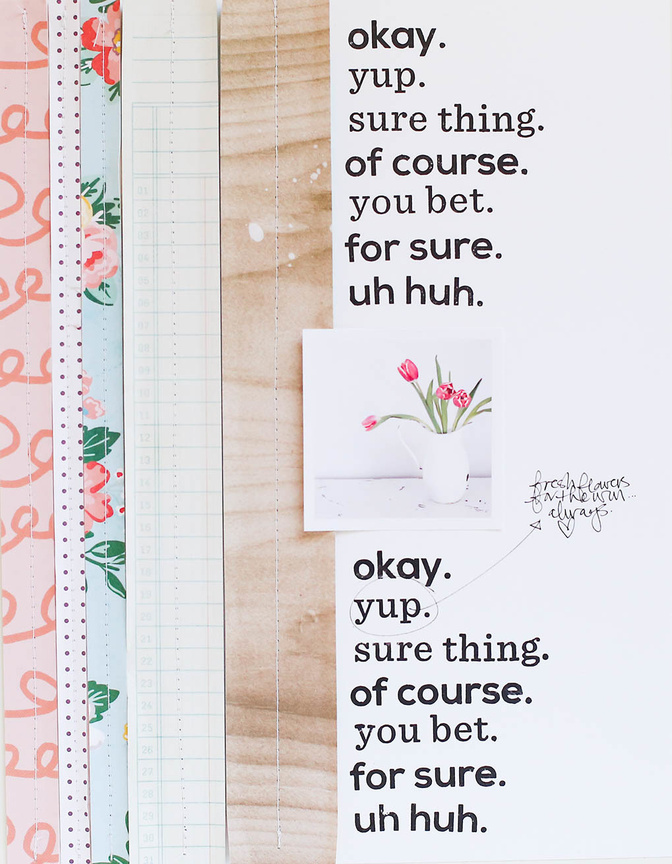
There's no denying that a text-based, stamped column makes a bold statement on a page!


Comments
Sign in or sign up to comment.
1 comment
Your layout pretty much pushed me over the edge to buy the stamp. Didn't think I needed it till I saw that! Thanks for the tutorial!
Replies to penny
Sign in or sign up to reply.