Video | Using the Bookmarked Scrapbook Kit with Lisa Truesdell
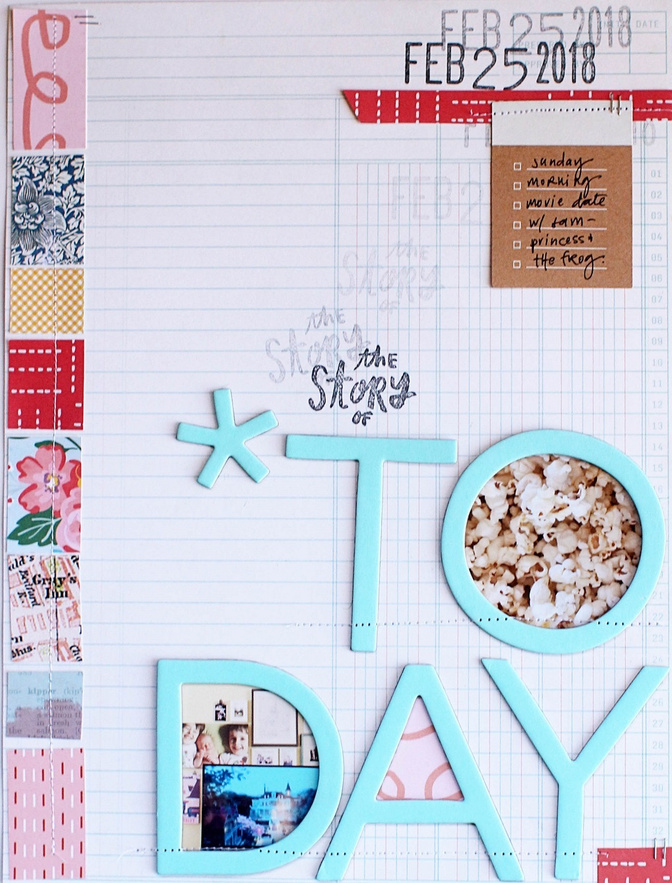
Tags:Hey, everyone! I wanted to give you a peek into how my Today layout with the "Bookmarked" Scrapbook Kit came together. When I first opened my kit, the large alphabet caught my eye—what a great way to make a BIG statement on a page.
Take a look at the video below to see my process.
For simplicity’s sake, I often find myself using alphabets like this as a monogram or a very short (2-3 letter) title, but for this page, I opted to embrace the bold letters and make them the focal point of my page.
I knew I had two photos I wanted to include, and after considering placing them near the top of my page to balance out the title, I noticed that both the “O” and “D” would make great frames for my images. Integrating my photos into my bold title helps define it as the main focal point of my page and helps to keep the design from being too busy.
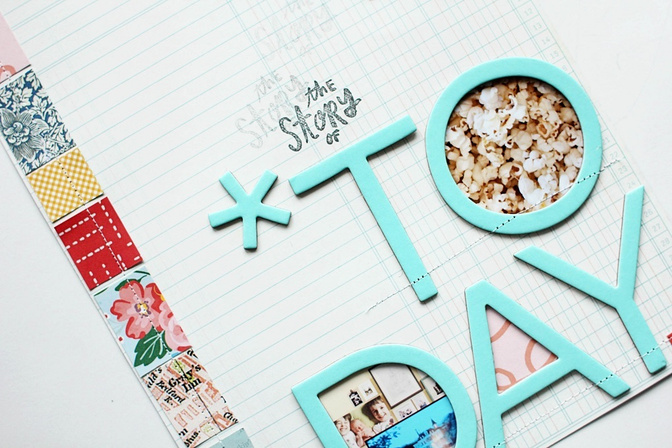
With my title and photos in place, I found that I didn’t need much more to make the page feel finished! I created a bright border along the left side of the layout using blocks from most of the papers in the kit. A little strip of red and a tag to hold some journaling finish everything off. I love that starting with a bold alphabet brought my page together so quickly, and I’m loving seeing how many creative ways all of you have used it on your projects as well!


Comments
Sign in or sign up to comment.
0 comments
No comments yet — be the first!