Tutorial | Using Park Ave. Digital Stamps on a Layout with Geralyn Sy
Tags: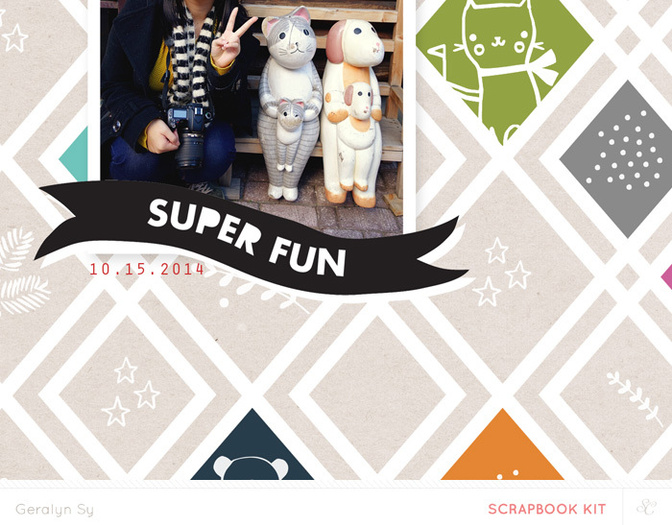
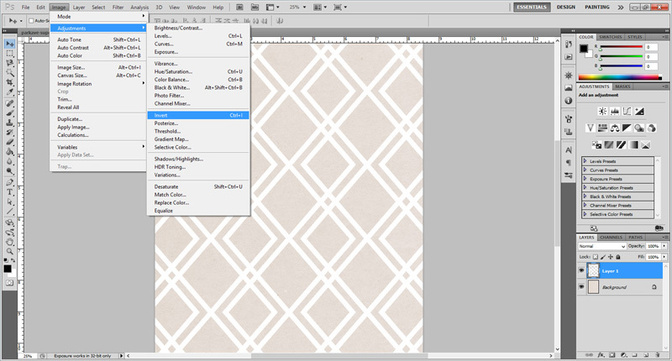
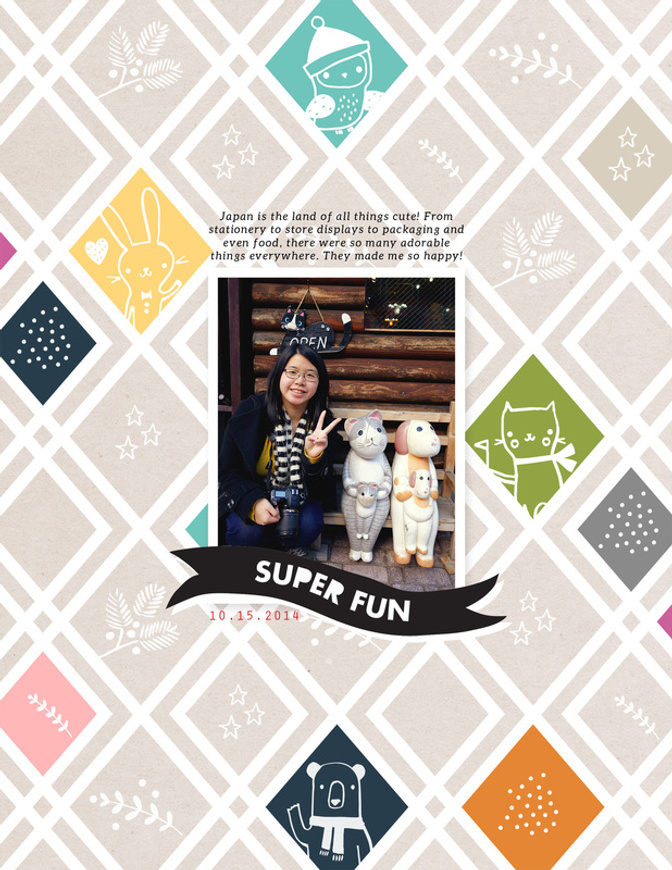
I open a new document (mine was 8.5x11”) at 300dpi in Photoshop, and filled the background with a tan/kraft color. On top of my kraft background, I pasted the 8.5x11” png version of Paige’s diamond background cut file. It was originally black, but I made it white by going Image > Adjustments > Invert.
I made sure I was on the diamond grid layer, and using the Magic Wand Tool, I selected a diamond. I created a new layer (Layer > New > Layer), then filled in the selected diamond shape with the paint bucket tool. You can change the color of your paint bucket on the bottom left part of your toolbar. Go back to your diamond grid layer, use the Magic Wand Tool, select another diamond, create a new layer, and fill the new diamond with a different color using the paint bucket tool. I did this several times until I had a pretty colorful background. It may help to rename your layers to the colors of your diamonds so it’s easier to organize (do so by double-clicking on the layer of the name). 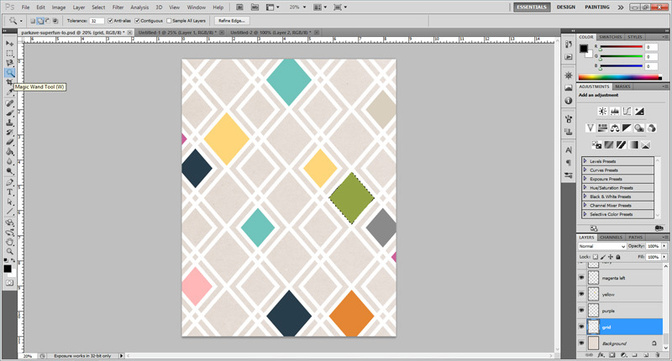
Now it’s time to load your digital stamp brushes! You can do that by clicking on your brush tool, opening up your brushes, and selecting ‘Load Brushes’ from the drop-down menu. Find where you saved your digital stamp brushes and load them.
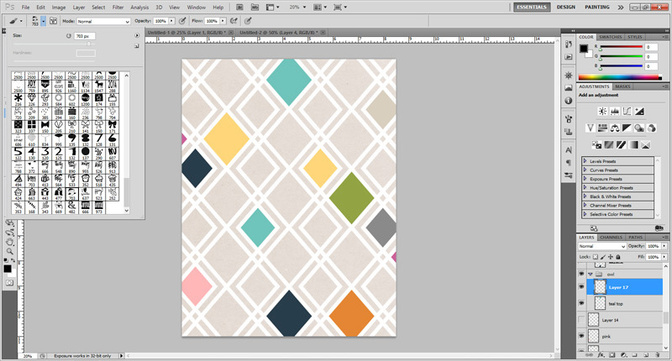
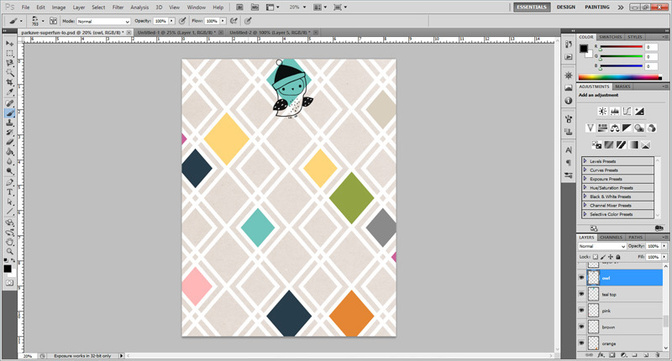
I knew I wanted to use the owl in the top teal diamond, so I made a new layer above the teal diamond layer. I used the owl stamp brush on this new layer. You can see that the owl is larger than the diamond and it looks awkward, but we’ll fix that.
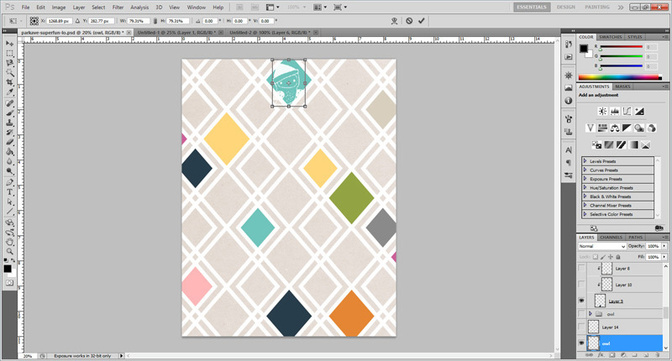
I had forgotten to change the color of my stamp brush at the bottom of the toolbar and I wanted my owl to be white instead of black, so I easily fixed that by inverting the image (Image > Adjustments > Invert). I wanted to make the owl smaller so I went to Edit > Free Transform to resize my owl until I liked how it looked.
What we want to do is make the owl layer clip onto the teal diamond layer, so that there won’t be any odd extra bits outside of the teal diamond since the owl is slightly larger than it. We can do this by selecting the owl layer (which remember, is right above the teal diamond layer), and going Layer > Create Clipping Mask. 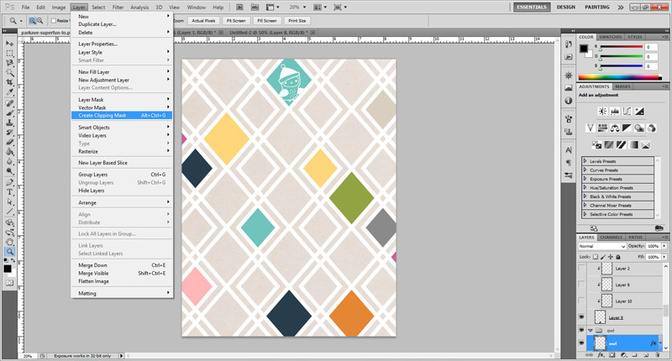
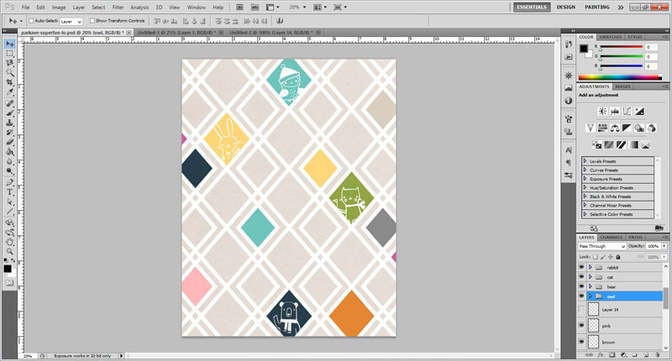
I wanted to fill the other diamonds some simple digital stamping, so I created a new layer, chose a few of the other Lizzie MacKay digital stamps and stamped them in white. 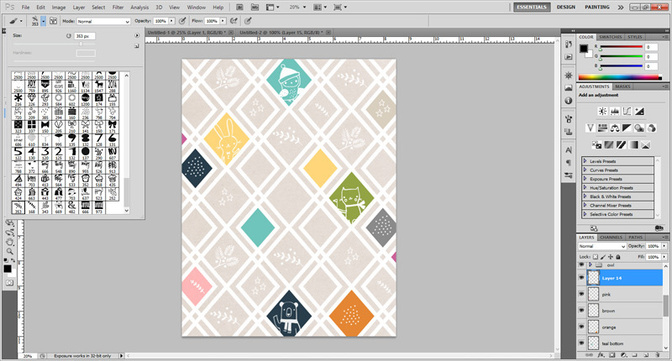
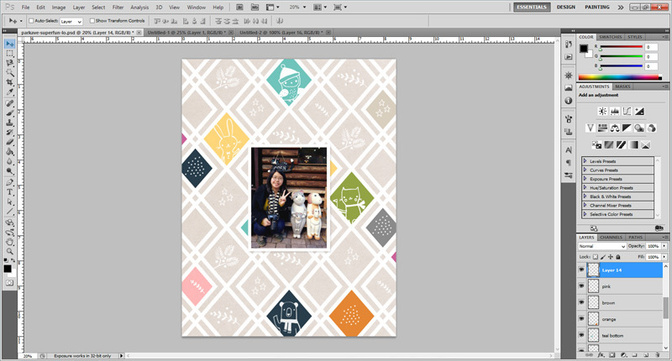
Now that the majority of my layout is completed, I opened my photograph and pasted it to the center of my page, resizing it by going Edit > Free Transform until I liked how it looked.
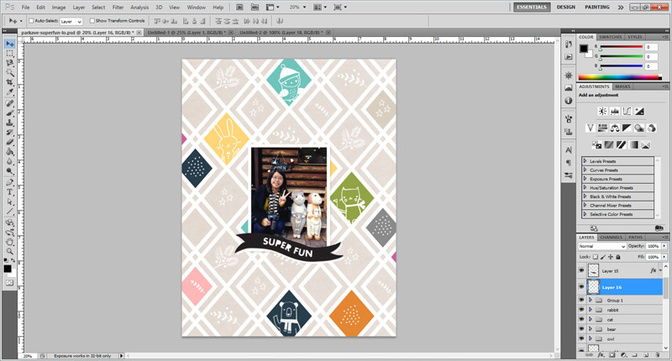
I opened the png version of Marcy’s ‘super fun’ banner cut file, and added it to the bottom of my image. Since the letters of the banner were transparent and hard to read against my photo, I created a new layer underneath the banner and simply use the brush tool to paint these areas white.
As a last step, I added my journaling and date with the Text tool. That completes this digital layout!
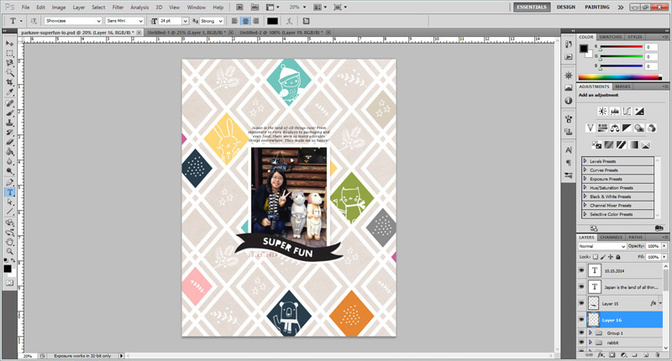
Hopefully this shows you how versatile the digital products can be. I’ve simply scratched the surface with this peek into my layout process. Thanks for joining me today!
Supplies: Digital – Park Ave Scrapbook Kit Stamps, Park Ave Lizzie Stamp, Park Ave Cut Files by Hello Forever, Park Ave Background Cut Files by Paige Evans


Comments
Sign in or sign up to comment.
4 comments
Thank you for this how-to. I have Photoshop on my Christmas list this year and I swear I’ve been good!
Replies to Kristi_
Sign in or sign up to reply.
Thank you for sharing this step by step view! It's beautiful what you created.
Replies to 1Djc
Sign in or sign up to reply.
I'm in love with those stamps too :-). Thanks for sharing your process. I've been wanting to learn more about how to use stamp brushes. Is it the same process for elements?
Replies to artgirlbev
Sign in or sign up to reply.
Very cute!
Replies to dani_miranda
Sign in or sign up to reply.