Tutorial | Cirque Layout from Start to Finish with Ginny Hughes
Tags:
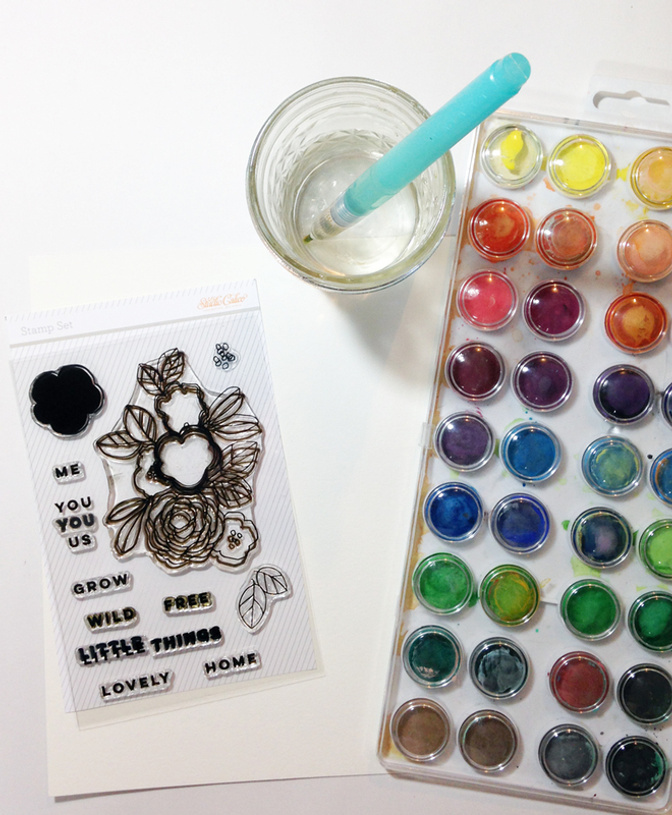
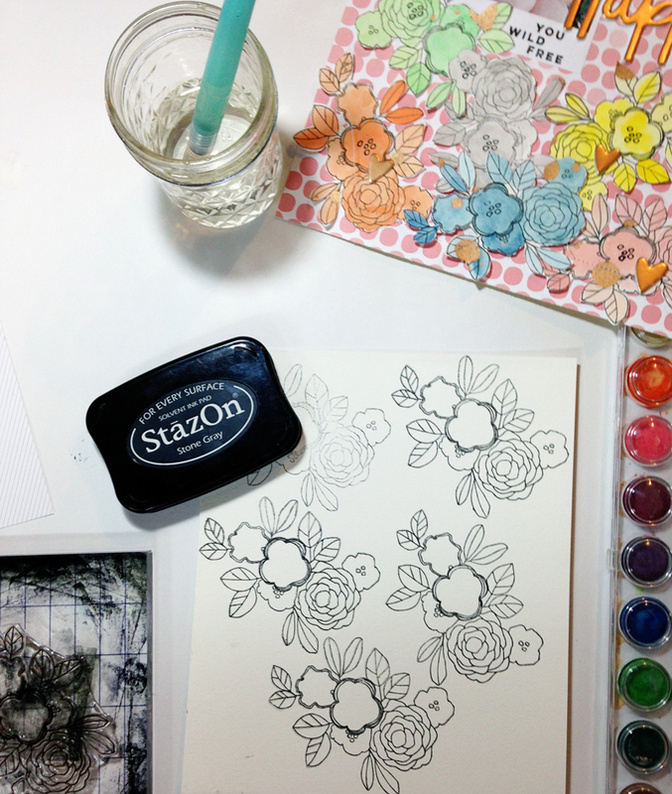
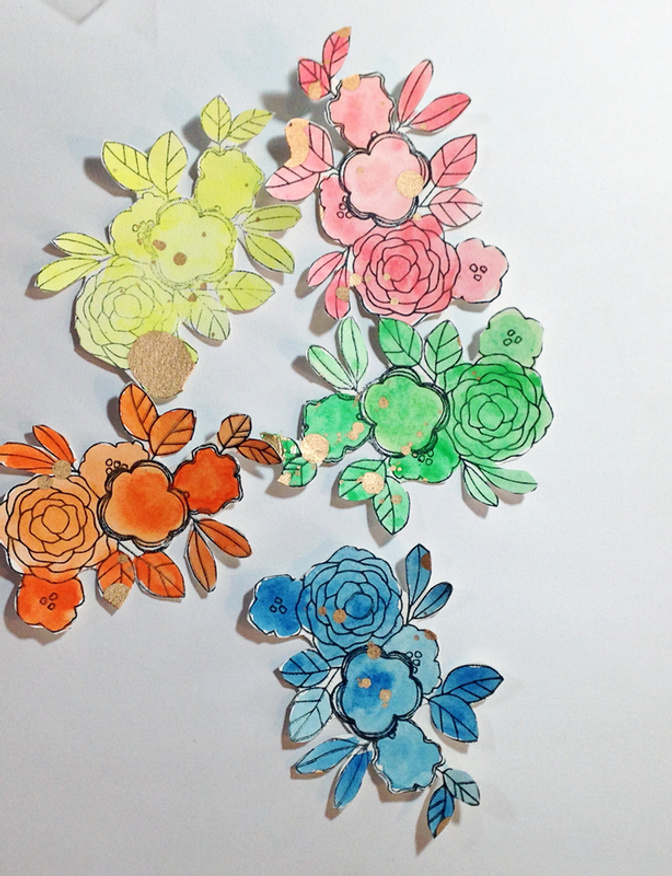
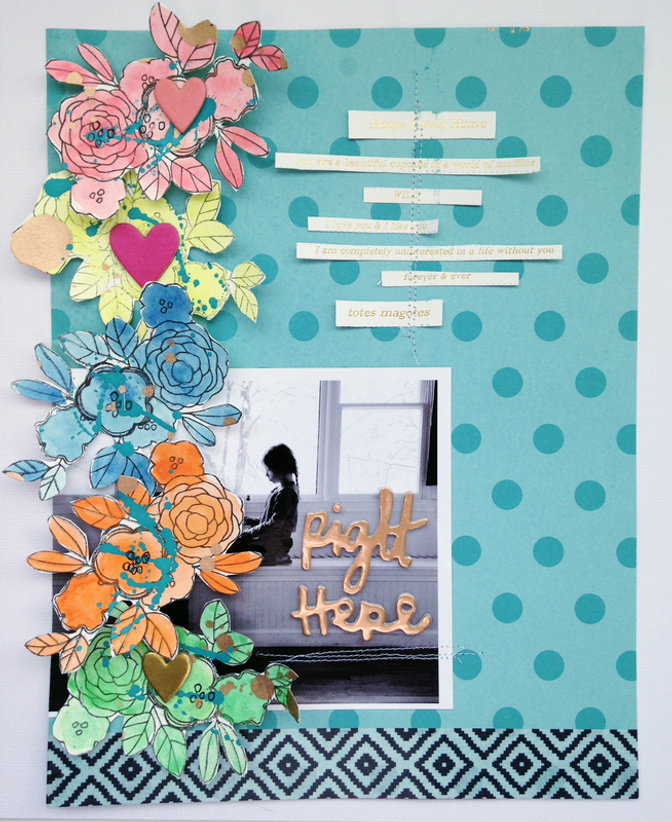
I started by stamping the image onto watercolor paper.
I used only 1 watercolor per flower. 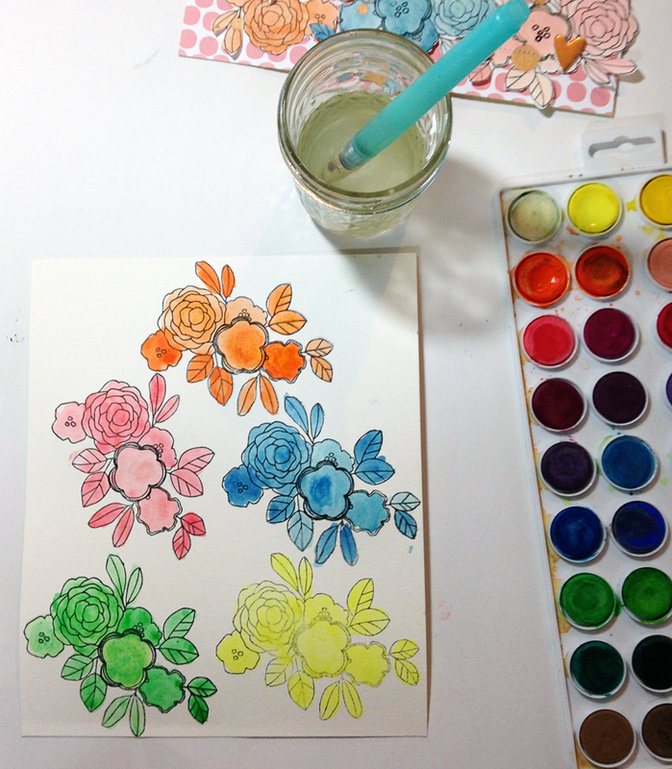
I also added some gold spraypaint to add some more detail and dimension to the flowers. I placed the watercolor paper into my very used paint/mist box. I randomly dropped paint onto the paper. I chose to do this before I cut the stamped images out for ease. 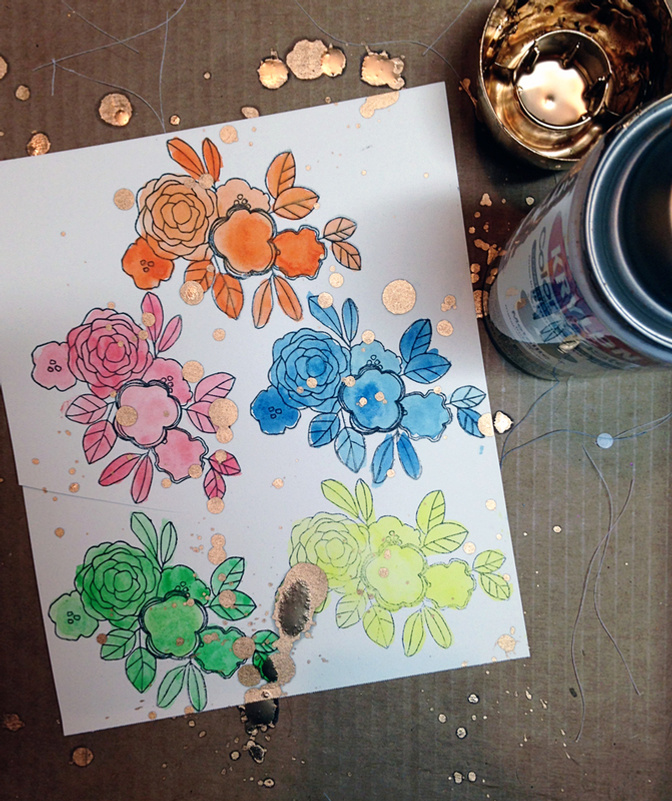
I then fussy cut the flowers out. My style lends itself to a messy cut, but if you prefer things neater it just takes a little while longer.
Some of the images I popped up off the page for added dimension. Since I tend to sew a lot on my pages, I will run the embellishment through the sewing machine before I add the Foam Tab Circles. It still gives it the stitched look with the added dimension. 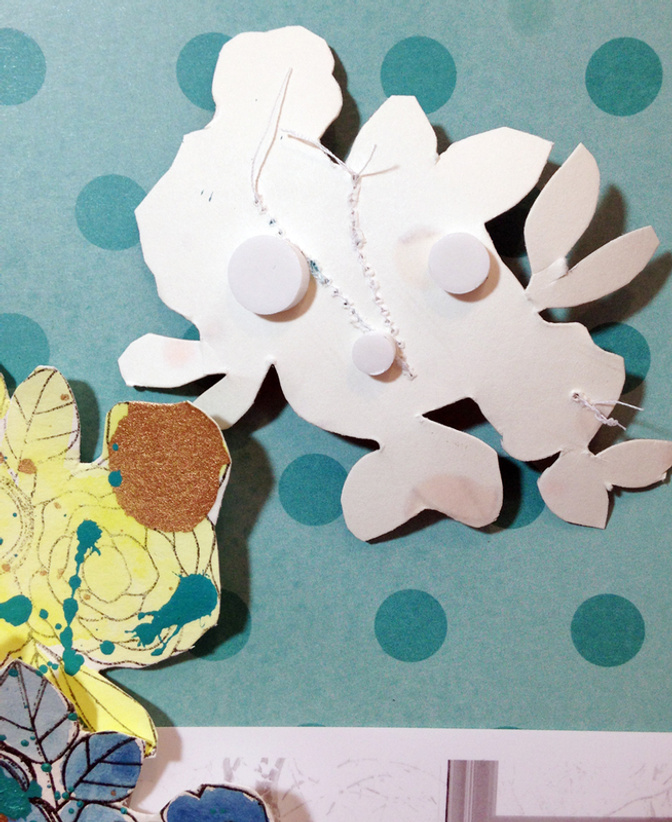
I just played around with the placement of the flowers, I wanted a very organic look, nothing too perfect. Before I glued anything down I realized that I wanted some more color, so I dropped some blue ink on the flowers. I then used the Inky Black ink pad to add the smaller detail stamps to the flowers. 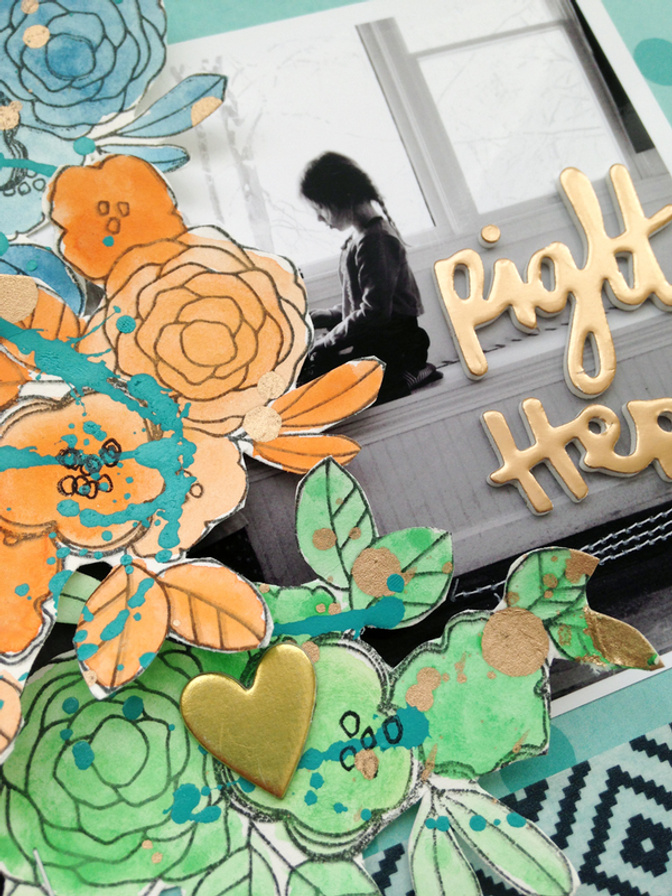
I then used the Sentiment strips from the Cirque Scrapbook kit to add some journaling to the page to finish it off. I don't often use stamps as the main focus for a page, so this was fun for me. I got to be a little more creative than usual. I hope it pushed me to try out more stamping techniques. 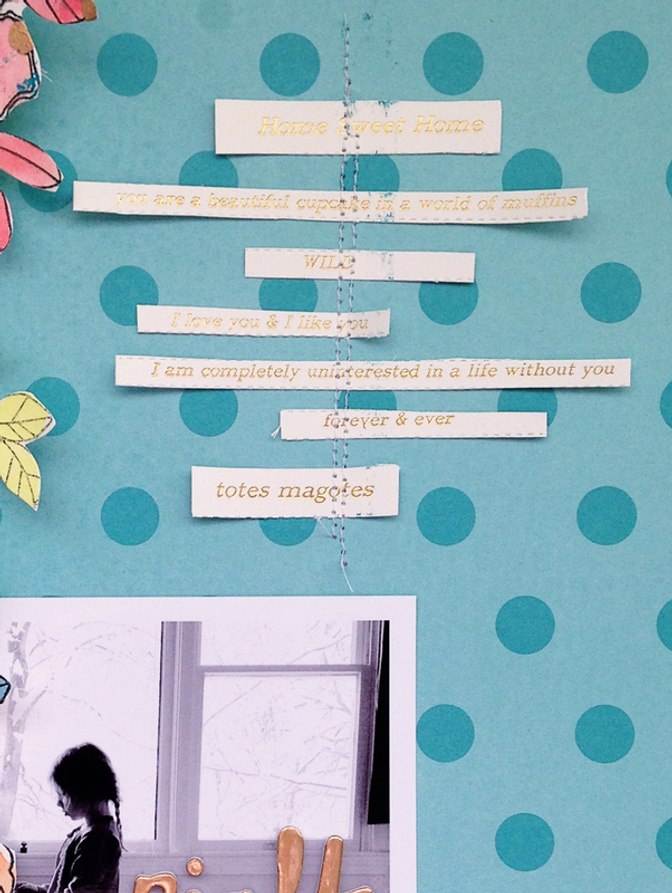
Supplies: High Wire scrapbook kitRingmaster scrapbook kitCirque Scrapbook kitwatercolor paperThis to That Foam Tab CirclesColor Theory Inky Black ink padTim Holtz Tiny AttacherLittle Things stamp set


Comments
Sign in or sign up to comment.
13 comments
Such a beautiful layout!
Replies to MichelleWedertz
Sign in or sign up to reply.
Loved this Ginny! What did you use for the blue ink? I love the look and color of it.
Replies to kathyv
Sign in or sign up to reply.
Love the look you got with the spray paint. But I'm not sure how you did it. Can we get a tutorial for that?
Replies to juliee
Sign in or sign up to reply.
Lovely!
Replies to 1Djc
Sign in or sign up to reply.
Amazing
Replies to jamiewaters
Sign in or sign up to reply.
just beautiful, Ginny! I love how you used the spray paint...
Replies to maggie_massey
Sign in or sign up to reply.
BEAUTIFUL that doesn't even encompass how awesome and stunning I think this is.
Replies to toribissell
Sign in or sign up to reply.
@juliee it is super easy, i just spray the paint into the top and then turn it over and let it drop onto the paper. and it dries so fast!!!!
Replies to ginny
Sign in or sign up to reply.
@kathyv it is Speedball acrylic ink in Teal Green, it is the kind that is used for pens & calligraphy I believe.
Replies to ginny
Sign in or sign up to reply.
Just awesome, Ginny. I love the photo, too.
Replies to JilC
Sign in or sign up to reply.
Love how you used the flowers to draw attention to your photo. Great technique, great layout.
Replies to ohanalei
Sign in or sign up to reply.
such talent!!! lovely layout!
Replies to spagirl
Sign in or sign up to reply.
So great, Ginny!
Replies to welobellie
Sign in or sign up to reply.