For the Love of Digital/Hybrid Scrapbooking | Cathy Zielske
Tags: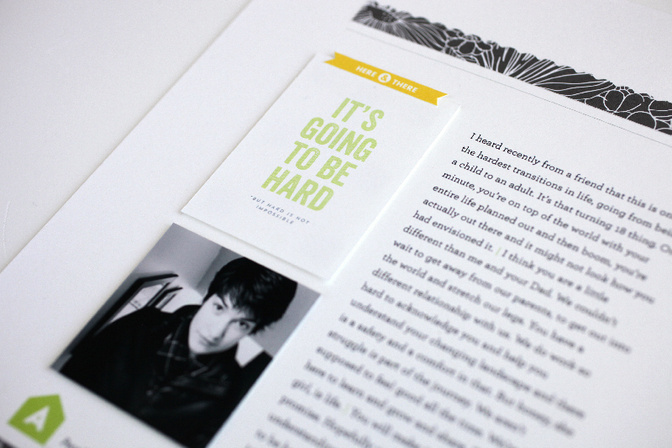
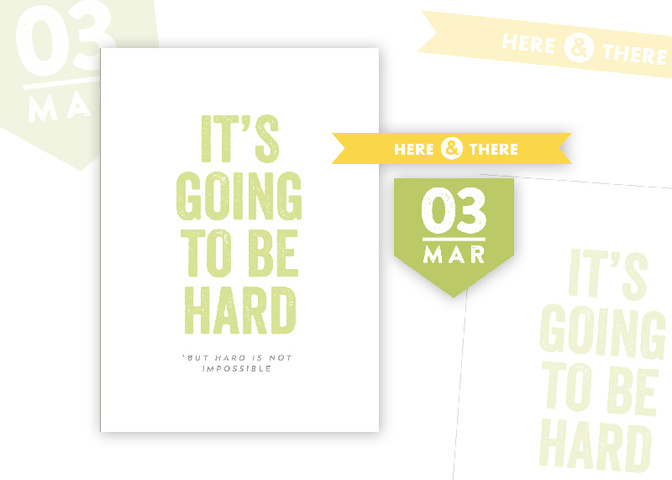
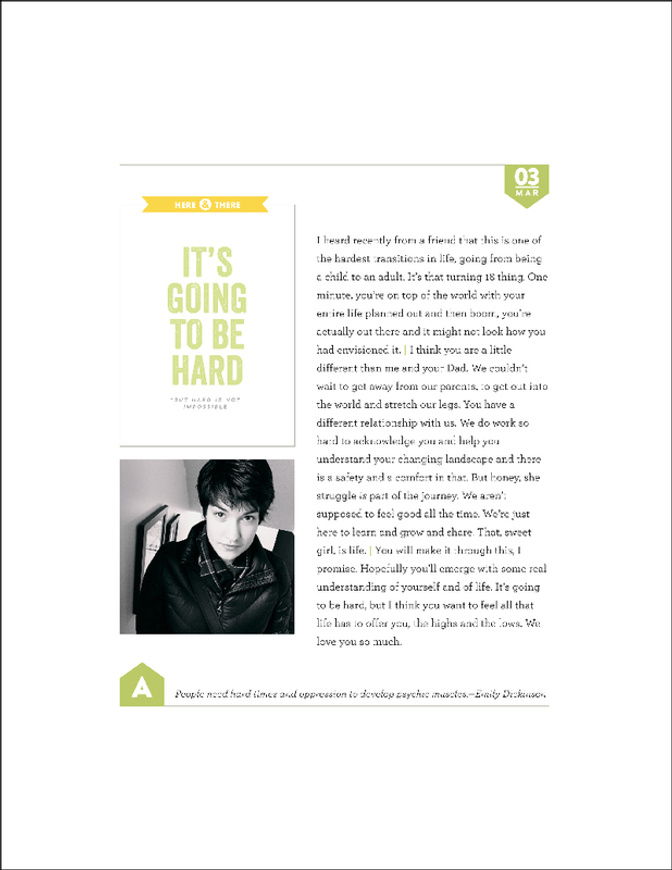
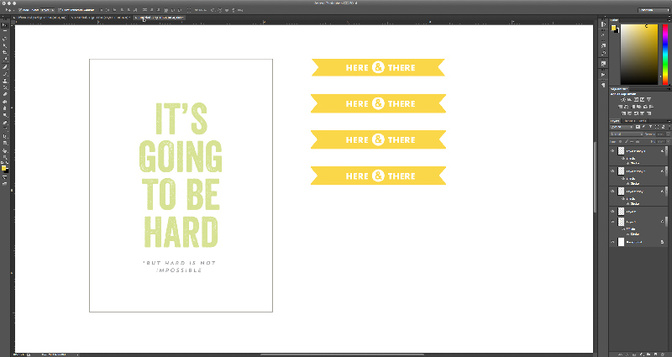
Three elements from the March kit inspired the story I wanted to share. As soon as I saw the “It’s Going to be Hard” card, I knew it could work for documenting a story of my daughter’s rough transition to college life. But rather than build a page around the physical card, I decided to make it fit the page I wanted to create. I opened up a Photoshop doc and got to work, sizing the elements and designing the page to look like this:
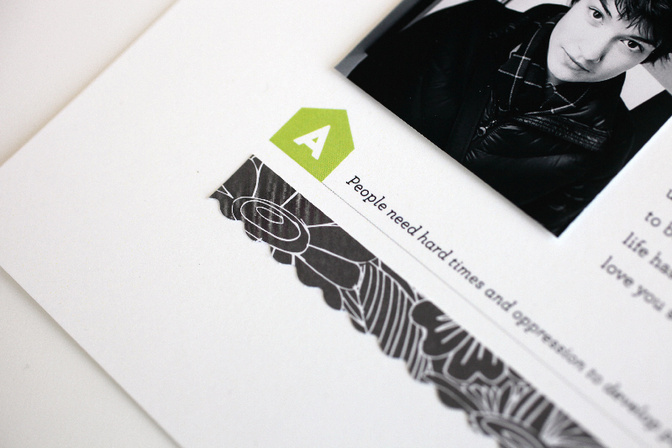
The cool thing about playing with the digital elements is that you can customize and create new elements. I took the small green March date tab, flipped it upside down, filled it in with green and then grabbed the letter “A”off of another card in the March kit to create a monogram element on the bottom. This simple, elegant design is exactly the type of home I wanted for this story.
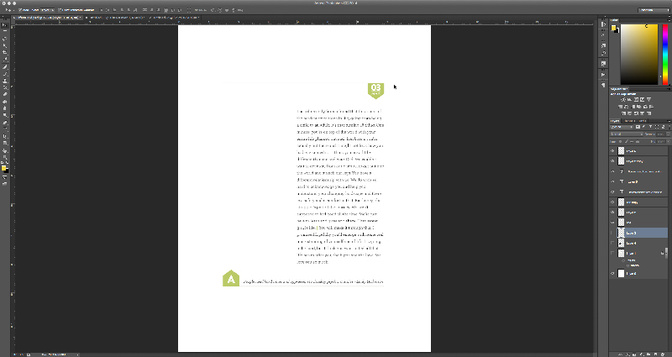
Of course, it could have stayed in the digital realm but I still like playing with paper and glue, so I began to print out layers. I started by creating a new doc and dragging the card file plus the yellow banner into the file. Next, I made a few copies of the yellow banner and added a 3 px stroke (in the same yellow) to the outside of each one to give me a little wiggle room for trimming them out. I always make copies in case I mess up, and I usually make a few bigger ones as well. Then I sent the file to print onto white card stock and trimmed out the pieces.
Next I print out the photo onto photo paper, and the remaining content onto the background card stock.
Once everything has been printed and trimmed, it’s page assembly time (my favorite part of the process!)
I added some Thin Dimensional adhesive dots from 3L to both my title card and the photo for a subtle bit of visual interest, and then added a few matching strips of Studio Calico Dahlia paper to the top and bottom. Both strips feature a scalloped edge.

It’s simple but features just the right amount of details to create a pleasing visual experience.

Supplies: Odyssey Scrapbook kit, Far Far Away Scrapbook kit, Odyssey Printable Journal Cards by Hello Forever


Comments
Sign in or sign up to comment.
7 comments
Always love what you create! Beautiful!
Replies to 1Djc
Sign in or sign up to reply.
Love the combo of digital and "real" paper. Thanks for this! Great layout!
Replies to Msaula
Sign in or sign up to reply.
Digital products are awesome! Thanks for sharing :)
Replies to alicec
Sign in or sign up to reply.
Fantastic page and I love how you walked through exactly how you printed and assembled it. Really great and inspiring. Thank you!
Replies to anandi
Sign in or sign up to reply.
Cathy Z...you are genius! your tutorialZ are always so elegant and well thought out! thank you!
Replies to paperprincess
Sign in or sign up to reply.
you're simply my favorite.
Replies to Ekaterine
Sign in or sign up to reply.