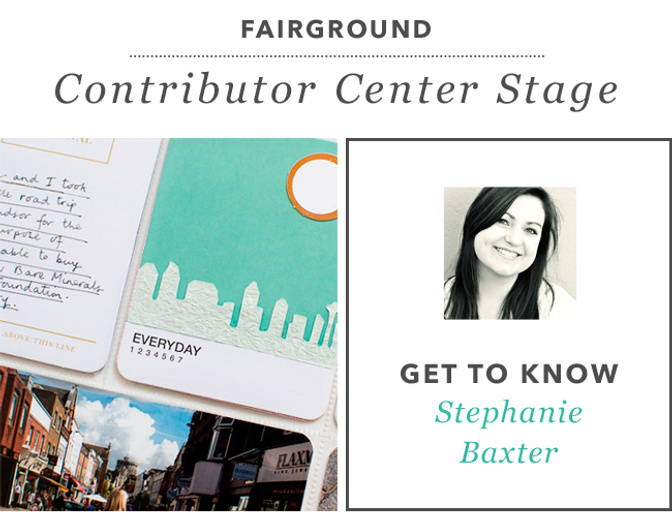
Contributor Center Stage - Stephanie Baxter
Tags:This July, we're thrilled to dedicate the Contributor Center Stage to Creative Team Contributor Stephanie Baxter! Stephanie is an active part of the Studio Calico community, bringing her sweet demeanor and fun food and travel stories to her pocket-page projects and planner pages. Be sure to check out her projects in the Gallery this month! Take a few minutes to learn a little more about Stephanie - scrapbooking history, craftroom organization, and more! We're so thankful for the talented team that helps to spread the joy of memory-keeping all over the world.
What’s your go-to technique?
Would you mind sharing some photos of how one such project came together/some text describing the stages?
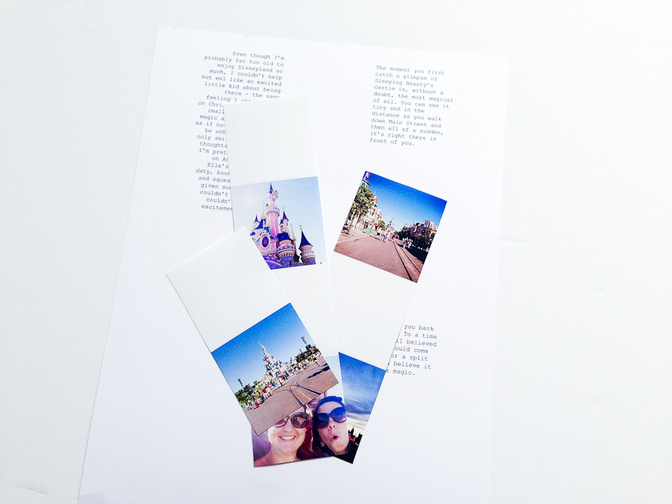
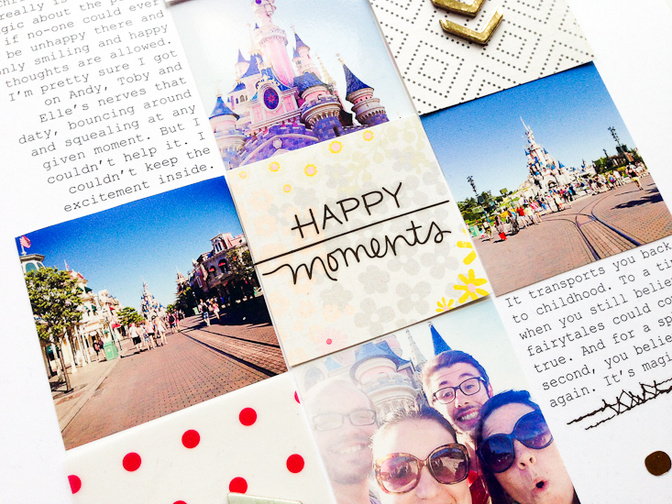
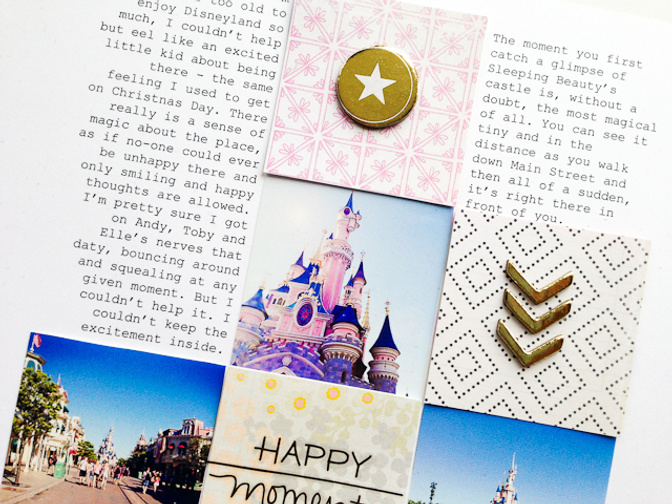
I decided that I wanted some sort of grid to my page that would consist of a mixture of square photos and square pieces of patterned paper all the same size. So the first thing I did was to crop all my photos to 2x2 inches in Photoshop. I also made a blank square of the same size, which I could use to map out where my pieces of patterned paper would go. I colored the square grey so I would be able to see what I was doing with it!
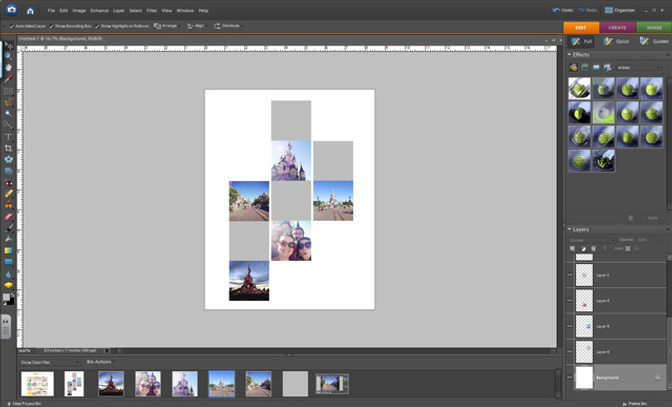
Next, I dragged the photos and multiple copies of the grey square into an 8.5x11 document and arranged them all in a grid design that I was happy with. I decided I wanted strips of squares with spaces in between each strip, rather than have all the squares touching each other. To achieve this, I aligned the photos and grey squares together in a strip and then linked them together so that I could move the whole strip in one go. I made sure I was happy with the spacing in between the strips and round the edges.
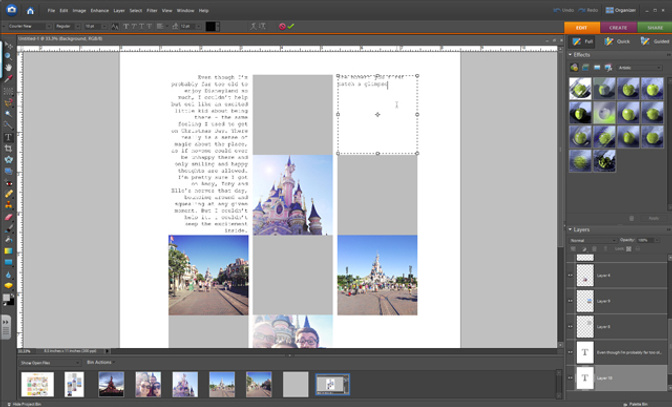
I used the blank spaces around the photos to type my journaling, making sure that the text aligned perfectly with the squares. I made sure to leave some space at the bottom of the page for a title.
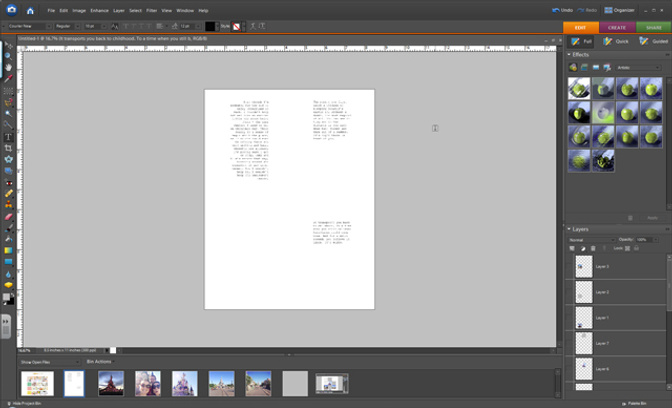
You could absolutely print out the photos and journaling on photo paper and build your page from there. However, I still wanted the texture and dimension of physical photos glued on to a background so I printed the photos and the journaling out separately. In order to do this, I first hid all the text layers in the layers palette, coloured the grey squares white so as to not waste ink and printed out the document on to photo paper. Then I hid the photo layers and made the text layers visible, printing the journaling on to white cardstock.
Once all the printing was done, I cut out the photo strips...
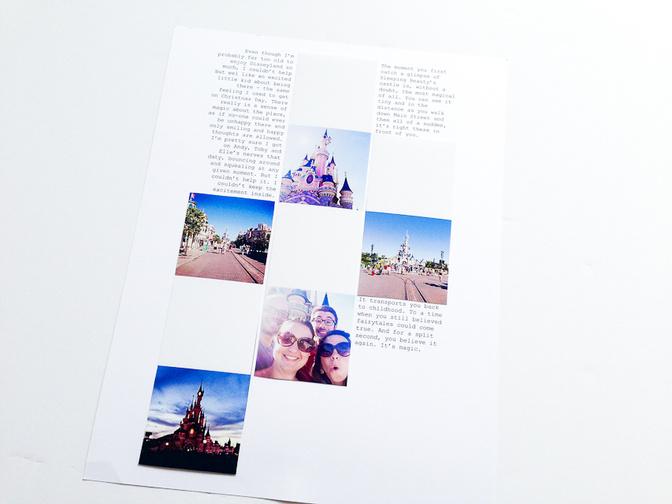
...and adhered them to the cardstock, lining them up with the journaling.
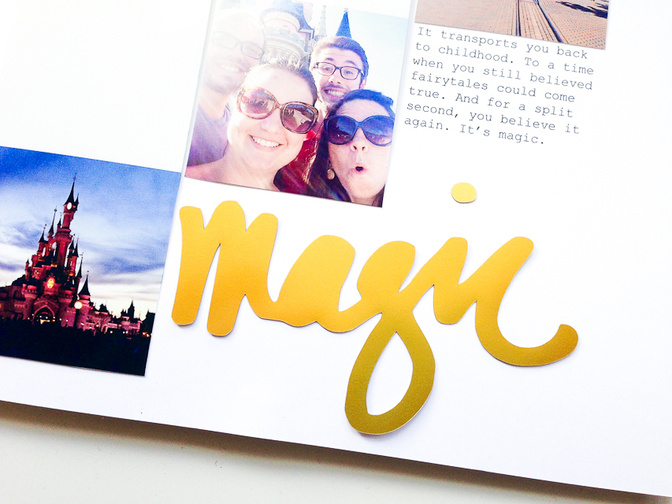
With my Silhouette Cameo, I cut out a title on to adhesive gold foil paper using a digital brush from Ali Edwards.
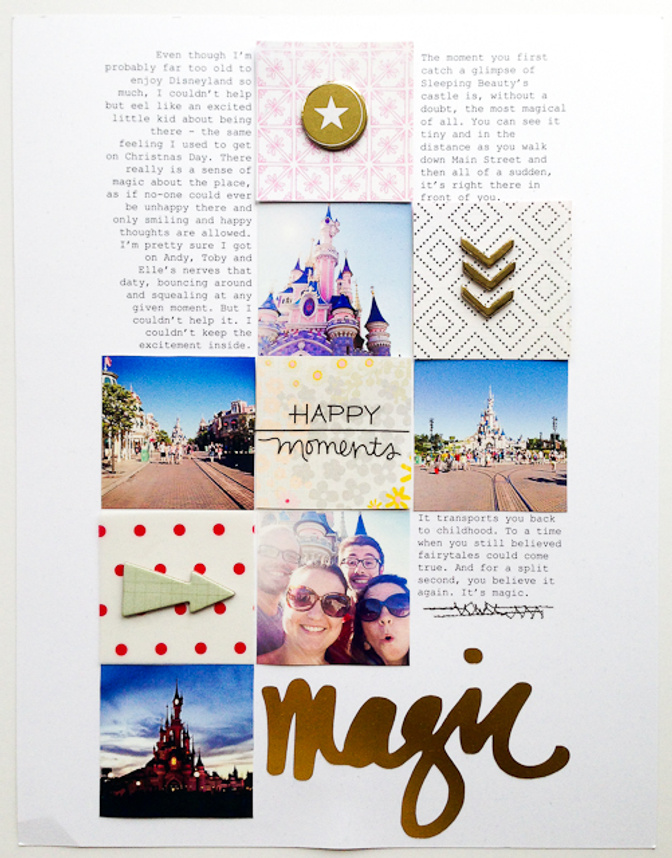
I cut out some 2x2 inch squares of patterned paper from the Crate Paper Notes & Things collection (plus a patterned vellum from the Oh Darling collection) and adhered them on top of the blank squares. After that, I added a few pieces of chipboard and a rub-on, also from Notes & Things, to pretty things up. And voila!
How do you stay organized?

In the bottom I have packs of embellishments that I’ve yet to open! I need to remember not to be a hoarder and actually use the goodies I have!
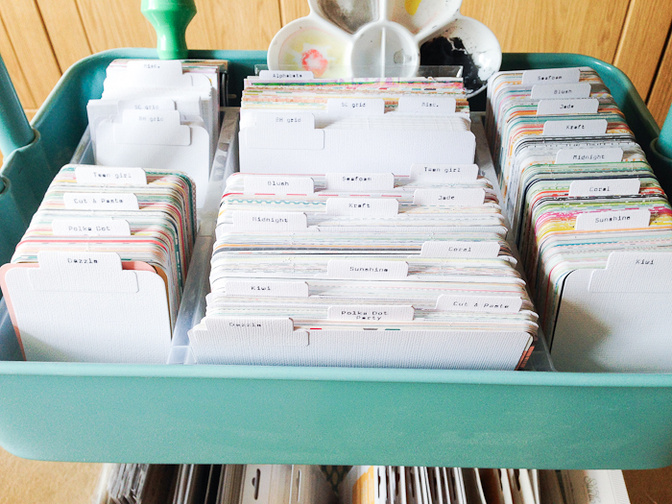
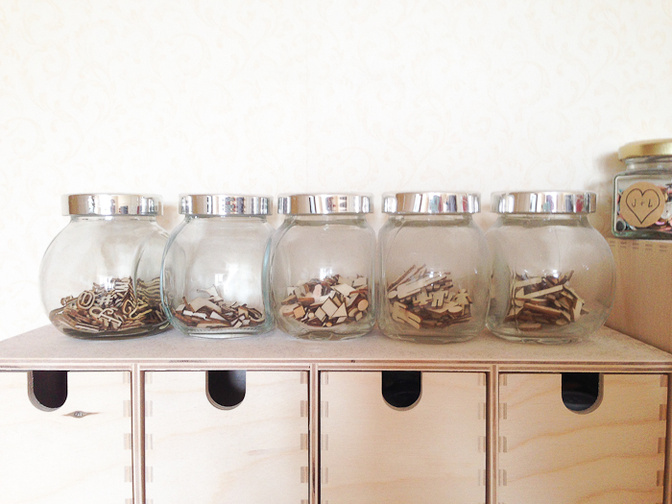
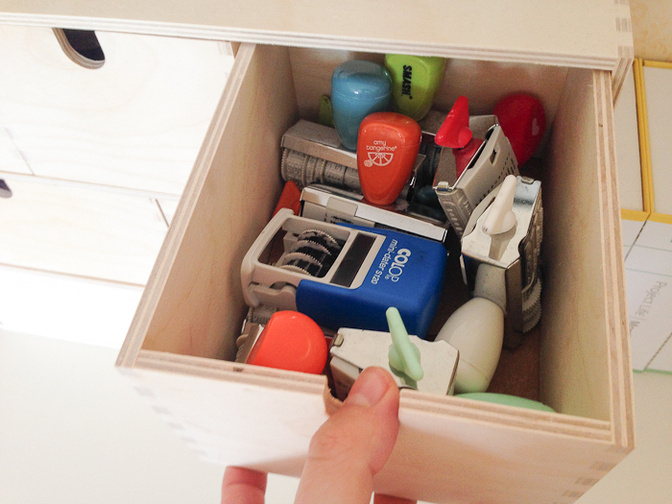
The rest of my embellishments are kept in a set of wooden drawers from Ikea, as well as in little glass jars that sit on top of the drawers.
Next to that is another set of drawers where I keep all my ink pads, date stamps, washi tapes and metal dies.
I’d love to have my own craft studio one day but for now, I’ll have to make do with the small house that my housemates and I share!
What is the crafting tool you can’t live without?
Where do you go to get ideas?
Learn more about Stephanie by following her here at Studio Calico, and check out her work with the Fairground kits in the Creative Team Gallery this month!


Comments
Sign in or sign up to comment.
4 comments
I LOVE hearing what fellow crafters share about their techniques, scrapbooking history etc! And that is such a great tip for digital/hybrid layouts.
Replies to confettiheart
Sign in or sign up to reply.
So happy to see Stephanie back in the gallery this month!
Replies to MichelleWedertz
Sign in or sign up to reply.
I'm wondering what organizer you used for your PL cards in the middle shelf of your Raskog cart.
Replies to TerryB
Sign in or sign up to reply.
Awesome layout!
Replies to jamiewaters
Sign in or sign up to reply.