Tutorial | Using the Young At Heart Planner Kit with Rianne Alonte
Tags:Hi, everyone! Rianne here. Today, I’ll be sharing with you my process of decorating my Monthly Reflection planner page with the August kit, Young At Heart.
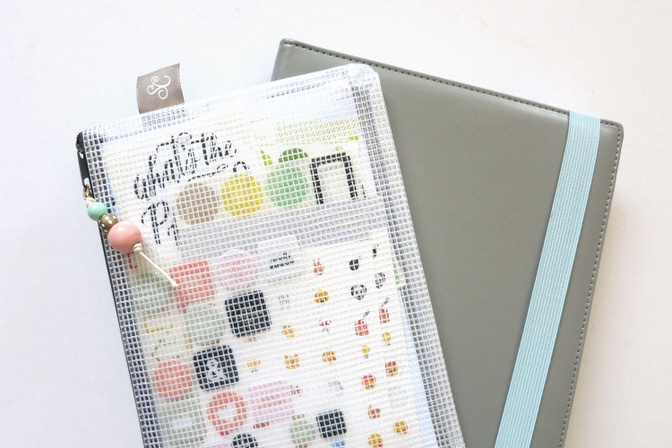
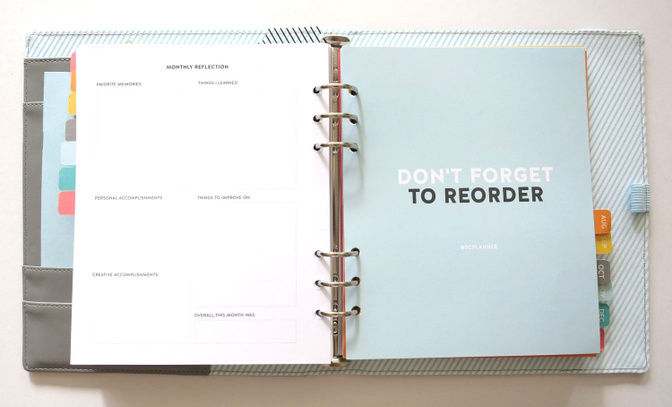
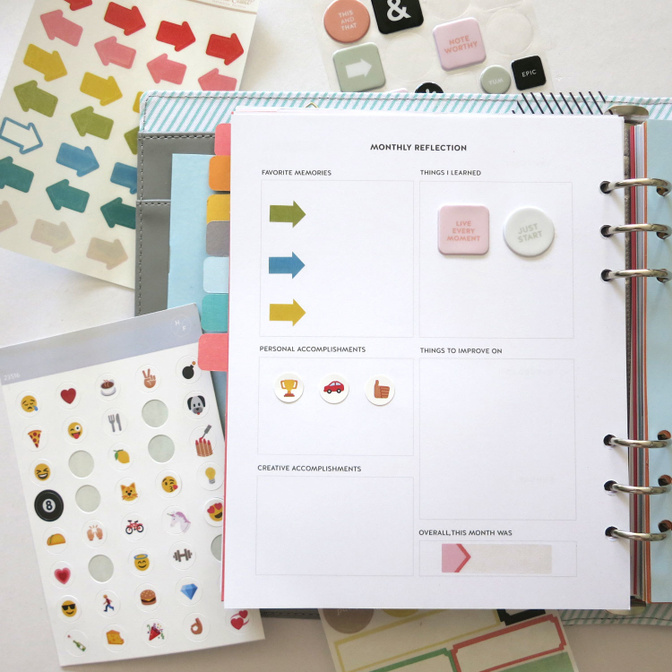
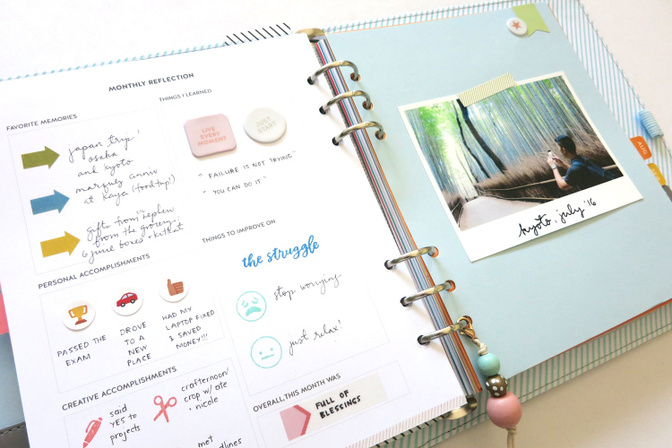
I like this section of the Hello Forever Planner - it reminds me of the month’s little victories and happy memories! We need to pause and take a break from to-do lists and deadlines once in a while. You’ll find this page at the end of each month. It usually has a pocket divider of the upcoming month next to it, but for the month of July, it had an extra page that displays the shop details - which I reused and decorated with photos and stickers later on.
You may use a blank journal as an alternative and get ideas from the list prompts below:
Here are the steps that I went through to create my reflection spread:
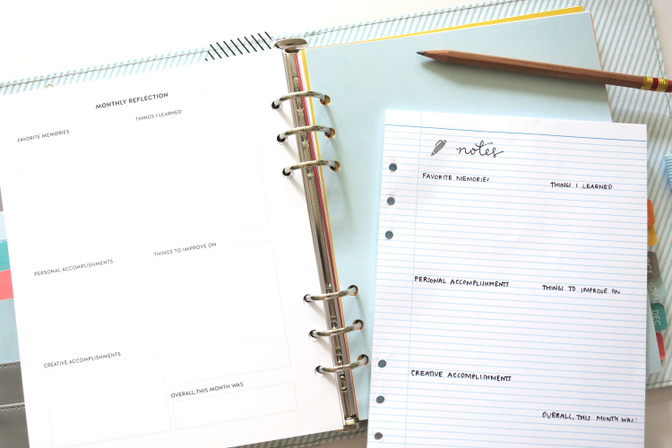
1. Make a draft | I didn’t want to make mistakes on my reflection page, so I wrote my notes first on the lined ledger paper that came from the kit. The pen icon I stamped is from the 4x3” Planner stamp set (by Marcy Penner) that was released in August as an add-on. I referred to my July weekly planner pages and copied the highlights.
2. Choose embellishments | Another advantage of using scratch paper is that it helped me decide which embellishments to use. Some of the stickers and stamps had designs related to my answers! I wanted to be able to use at least one sticker or stamp from each set. I noted the supplies that I chose at the end of each list so I wouldn’t forget. Then I planned my color scheme with the help of the stamp from the same 4x3” Planner set. It’s so useful for planning art projects!
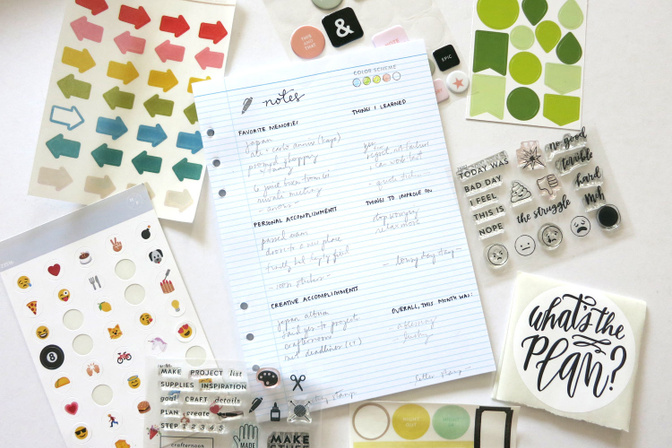
3. Adhere stickers | In the "Favorite Memories" section, I used the vellum arrow stickers as bullet points. The Hello Forever puffy stickers had positive sentiments on them, so I thought of adding some in the "Things I Learned" box. I love that I was able to find designs from the emoji sticker sheet that match my journaling in the "Personal Achievements" section. Yay! Then I chose a simple vellum label sticker for the “Overall, this month was...” box.
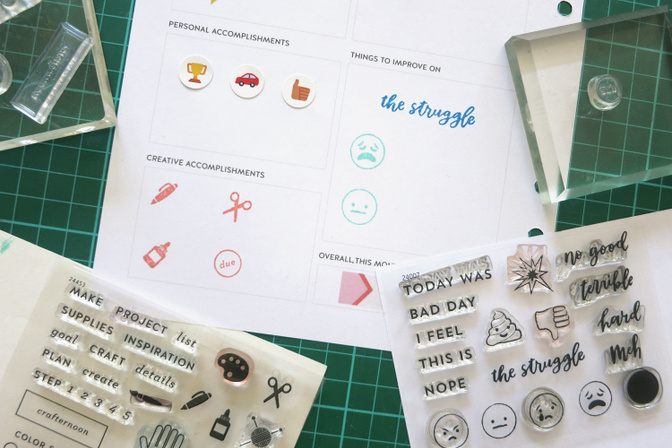
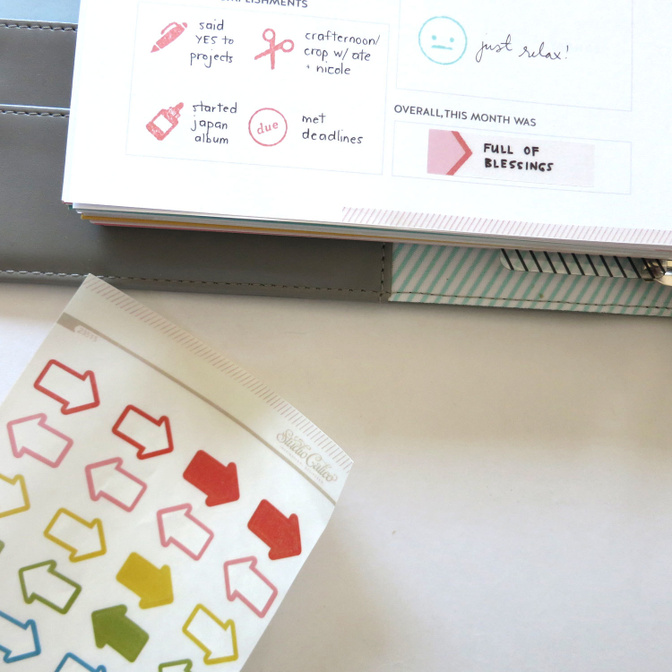
4. Add stamps | To get a clear image, I removed the page from the planner and stamped with the page on top of a cutting mat. In the "Creative Accomplishments" section, I used the craft icons from the 4x3" Planner stamp set as bullet points. In the "Things to Improve On" box, I stamped images from the 4x3" Lousy Day set by Jasmine Jones - these perfectly describe how I felt during the times I was stressed! :)
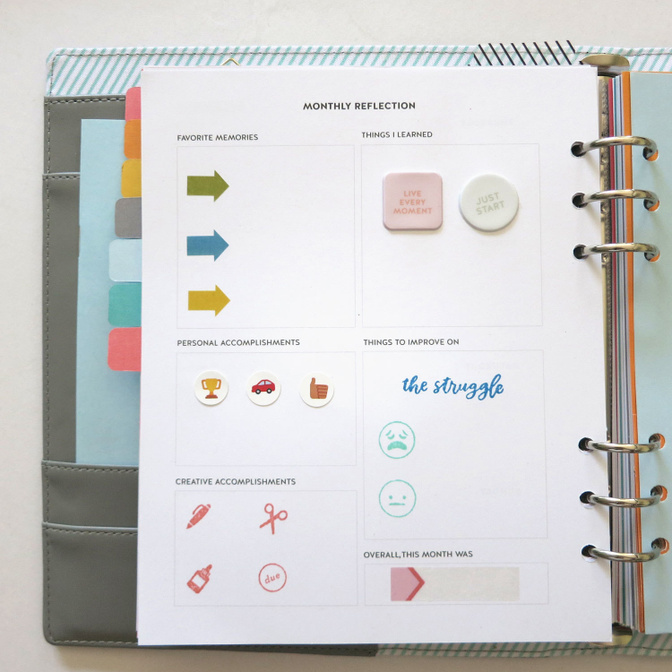
Here’s a look at the decorateed page without my handwriting:
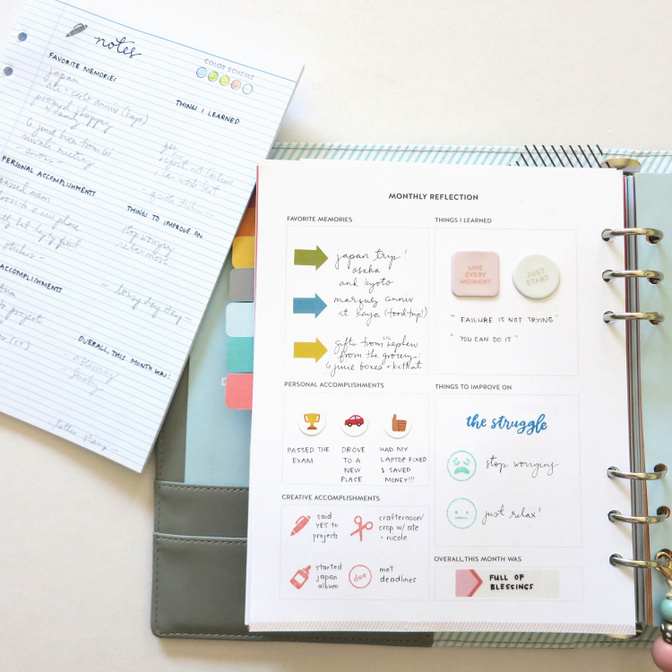
5. Write words | I copied the list items from my guide. Yay for no errors! :)
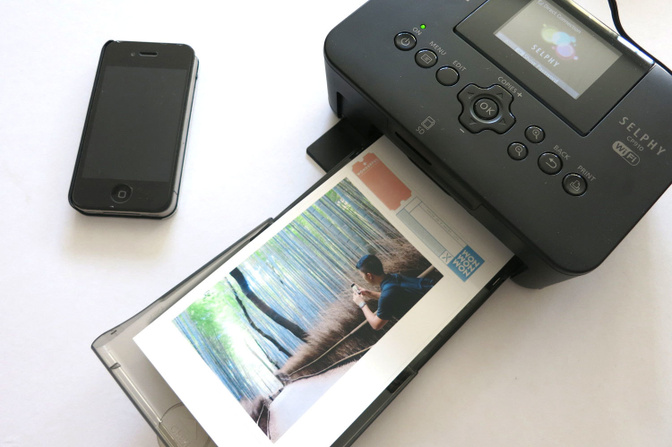
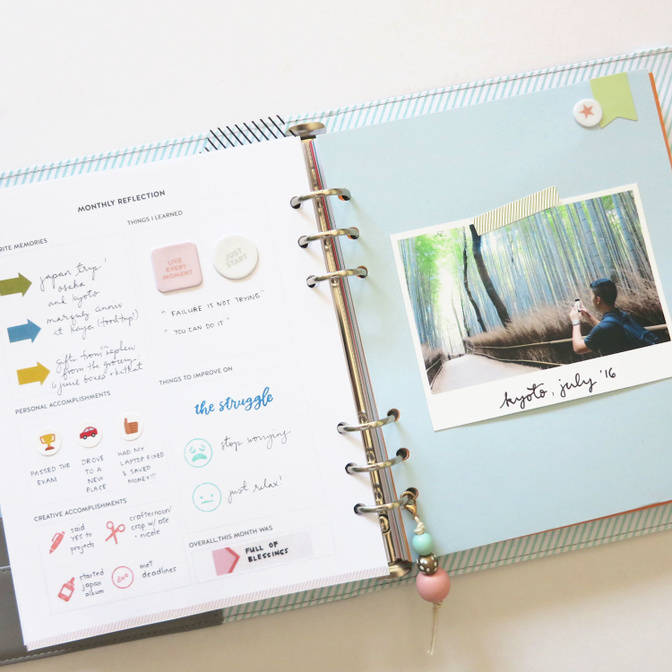
6. Create a photo page | Other months do not have the extra shop details page, but you can create your own insert by cutting any paper to 16.8 cm x 20.8 cm. Use the divider as a guide for punching the holes. I chose my favorite photo from our family trip to Japan and printed it with my Canon Selphy printer. In Adobe Photoshop, I resized the photo to 12 x 9.2 cm and placed it on a 4 x 6” template. TIP: To maximize the use of my photo paper, I added digital elements from past Studio Calico kits on the extra white space. :)
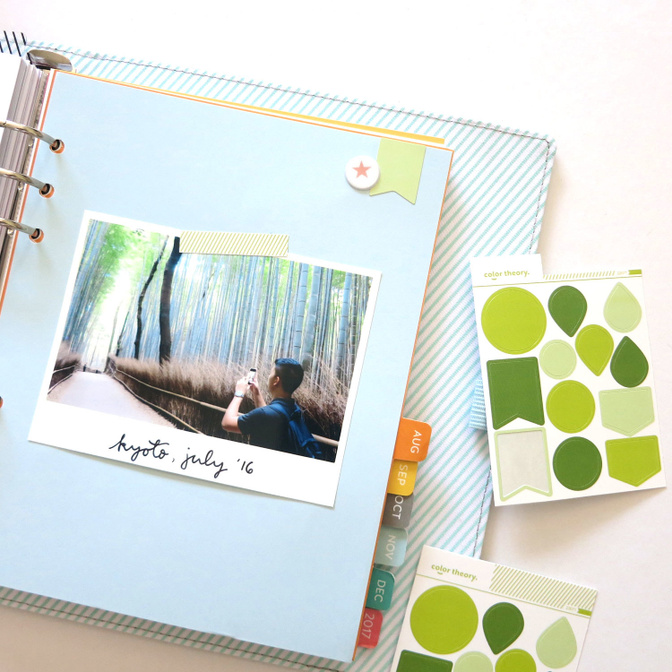
Since the left page is filled with words and embellishments, I decided to make the right page minimal so that the overall spread wouldn’t look cluttered. I decorated the page with a H/F puffy sticker and some green Color Theory planner stickers. TIP: Use the pattern from the top part of the Color Theory stickers as washi tape!
Then I decorated the left page with the diagonal striped pattern that is located on top of the vellum arrow sticker sheets.
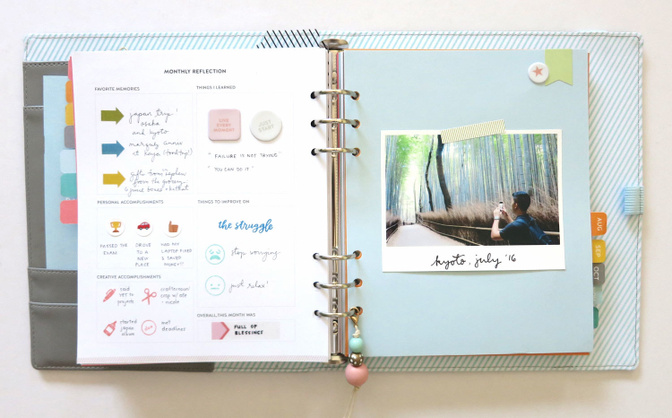
Here’s the finished layout! I hope this project will inspire you to take time to reflect on the month’s blessings, memories, and accomplishments, despite your busy schedule. :)
Check out how I used the Film Club planner kit on another monthly reflection page here, and see what my fellow Creative Team members are creating with their August planner kits here!


Comments
Sign in or sign up to comment.
4 comments
Love this, thanks for sharing! Great ideas!
Replies to cmsplitt
Sign in or sign up to reply.
Love this! Thanks so much for the tips ❤️
Replies to riaris
Sign in or sign up to reply.
Love how you've used every little bit of the sticker sheets.
Replies to audneal
Sign in or sign up to reply.
love it! thanks for sharing great tips! such a beautiful photo layout too!
Replies to gabber
Sign in or sign up to reply.