Using the Candyland Planner Kit and Add-on Stamp with Stephanie Howell
Tags:I love my planners but sometimes I just need something custom for a special occasion—more white space, fewer lines and boxes, and just something that works perfectly for me. That’s what I needed when I was planning my daughter’s birthday party. I needed a simple weekly layout where I could list all the things I needed to do to get ready and I needed the list to be portable.
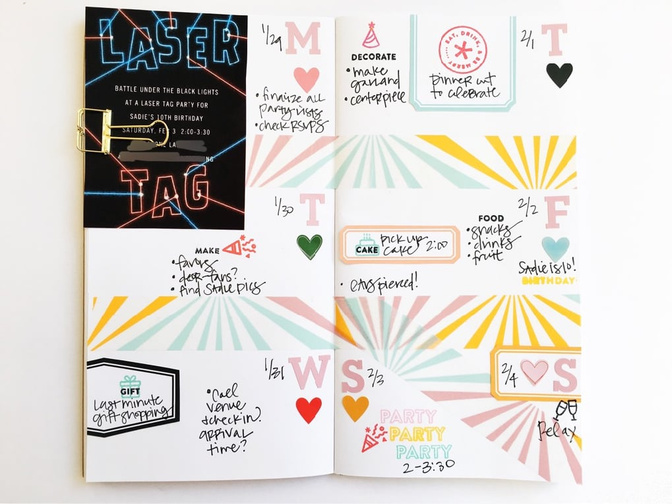
It made sense to use a Traveler's Notebook. I used the washi from the "Candyland" Planner Kit to make a custom, from-scratch weekly spread. It’s super simple. To create something similar use the washi to make two evenly spaced horizontal lines across your insert. Then divide the bottom right box diagonally with another strip of washi.
Tip: I just eyeballed this—no measuring. But I did use an old gift card to help tear the washi cleanly and evenly.
I printed out her invitation from the Paperless Post app and clipped it to the upper left corner. Then, I used my stamps and stickers to get to work on the to-do lists for each day.
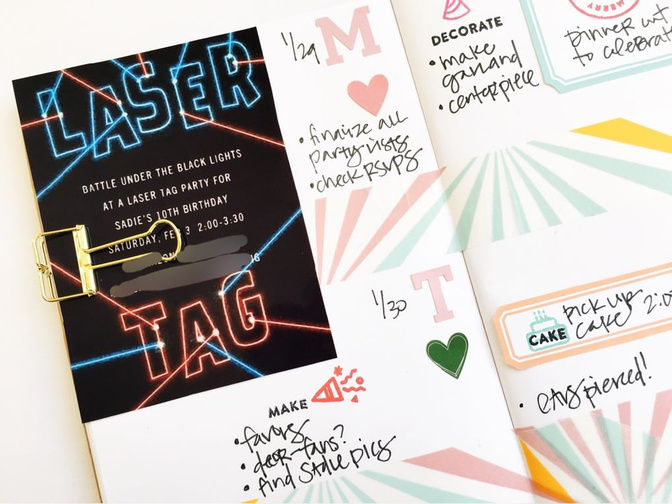
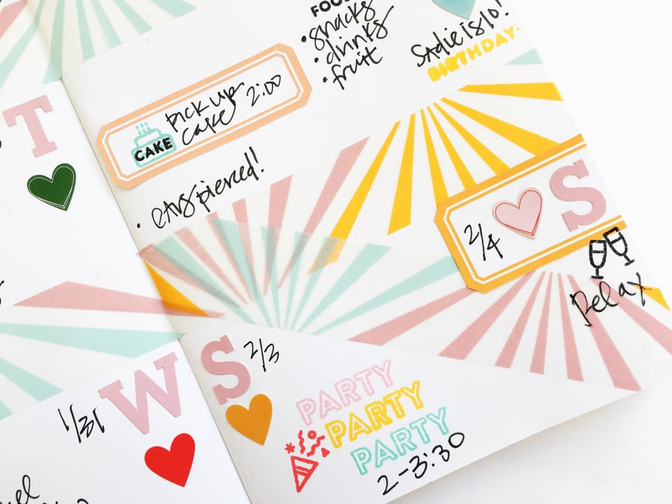
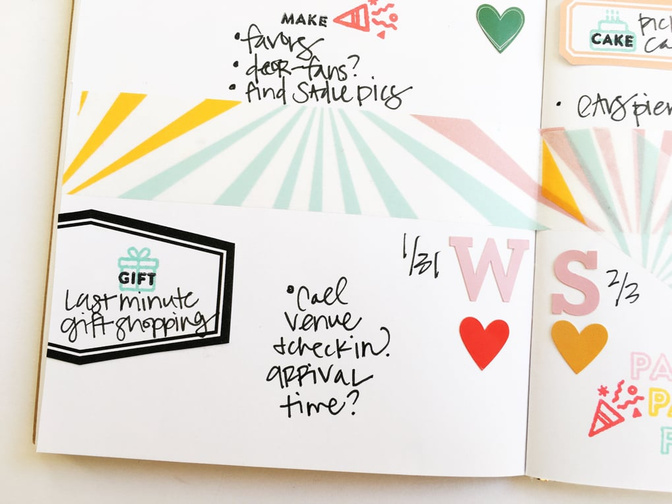
The letter stickers from the Planner Kit were perfect for adding the days of the week. I then added a bunch of "Candyland" printable labels. I just can’t get enough of these!
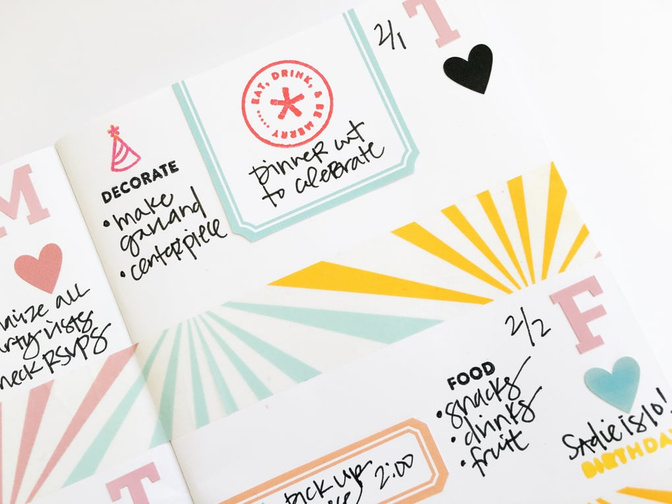
The 4x3 Party stamp set could not have been more perfect for this spread. I used "Mojito," "Lemon Zest," "Poppy," "Inky Black," and "Flamingo" Color Theory Inks to stamp the party icons and the accompanying words. I love the fun vibe these stamps added. How cute is that party stamp on Saturday?
I’m thrilled with the way this custom weekly spread turned out. It helped me so much when preparing for Sadie’s birthday!


Comments
Sign in or sign up to comment.
0 comments
No comments yet — be the first!