Using the Bookmarked Kits with Stephanie Howell
Tags:There’s nothing I love more than simple—except I might love chic even more. So for me, a dream planner spread is simple + chic. Thanks to the gorgeous colors in the "Bookmarked" Kits, I was able to easily achieve a simple and chic weekly spread in my Happy Planner™!
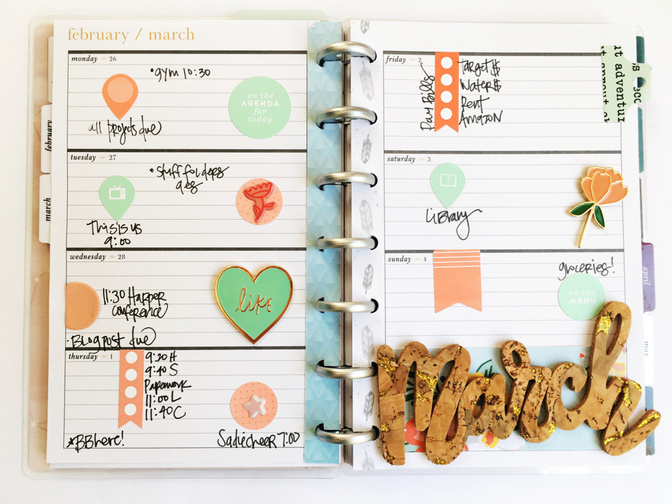
I started by adhering a strip of patterned paper (from the Planner Kit) to the bottom right corner of my spread. Then, I topped it off with the “March” cork embellishment from the Documenter Kit. I never know what to do with this space, so adding an oversized cork title worked really well. I enjoy adding cork embellishments to my spreads. The cork is super lightweight but adds awesome dimension.
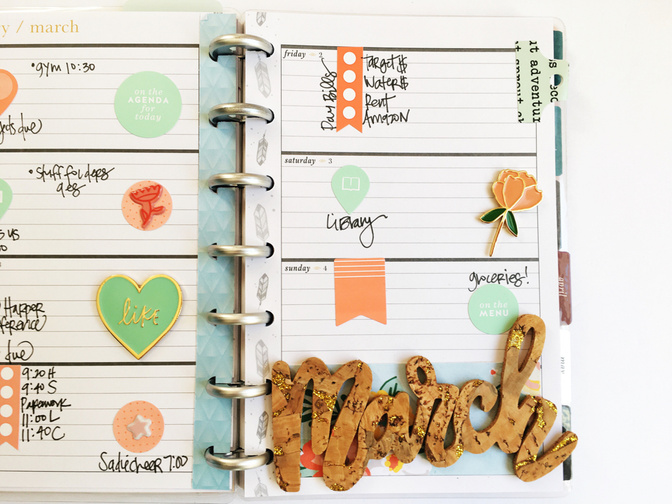
Next, I added a simple embellishment for each day of the week. I stuck with a mint and coral color scheme. I find that choosing a simple color scheme keeps things from getting over-complicated. I used stickers, the enamel embellishments, and an attacher sticker. I don’t use ring planners so the attachers work perfectly as tabs!

Lastly, I added checklist stickers, flags, and basic stickers to indicate my goals, to-dos, and appointments.

Simple and chic. Check and check!


Comments
Sign in or sign up to comment.
2 comments
Love your work!!
Replies to kathyv
Sign in or sign up to reply.
Join the url and install the free dvd player software windows 10, easily this process http://dvdplayerwindows10.com/ don,t wast the time install the dvd player window10 thanks.
Replies to peterpen
Sign in or sign up to reply.