Incorporate a Digital File on Your Next Scrapbook Layout | Ginny Hughes
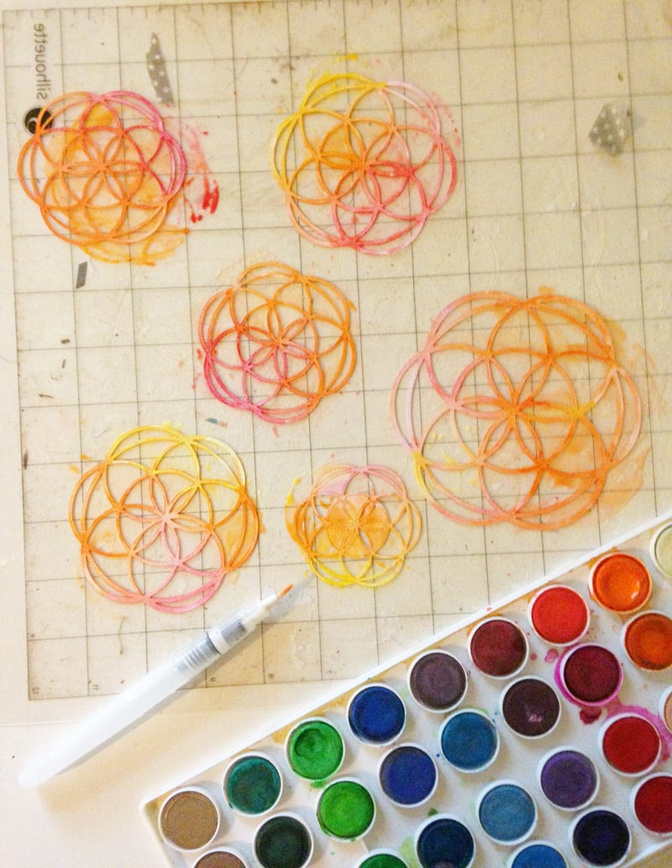
Tags:Hi! Ginny here with a quick tutorial on how to incorporate a digital cut file onto your project. I love the digital files that are offered every month, they are totally customizable to whatever you are working on. I chose to use one of the cut files that Paige designed for use with the Galileo kits. I started by cutting it out on regular white cardstock since I knew I was going to use watercolors.
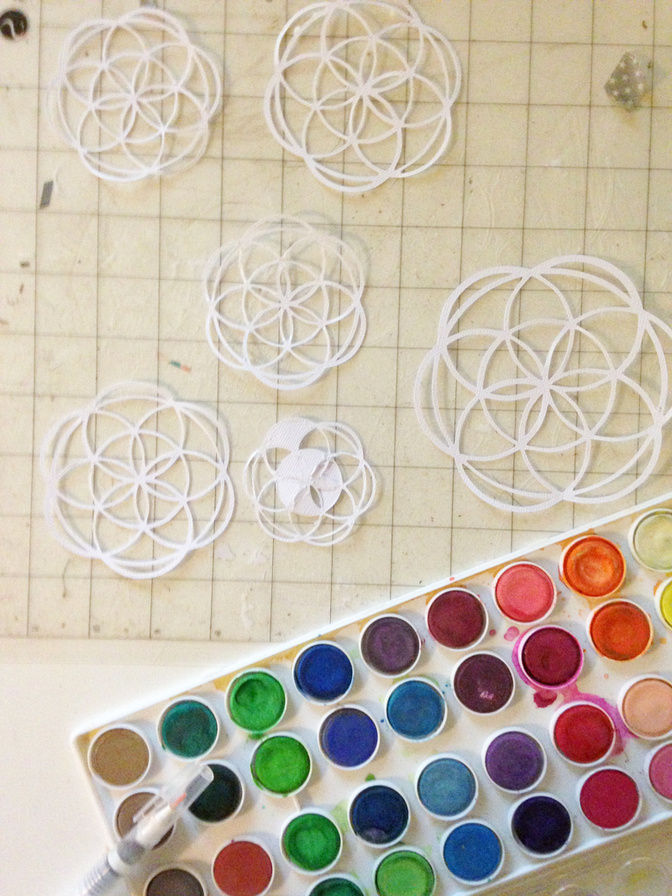
I use an old Silhouette mat whenever I use products that can get a little messy. I use the non-sticky side and it is a breeze to clean up! I know we all have a few of those sticky mats that are no longer sticky, great way to get some more use out of them.
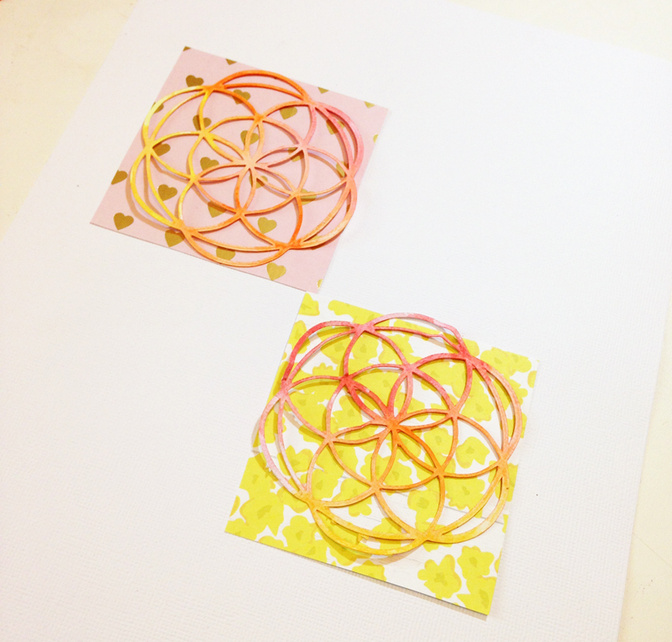
I picked out 2 of the patterned papers from the Saturn and Jupiter add-ons and I then placed the dry die cut on the papers and cut a square of patterned paper that was approximately the same size.

I then placed the squares of patterned paper on the white cardstock background to get an idea of how I wanted to design the layout.
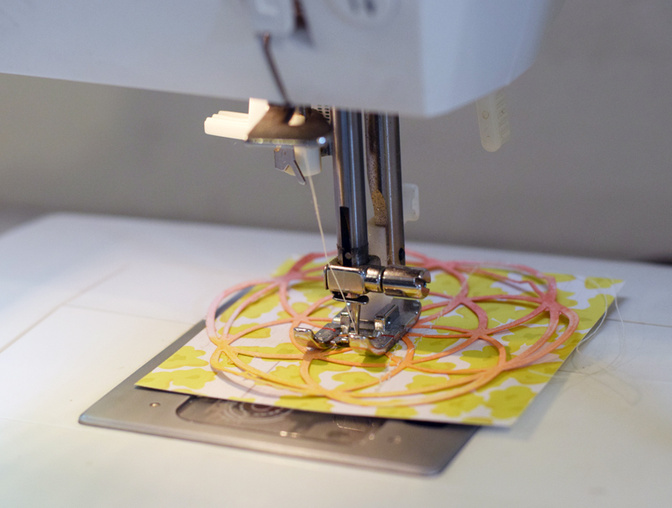
I sewed the die cuts directly on the paper, no glue needed!
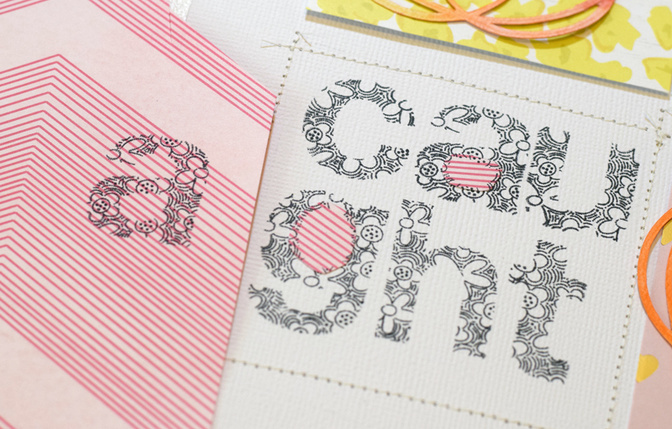
I wanted to use the Molly alphabet stamps for the title. If you are stamping directly on your background it can get a little tricky to make sure everything fits. With a pencil I lightly drew a box the same size as my squares of patterned paper, I then laid out the uninked stamps in the space just to make sure they would fit before I started stamping.

I love alpha stamps, but sometimes I like to add a little bit extra color & texture to them. It is super easy to stamp on a piece of patterned paper, then cut out a portion of it to add to your stamped image. I like to add the insides of a's, o's, g's, any type of letter like that will work.
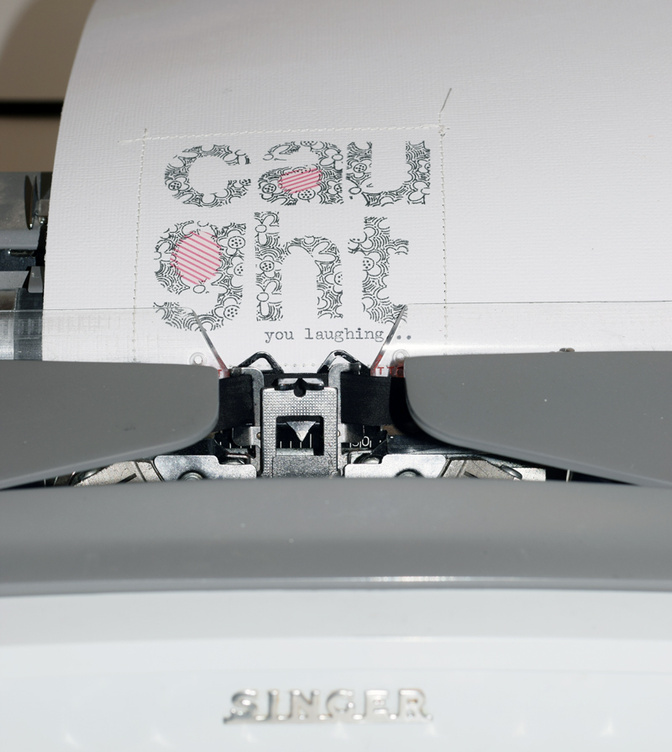
After I had sewn around the title and adhered the patterned paper I realized I had forgotten to add the typing below the title. I typically do that before I add any sewing or embellishing, but it worked out just fine.
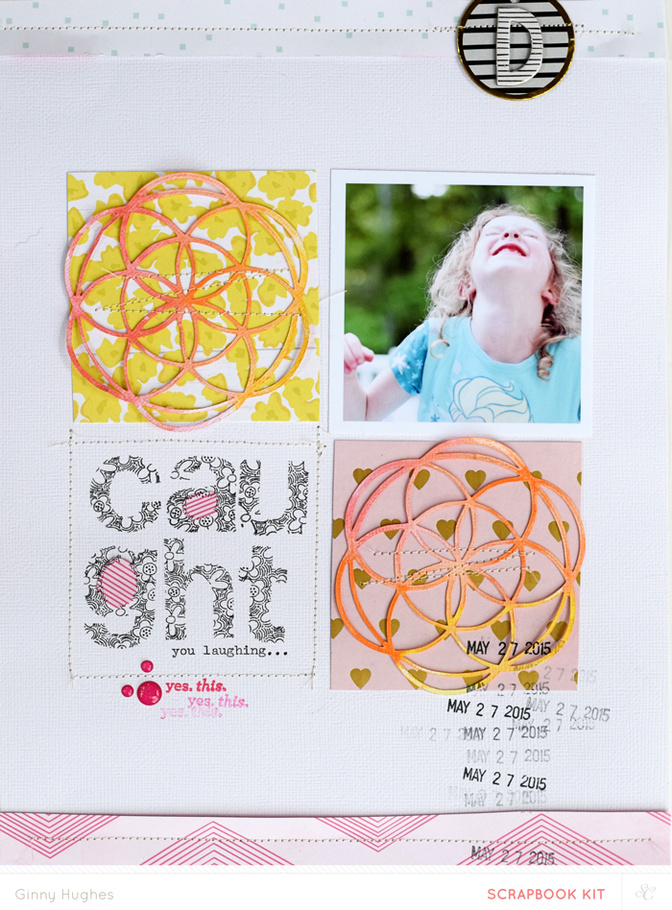
I added a few enamel dots, some more stamping, strips of patterned paper to finish the layout. I hope you go take a look at the Digital section of the Studio Calico shop, there are so many possibilities there!

Supplies: Galileo Scrapbook kit, Jupiter add-on kit, Saturn add-on kit, Molly alphabet stamp set, More white cardstock, Color Theory Inky Black ink pad, Color Theory Flamingo ink pad, water brush


Comments
Sign in or sign up to comment.
10 comments
This is so lovely @ginny :))
Replies to HelloTodayCreate
Sign in or sign up to reply.
Awesome as always Ginny. Love the photo and great warm colors.
Replies to supertoni
Sign in or sign up to reply.
Oh my, I picked up so many new things here. Thanks so much for the tip about the non sticky side of the silhouette matt. Your page is lovely.
Replies to gracielou
Sign in or sign up to reply.
beautiful
Replies to toribissell
Sign in or sign up to reply.
yes yes yes!!! Ginny! This is so good!!!!!
Replies to maggie_massey
Sign in or sign up to reply.
All amazing but the title work is my fave!
Replies to jamiewaters
Sign in or sign up to reply.
So good! The title work is making me excited for your class!
Replies to JilC
Sign in or sign up to reply.
Lovely idea.
Replies to aniamaria
Sign in or sign up to reply.
Absolutely, totally love this layout!!!
Replies to PaigeEvans
Sign in or sign up to reply.
So beautiful.
Replies to LMcGE
Sign in or sign up to reply.