Video | Using the Starlight Kits with Carla De Taboada
Tags:Hello, hello, my sweet friends! It’s Carla here—aka @carladetaboada on Instagram—and I’m so glad to be here on the blog again! Today, I would like to share my weekly spread in my Hello Forever planner using the "Starlight" Planner and Documenter Kits!
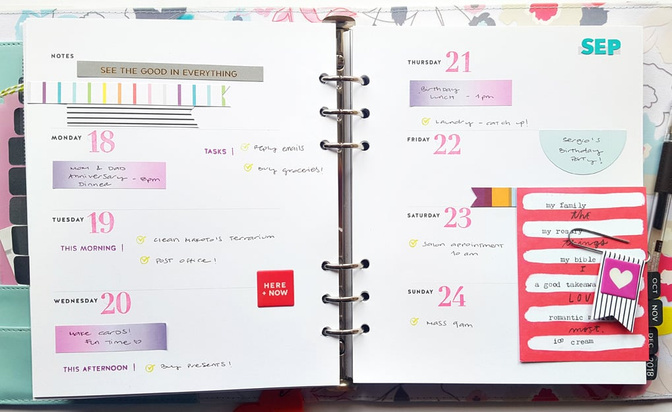
I love all the bright and colorful designs and patterns in these kits! To begin my planner spread, I stamped my dates using the Oliver Number stamp set by Hello Forever, as these planner inserts come un-dated. Then, I began adding color to my pages using some strips of paper. And next, I added my chores and appointments, using the lovely sticky notes and stamps from these kits.
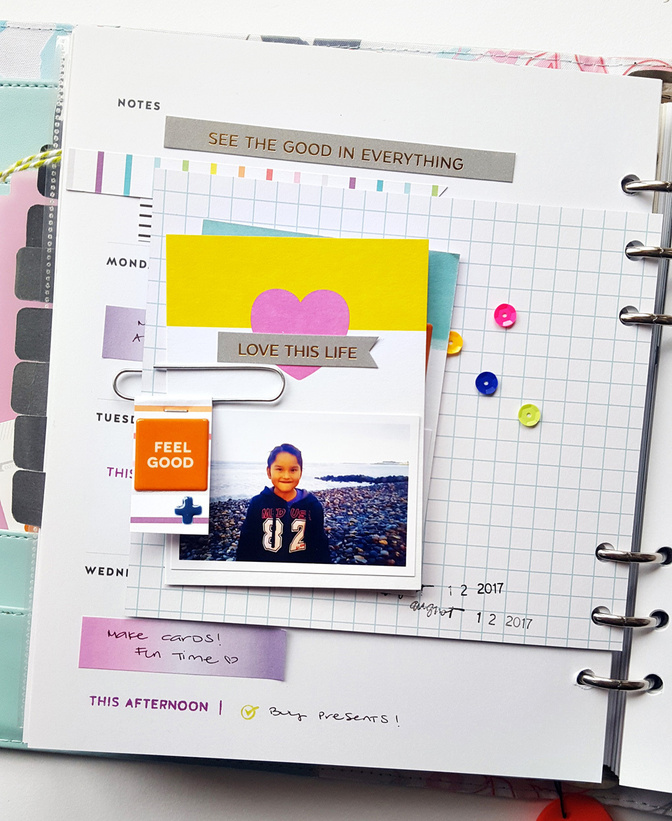
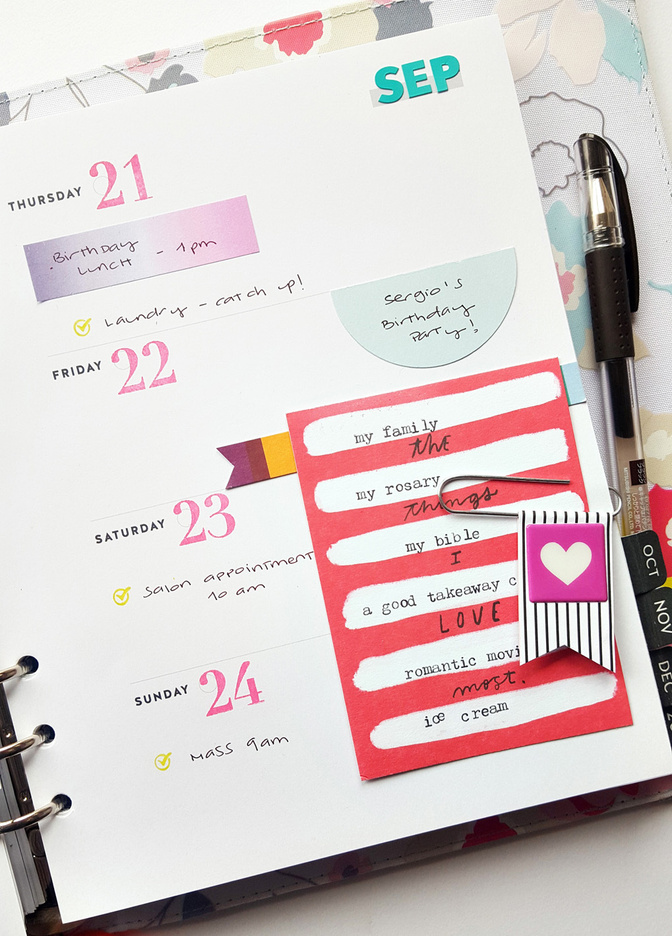
To finish my planner spread, I also added a couple photos of my kids and a list of my favorite things using some journaling cards from the Documenter Kit and my typewriter. Take a look at how this spread came together from start to finish in the video below!
Tips & Tricks:
- Make a list of the things you need to plan before your creative planning session. The paper pad from the Planner Kit is perfect for this!
- Add color to your spread! You can cut some strips of patterned paper to embellish your pages, as I did.
- Use your monthly card from your kit as a guide to choose the ink pads you’ll use with your stamps. This will ensure you perfectly combine the colors from your kits’ supplies.
- Add some inspirational spots by including a little bit of journaling, photos of the ones you love, or your personal thoughts to your spread.
I hope I inspired you to use your "Starlight" Planner and Documenter Kits in a fun and useful way! If you have any comments or questions, please be sure to write them down below. Plus, I would love to see how you use your "Starlight" Kits! So please, add your gallery links so I can see what you create this month. ;)
Happy planning, my sweet friends! ♥


Comments
Sign in or sign up to comment.
0 comments
No comments yet — be the first!