Tutorial | Using Scrapbook Embellishments in a Project Life® Album with Geralyn Sy
Tags:As I concentrate on finishing my Project Life® 2014 album, I always look for fun and new products to use on my spreads. What I love about the Studio Calico scrapbook kits is that they are great for both layouts and Project Life®! The embellishments are not too big or bulky, making them easy to use on 3x4 and 4x6 cards. With this tutorial today, I’ll walk you through my process of using scrapbook products on a Project Life® spread.
When I work on Project Life®
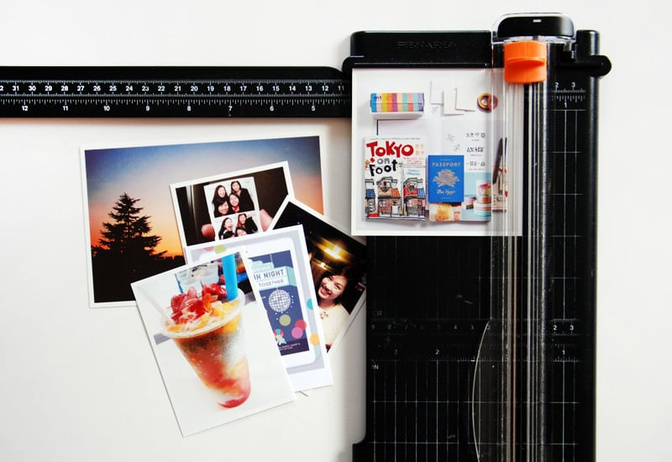
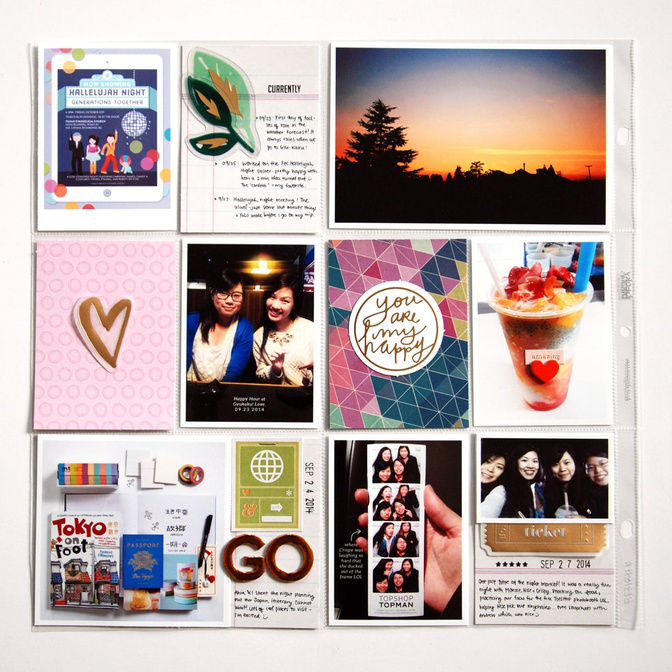
I laid out my photos on a design A page protector to get a feel for the color scheme of my spread. I rearranged my photos until I was happy that the spread looked balanced. 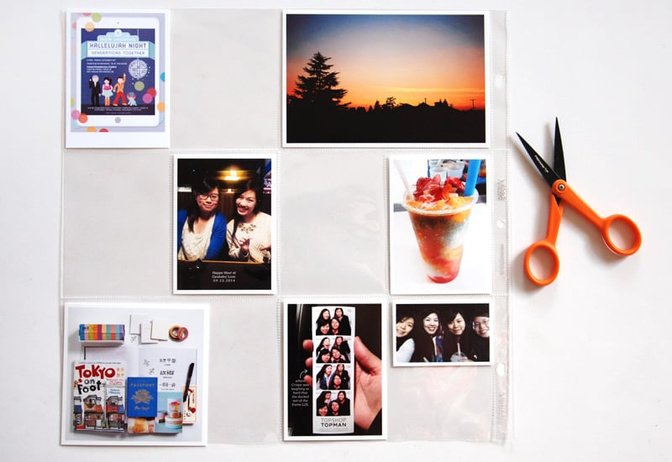
I pulled out a bunch of patterned papers from the Lisse Street and Carolina Moon scrapbook kits. For Project Life®
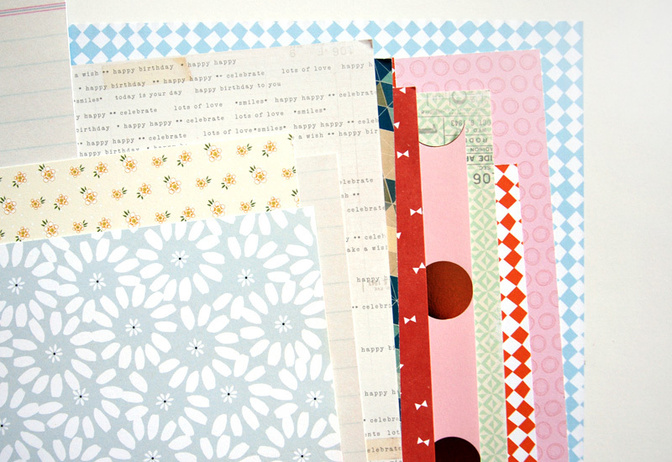
I chose some patterned paper and cut them down to fit my pockets. I stuck with some neutral ledger paper and a few bolder prints. 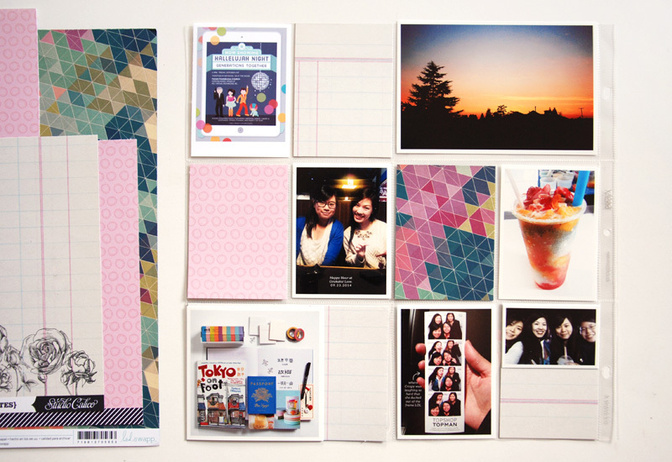
Next, I looked through all the cool embellishments in the scrapbook kits! I love using die-cuts in Project Life®Lisse Street Scrapbook Kit
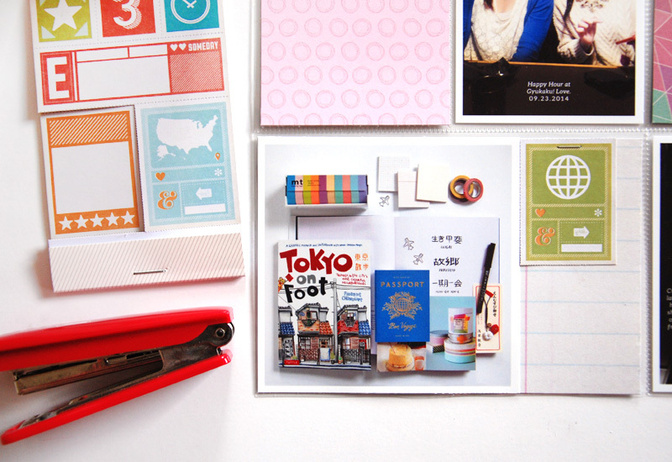
I really liked the copper foil alphas from the Carolina Moon Scrapbook Kit and used them to spell out a little title on this card as well. The size of the alphas was perfect. 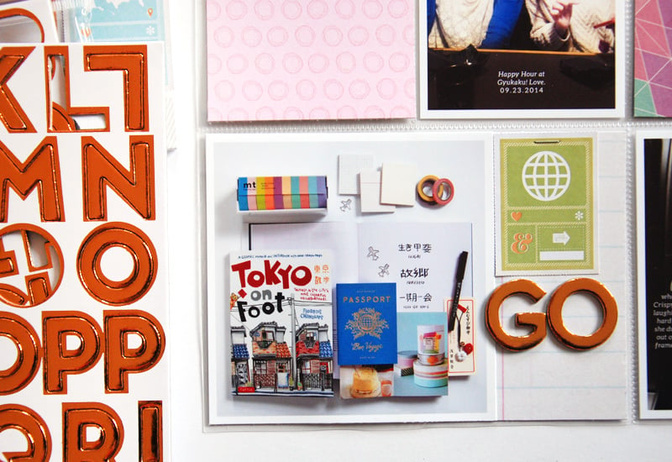
I picked out some more die-cuts, chipboard pieces and embellishments from the scrapbook kits to decorate my spread. I chose some simple pieces with gold and copper foil details to match the copper alphas I used on the 4x6 card. 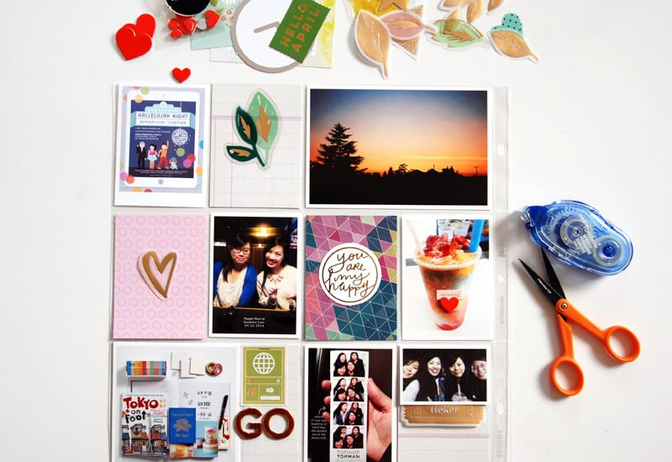
My last step was to add some stamping, the dates on a few cards, and my journaling. 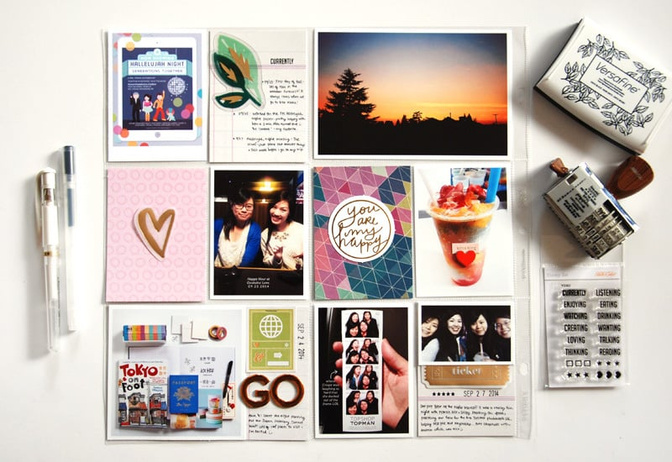
I love that I got to dig through my stash of scrapbook kits and use them to help finish some incomplete Project Life®Project Life®
Carolina Moon Scrapbook KitLisse Street Scrapbook KitFrankKatharineVersafine


Comments
Sign in or sign up to comment.
5 comments
The embellishments are the best part of the kit. Thanks for showing the project life page.
Replies to jeannine
Sign in or sign up to reply.
I love your PL!
Replies to cariilup
Sign in or sign up to reply.
Love your process! You make it seem so easy!
Replies to pinksoup
Sign in or sign up to reply.
Looks awesome thanks for sharing your process. I too mix up both scrapbooking and project life kits, they can cross over a lot I think. :)
Replies to HelloTodayCreate
Sign in or sign up to reply.
Thank you for sharing your process. I just recently set myself up with several Scrapbook Kits to use for PL. I hope to find more articles that'll help with how to apply those 12x12 sheets into PL like you did. :)
Replies to MISSKIMCAO
Sign in or sign up to reply.