Tutorial: Using Wink Wink Die-Cuts in your Scrapbook Layout
Tags:Metal craft dies in simple, classic shapes are great staple tools to have in any paper crafter’s stash. Today, I’ll walk you through my steps for creating a scrapbook layout where first, I use the negative die-cut images as a stencil and then use the die-cuts as embellishments.
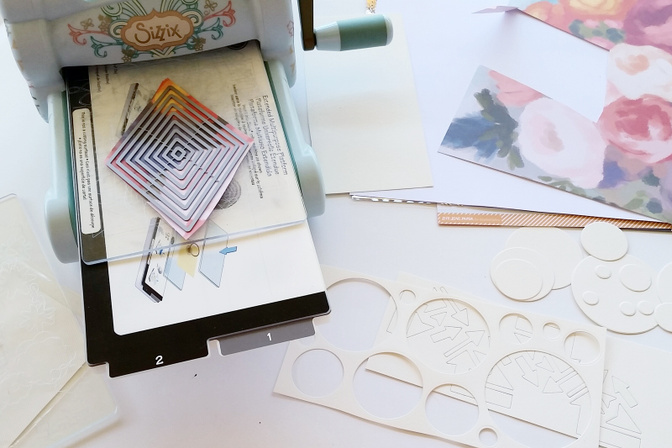
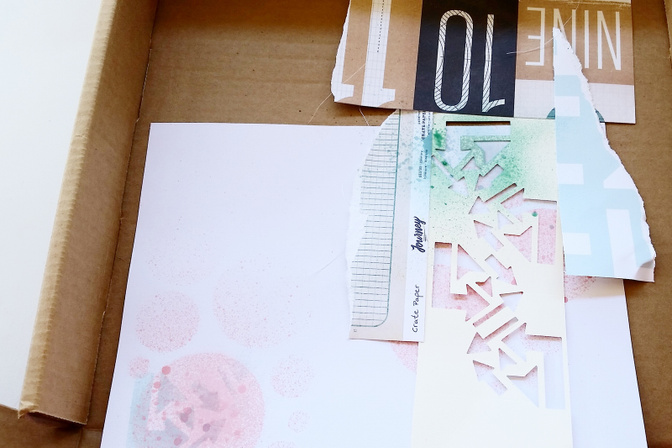
I start out by using my Sizzix Big Shot to die-cut a bunch of circles and arrows out of watercolor paper. This gives me the option to add color to the die-cuts at a later time or to use any leftovers for future projects since they’re both neutral and customizable.
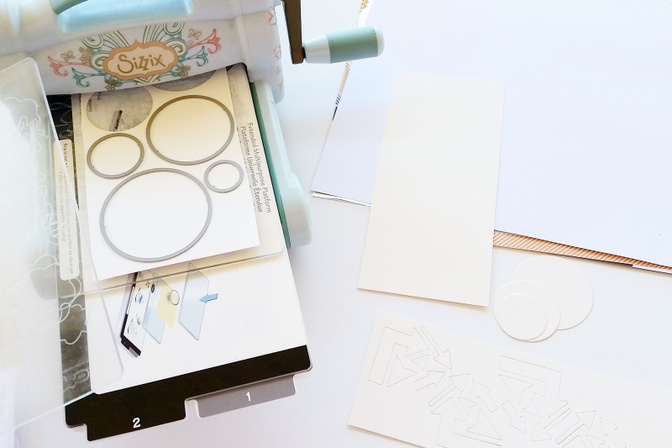
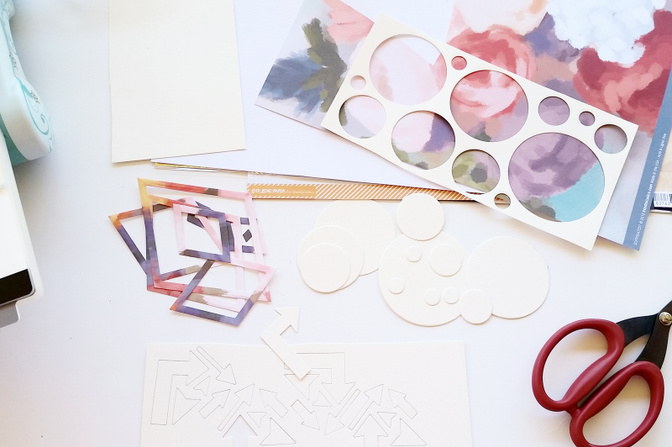
Using the nesting dies intact or pieced back together, will yield outline shapes instead of solid shapes. The technique is used here to allow me to add the beautiful rich colors from a floral patterned paper
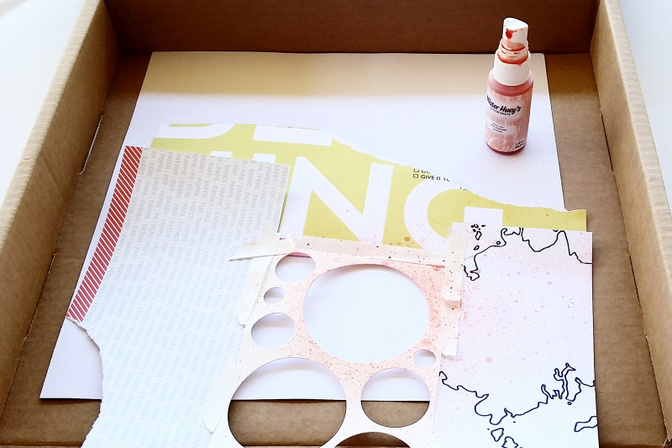
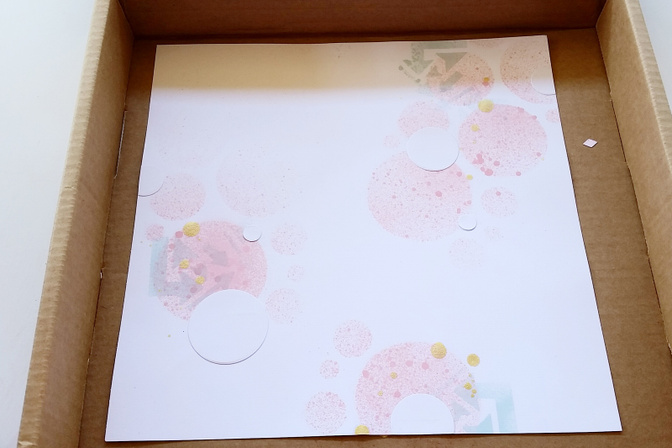
After all the shapes are die-cut and separated, I lay the die-cut negative pieces down, to use as stencils for spray mists. I start with the circle clusters using an older Mister Huey’s mist in Boss Lady. Next, the arrows, using Color Theory Mist in Glass Slipper. And lastly, I drop gold mist in a few places to add yet another layer.
A few of the die-cut circles are placed down to add dimension and interest.
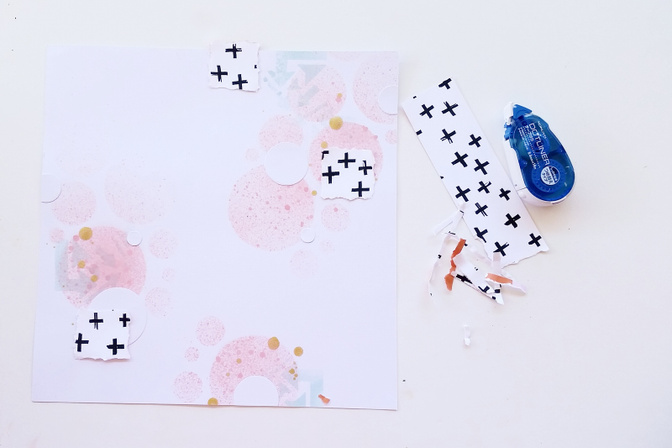
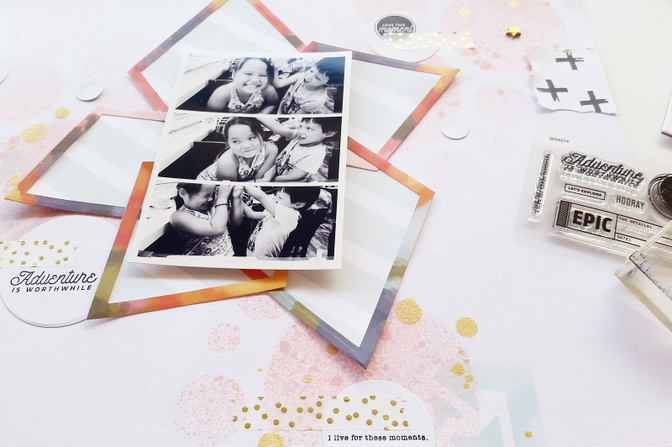
I start pushing paper around until I like the balance of a few torn pieces of black and white patterned paper, the die-cut diamond pieces and my photo. The black and white pieces add contrast and edge to the project and I like how the colors from the diamonds play off of the misted background.
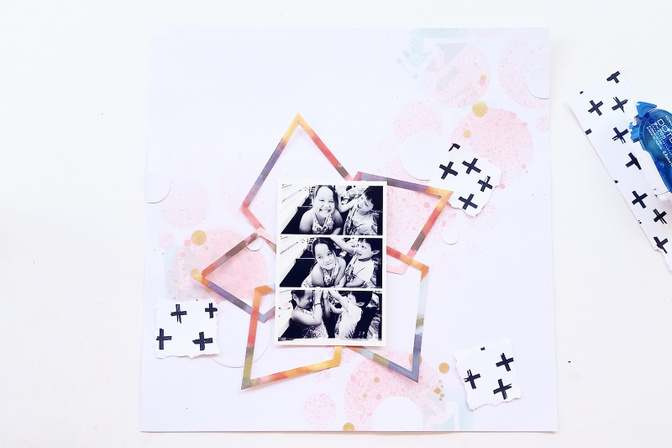
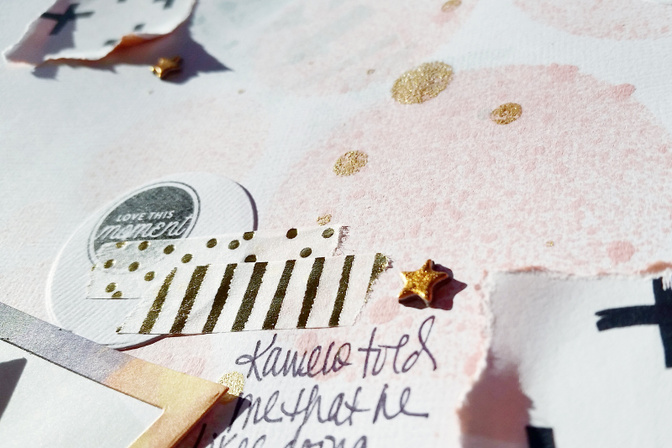
I decide the diamond cluster needs a backing so I choose a neutral grey and white stripe. Next, the b/w paper pieces are glued down in their final spot and a few copper chipboard stars and gold foil washi strips are added.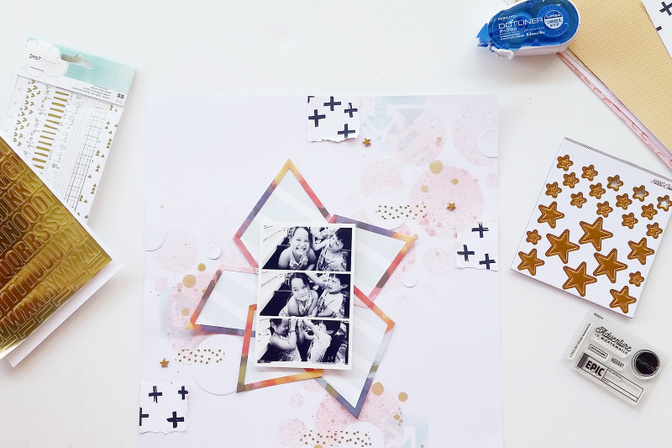 This stamp set
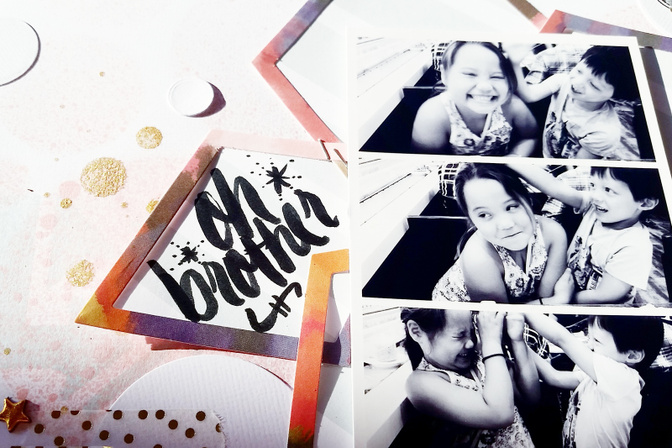
As usual, my title work and journaling are the last elements to be completed. I hand-letter the “Oh, brother” title and write a little piece of journaling about the photos.
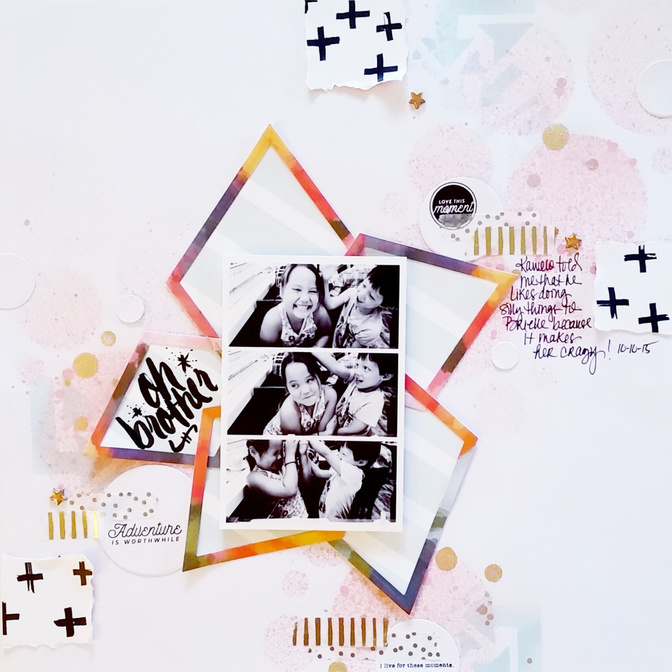
Here’s a look at the final project.
I hope this step-by-step process has inspired you to create something! I would love to hear of other ways you’re using your metal craft dies! Please feel free to let me know in the comments or if you have any questions, I’m more than happy to help!
Have a fabulous day!!
Supplies Used: circle nesting dies, diamond nesting dies, arrow die set, More Patterned Paper add-on Sept 2015, Pop Art scrapbook kit, Bakelite PL add-on, Milk Glass embellishment add-on, Color Theory Glass Slipper mini mist, Dear Lizzy gold foil washi book


Comments
Sign in or sign up to comment.
2 comments
So pretty! I especially love your use of the diamond dies and that floral paper - genius! Thank you so much for sharing.
Replies to Kristi_
Sign in or sign up to reply.
Gorgeous layout Brooke, and I love your soft colors along with the sharp edges, so textural!
Replies to Carson
Sign in or sign up to reply.